

Last week I shared my idea for the box molding in our dining room. I have a few ideas of how I want the dining room wall to look, but haven’t completely decided on a full room style, so for now I’m keeping it simple.
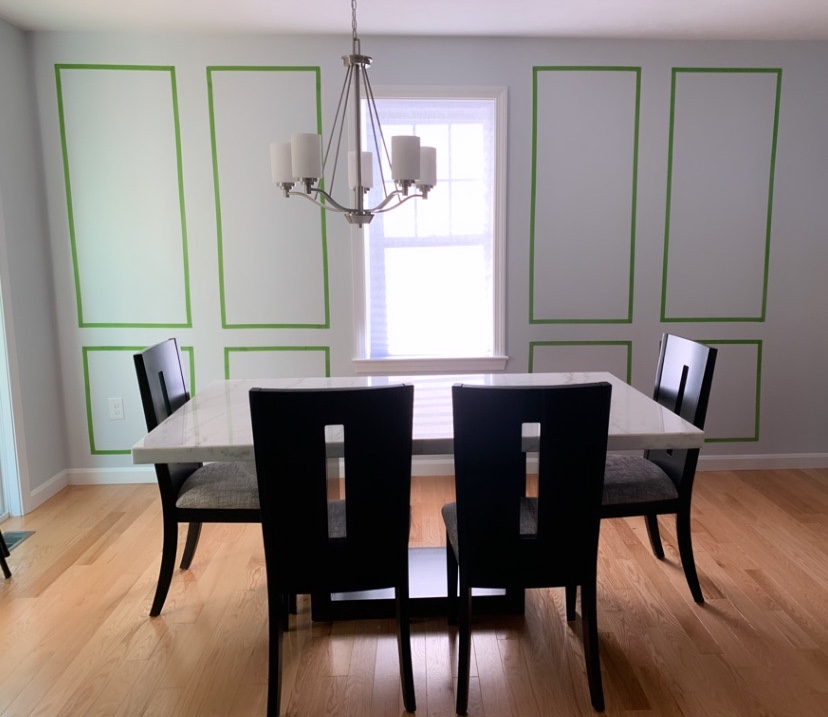
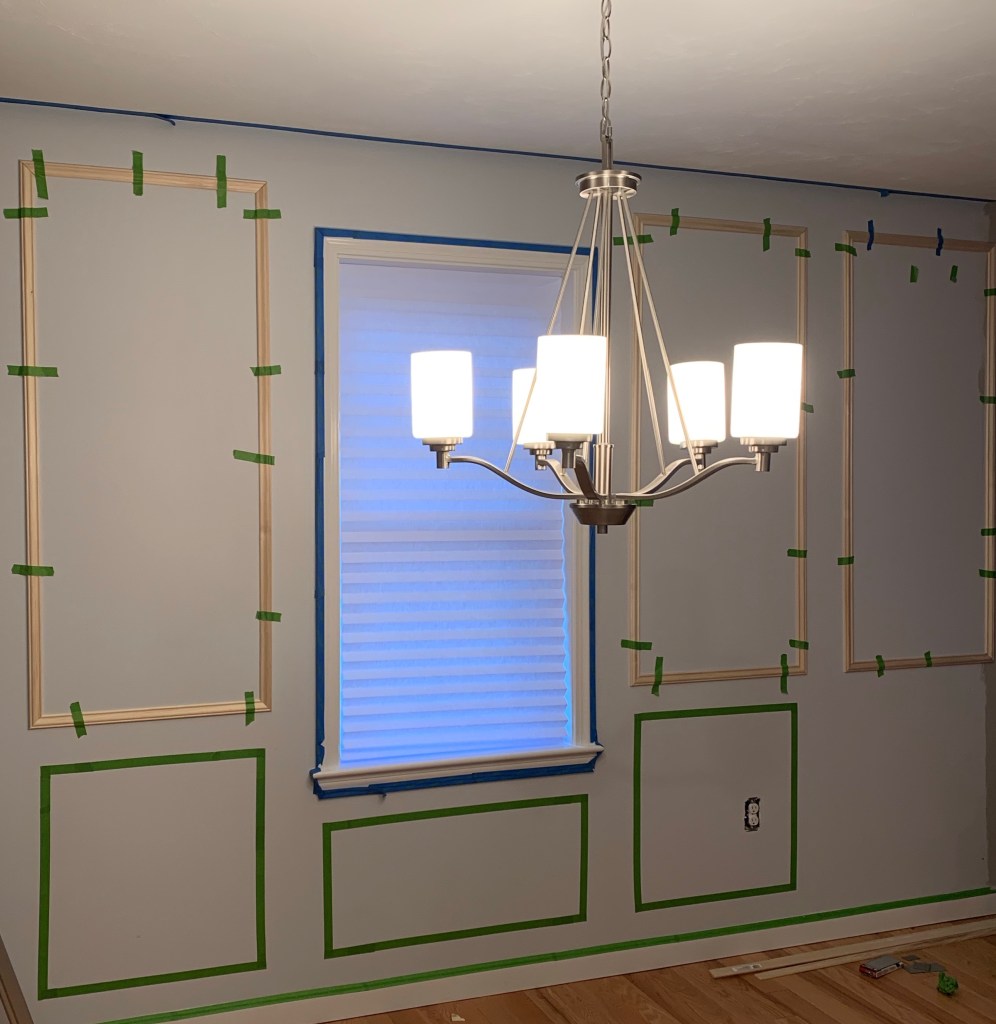
To start math is a must. I had to measure the full wall and decide how many panels I wanted on the wall. Many designers use an odd number when putting up box molding, but for this space, I want symmetry, so I planned for 4 panels.
After I knew the amount of panels, I had to decide if I would have 1 or 2 boxes per panel. One panel works well when there is an item inside of the panel like a sconce, wallpaper, or artwork. Since I don’t have a full plan for this space, and I think it will be at least another year before I begin to work with it, I decided on 2 boxes per panel. This way the wall will have visual interest and stand alone for the time being.

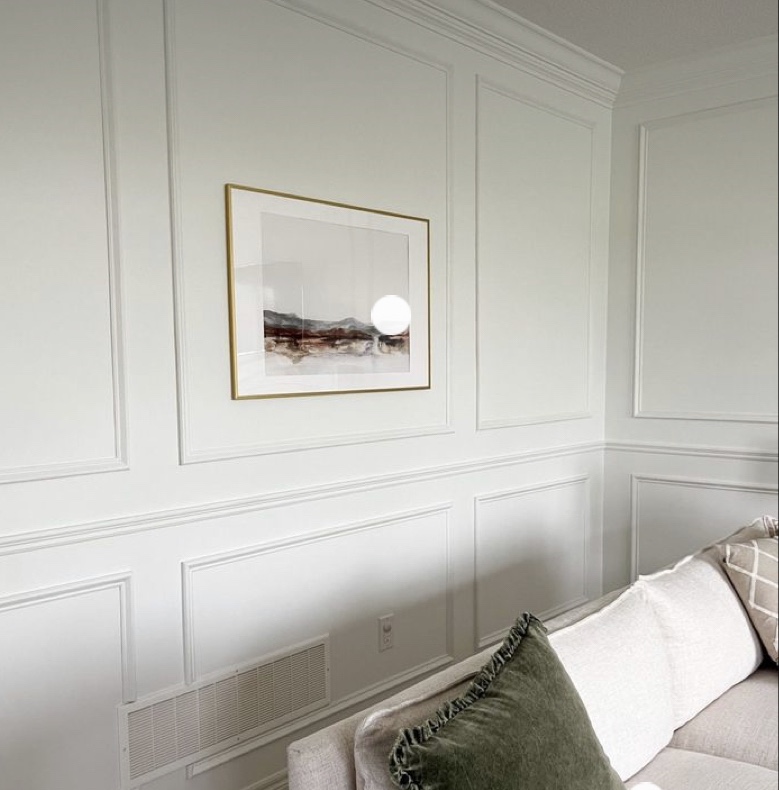
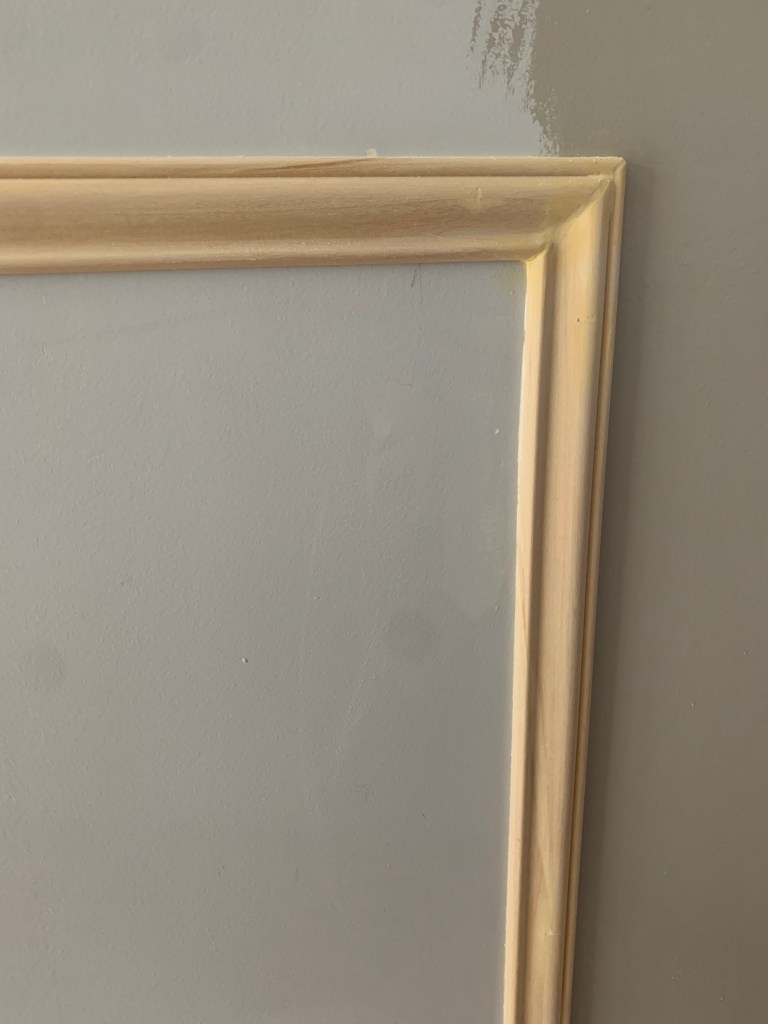
The great thing about box molding is that it can be as simple or decorative as you want. I chose a classic trim and decided not to add the traditional chair rail molding that separates the boxes within panels. I skipped the chair rail because our downstairs has an open concept layout and I don’t plan to have the panels continue into our living room, which would have made the chair rail molding end abruptly.
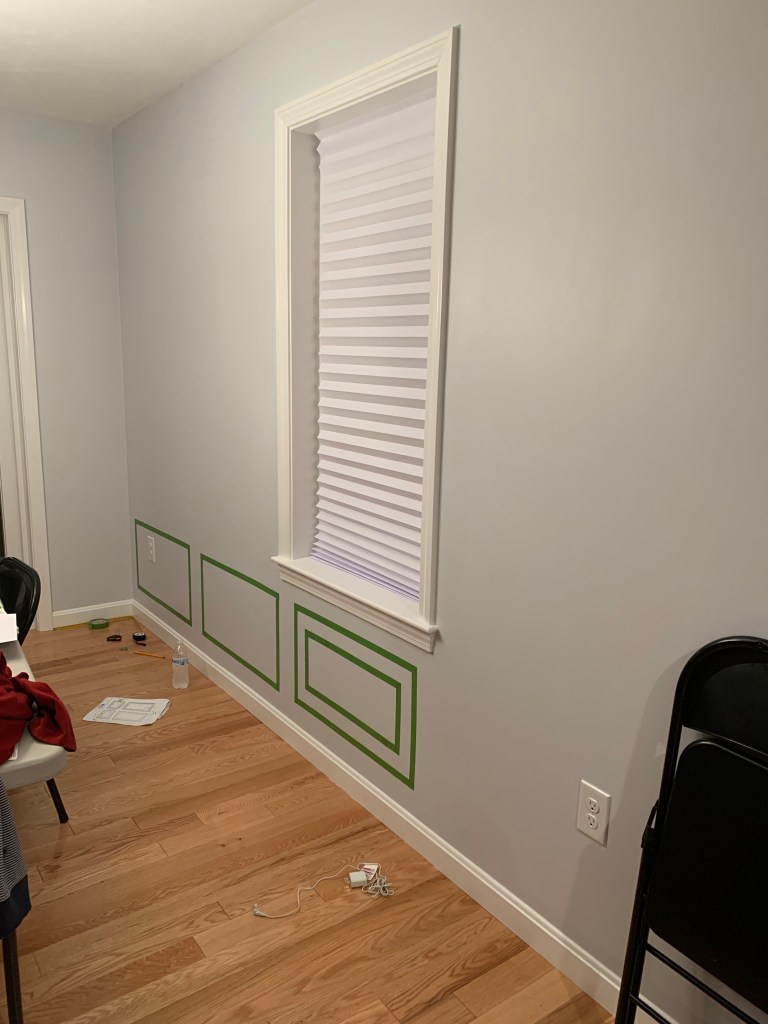
After I made an initial plan on paper, I sketched on the wall with painters tape. Sketching on the wall gives a more realistic idea of what the design will look like in the room. Below are a few style changes I made after seeing the “sketch” on the wall.

Once the design was taped out on the wall with proper measurements, I bought and gathered all the supplies for the project:
- Trim
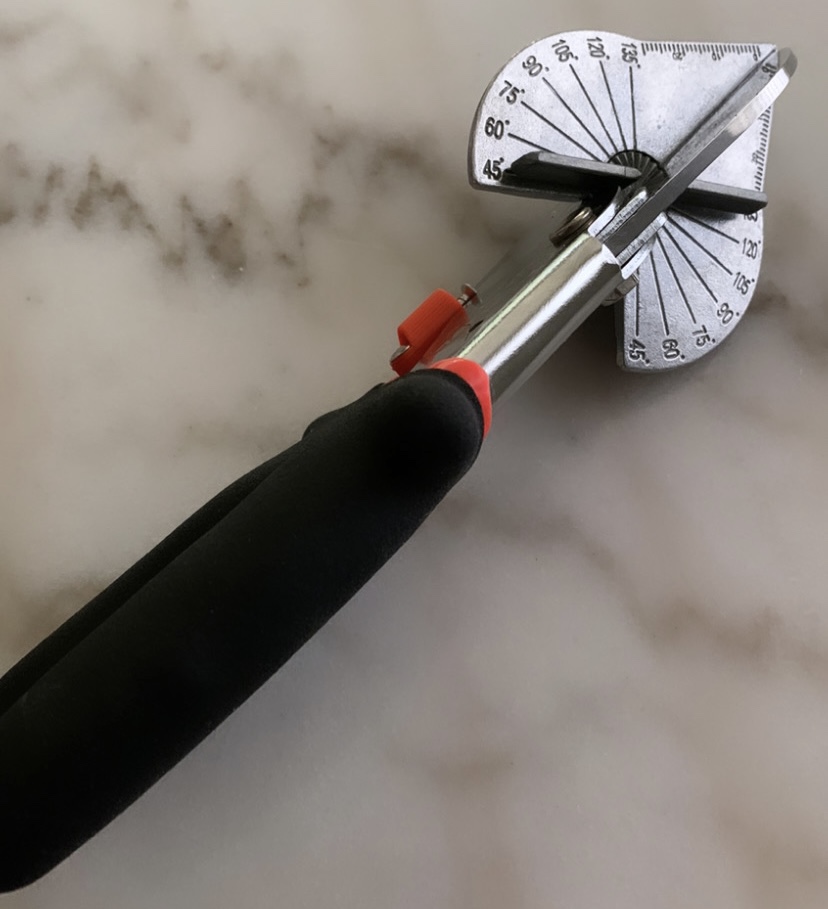
- Miter Shears
- Sandpaper
- Wood Fill
- Caulk
- Sponge
- Nail Gun
- Primer
- Paint
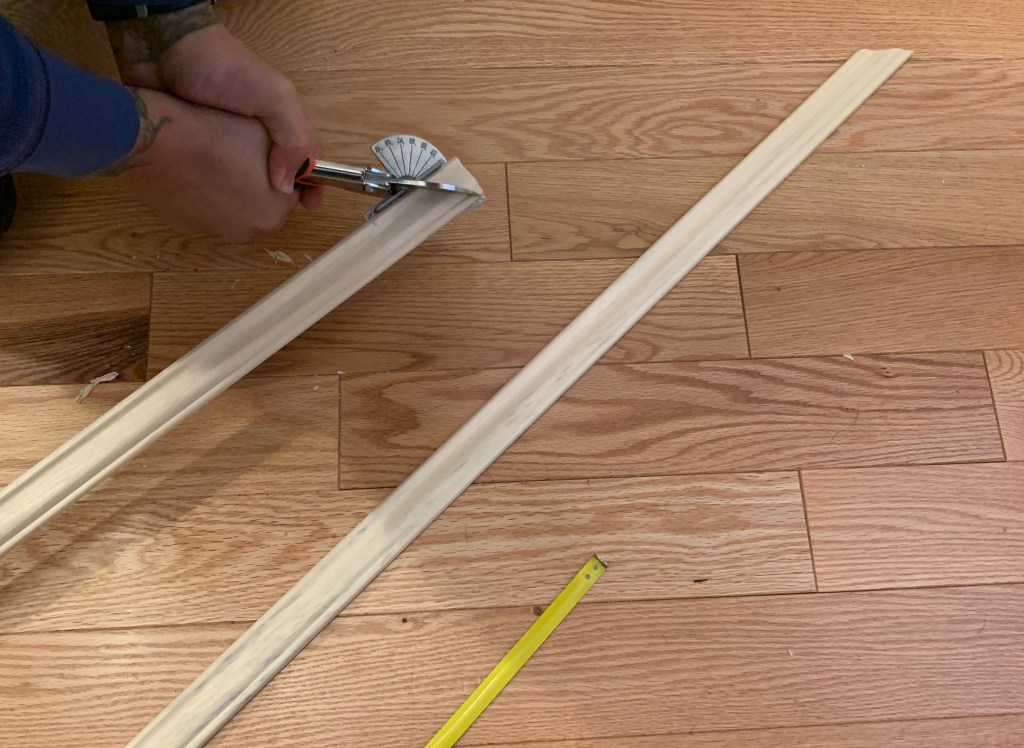
My husband helped me cut all the wood trim with miter shears. Miter Shears are an easy option for cutting soft, thinner wood trim. If you are going to cut larger, harder trim, I would suggest using a miter saw.
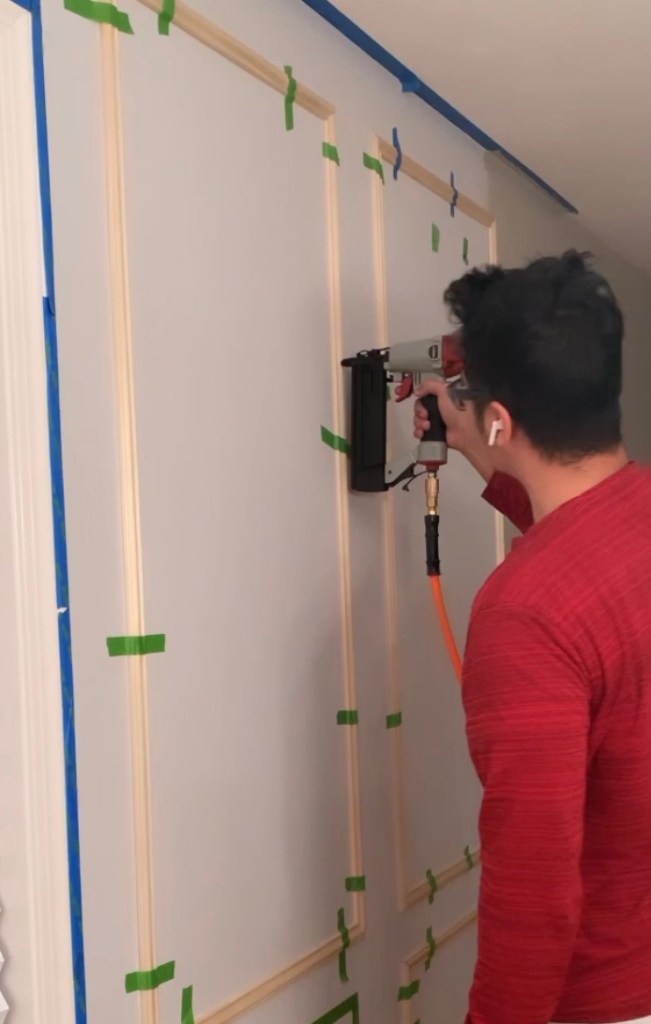
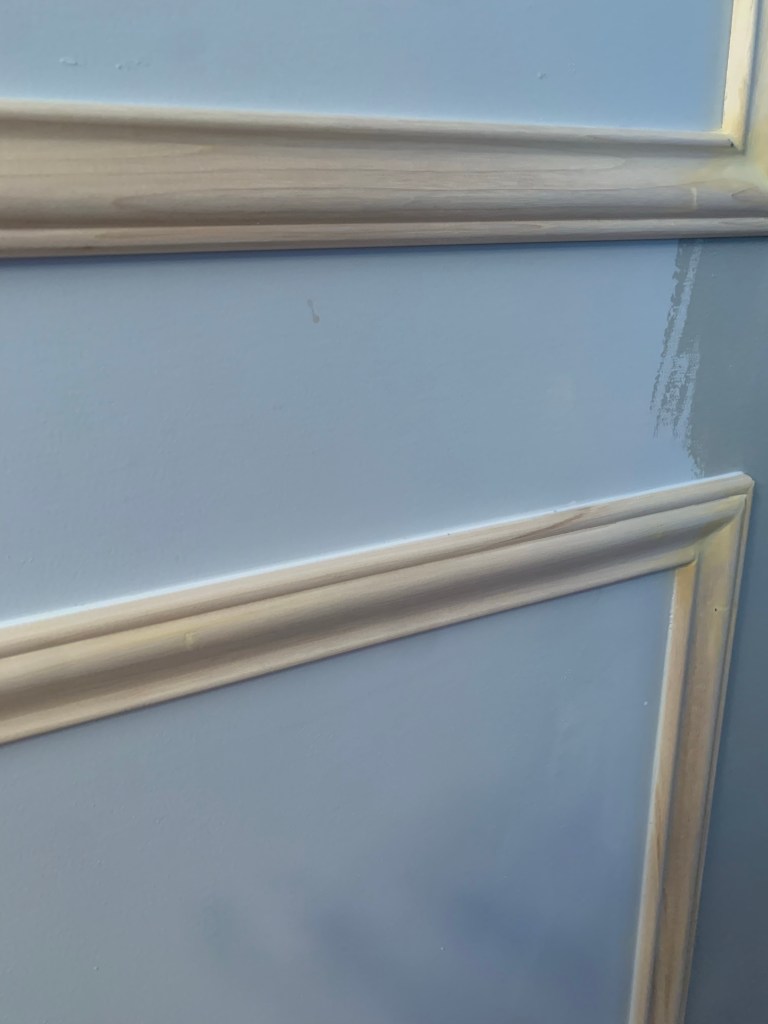
Once we had the trim cut, we used a level to add the trim to the wall and make sure it was even. I taped the trim up with painters tape because I wanted to make sure if we needed to make any changes or switches, we had the option to move things.
After the trim for all the boxes was in place, my husband nailed all the trim to the wall. I then filled all the divots from the nails and the seams of the corners of the boxes with wood fill. I used the color-changing fill by DAP so I would know when the fill was dry to sand it.
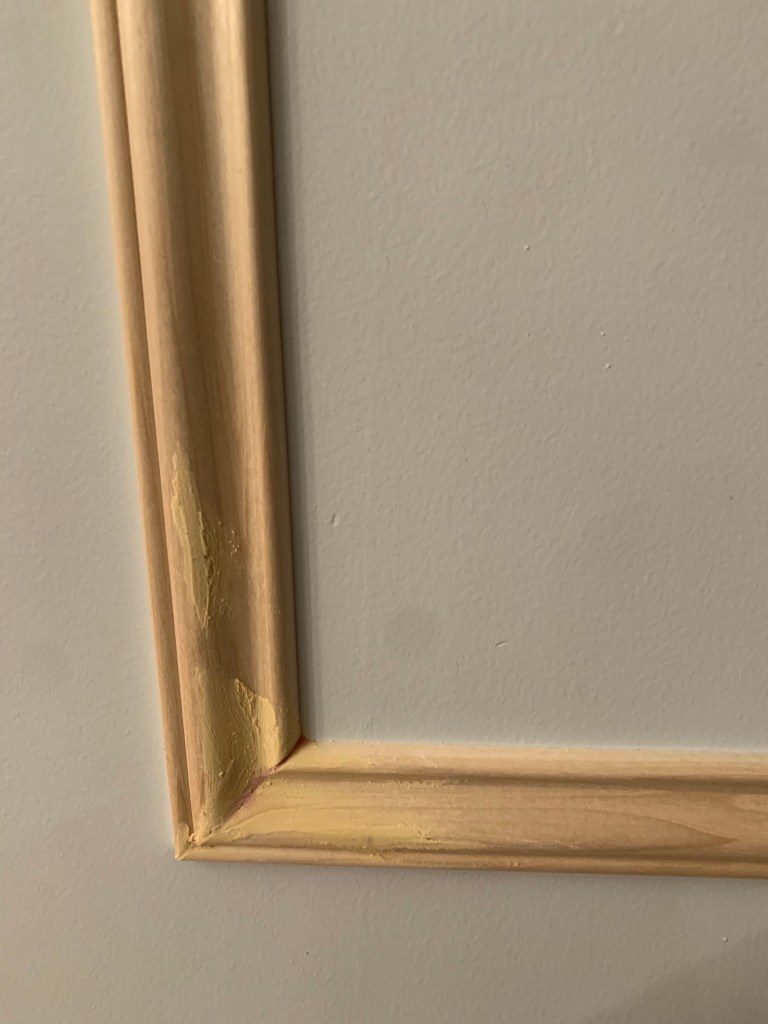
Once dried, I sanded all the fill to make it flush with the trim, then I began caulking the interior and exterior of all the boxes.
Once the caulk was dry I needed to prime the boxes. I decided to try something different and use spray paint primer. The application was easy and quick, but the smell was terrible. Luckily we had planned to be out of the house the weekend I used the primer. We kept the back slider open as well as the windows for ventilation. It took a total of two days for the smell to dissipate. For future projects I will stick to paint primer.
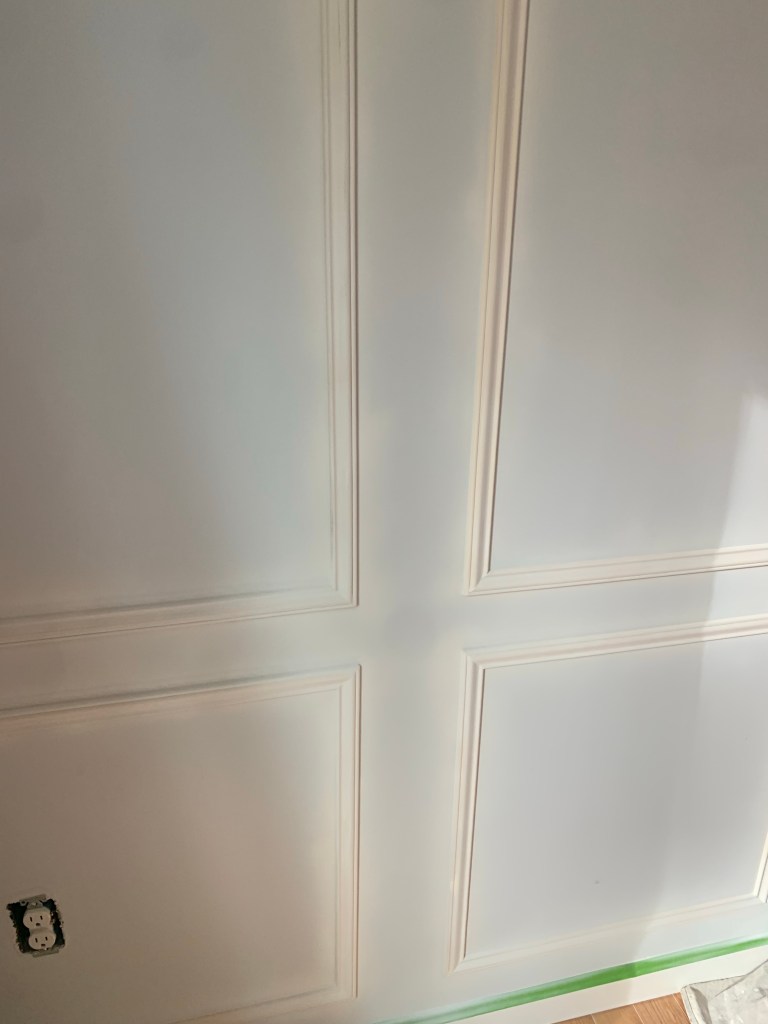
After priming the trim we painted the wall with two coats of paint. I used the same paint I have been using throughout our home – Cumulus Cloud by Benjamin Moore.
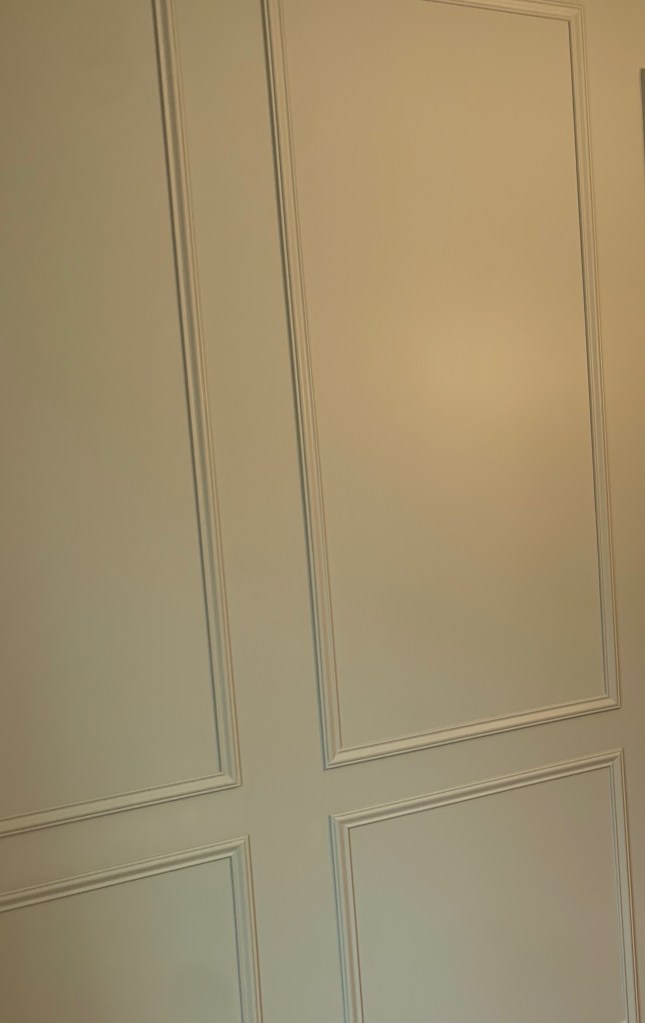
I truly like the way the box molding turned out. It was an easy project to complete. Definitely a DIY anyone can do.
Discover more from ENAMOUR
Subscribe to get the latest posts sent to your email.

Looks awesome you guys did a great job
Thanks so much! I’ll be sharing the full reveal later this week 😊