

The past two months of transforming our hallway have been dedicated to artwork, and frame selection for the hallway.
Since moving to our new home. The At Home store has been my go-to for finding affordable frames. Most of the frames already had artwork in them. So, I take them apart to add in my own art/photos.
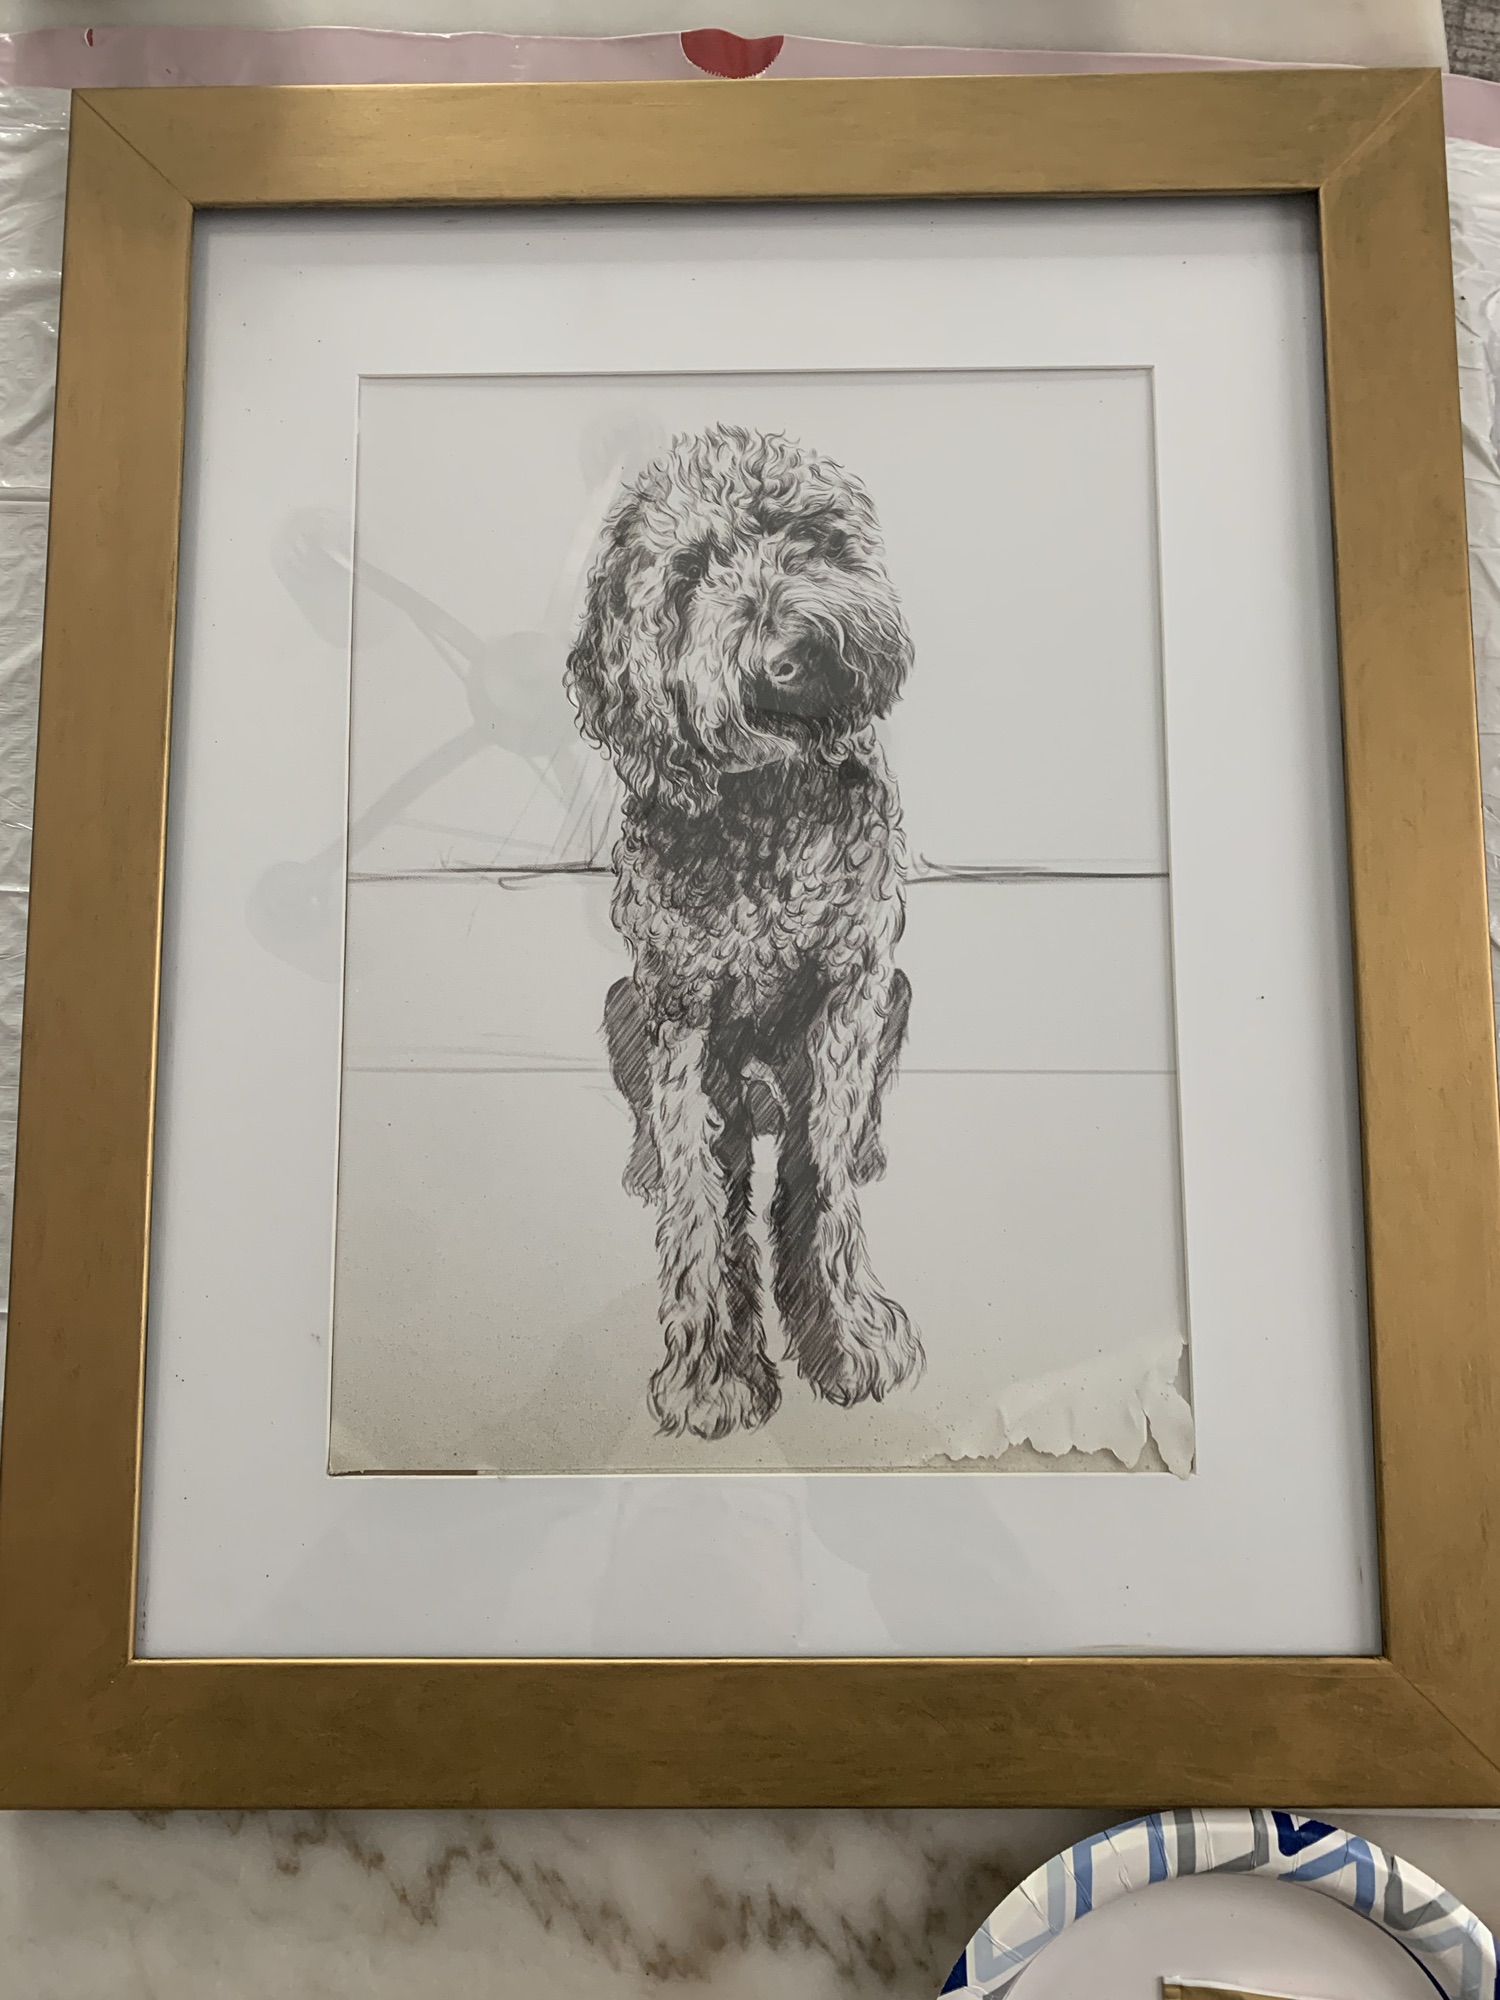
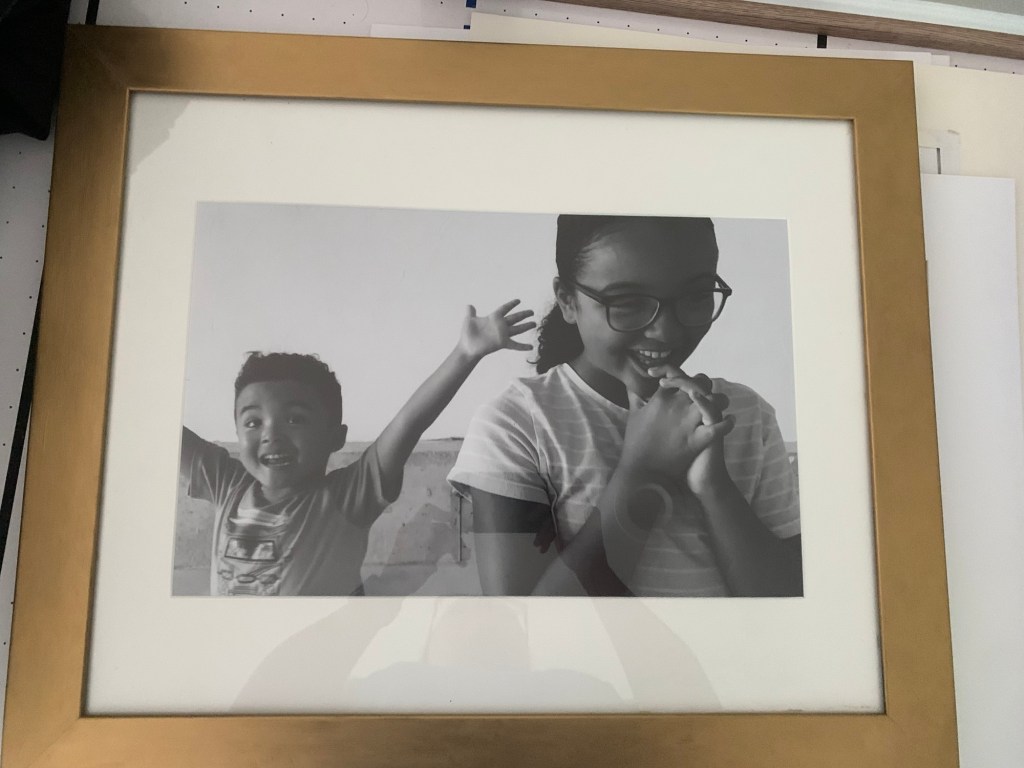
The frames I recently changed from black to gold all needed the artwork swapped out. I replaced the images of a dog with our family photos.
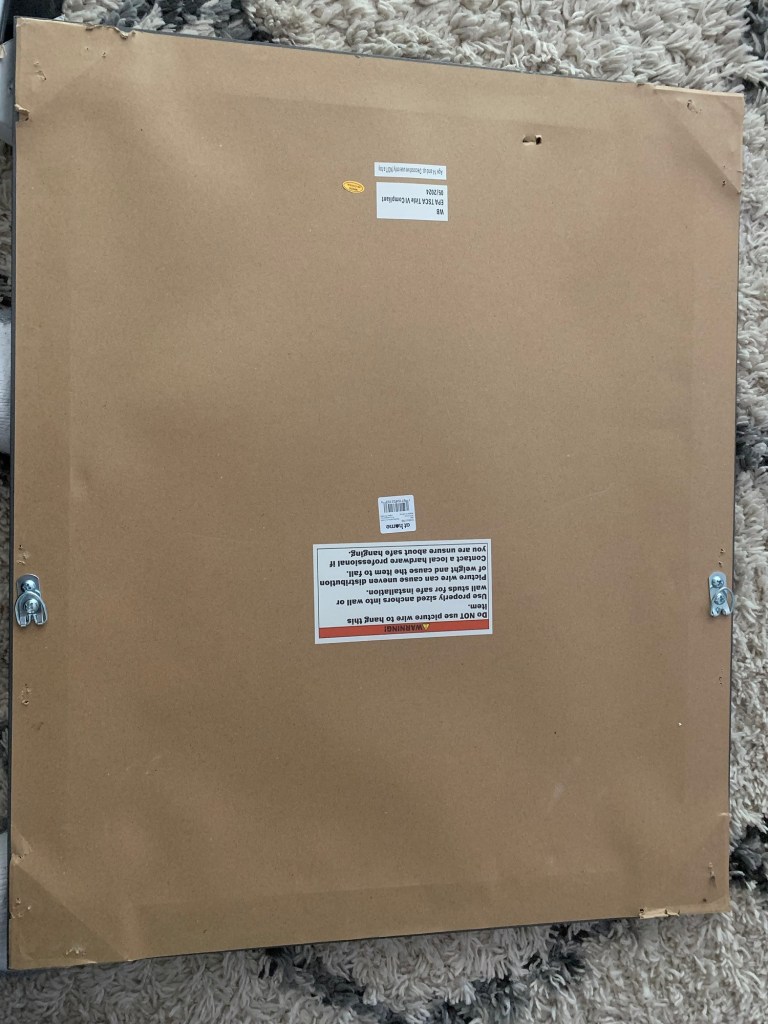
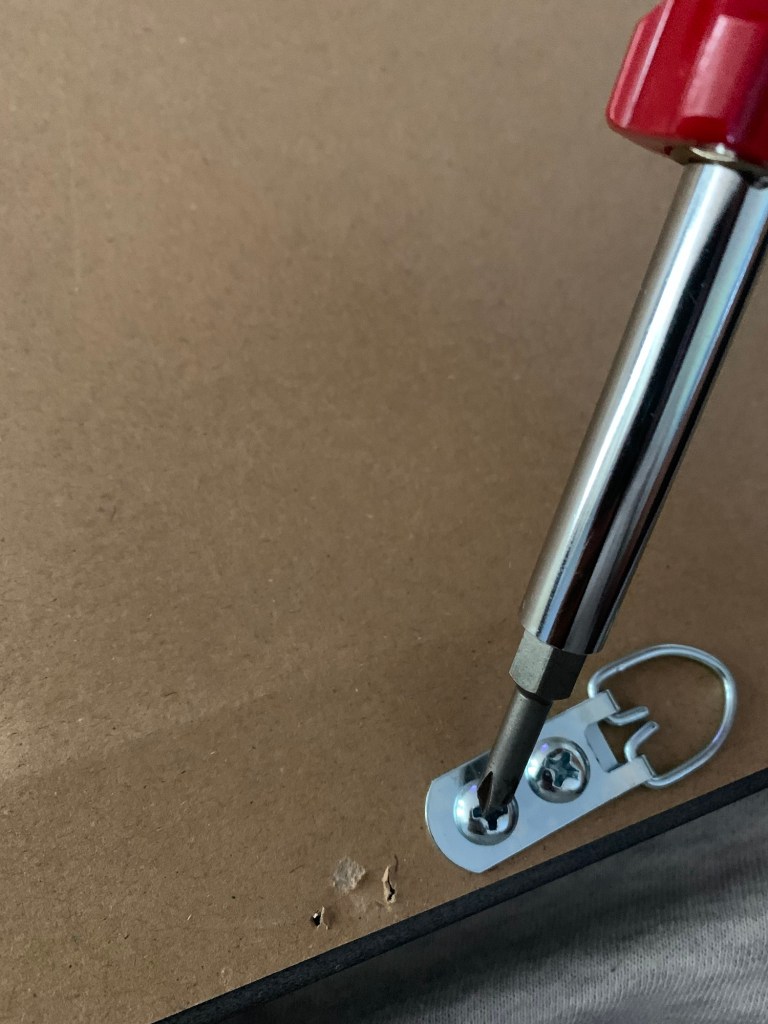
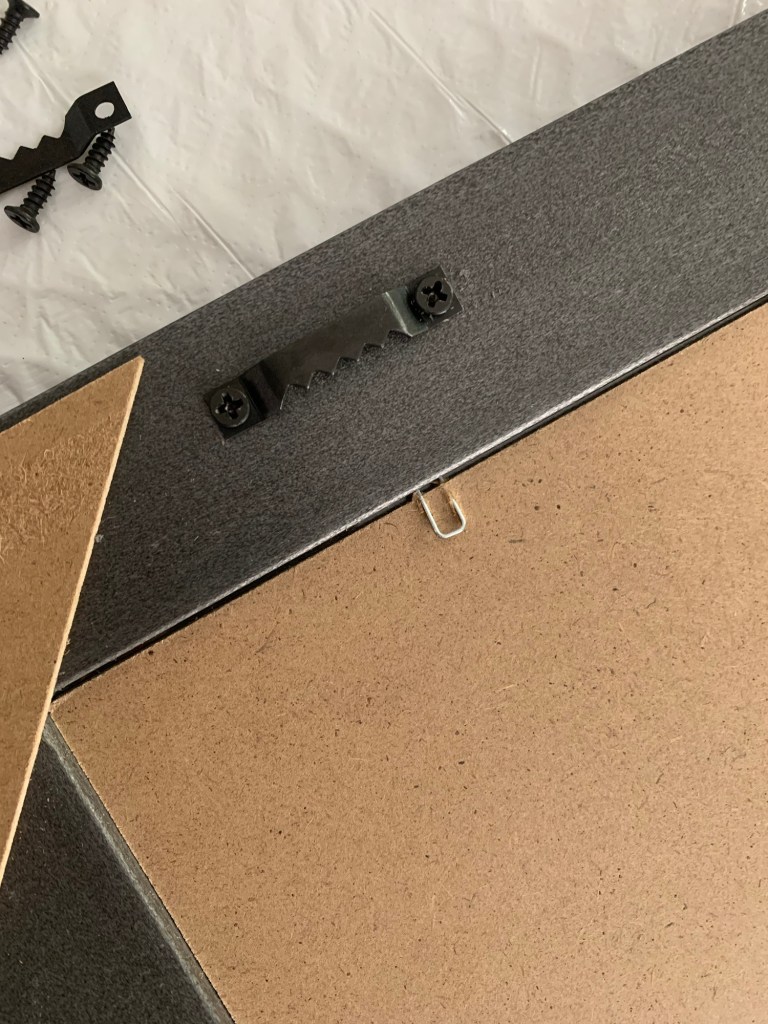
To take the frame backing apart all I needed were a Philip head screwdriver and a Flathead screwdriver.
I used the Philips head to take the hooks for hanging the frame off.
Once the hooks are off, peel away the craft paper backing. This backing is usually secured with double sided tape. So, it’s not too difficult to take off.

Once the paper backing is off, I used the Flathead screwdriver. I removed all of the extra staples from the frame.
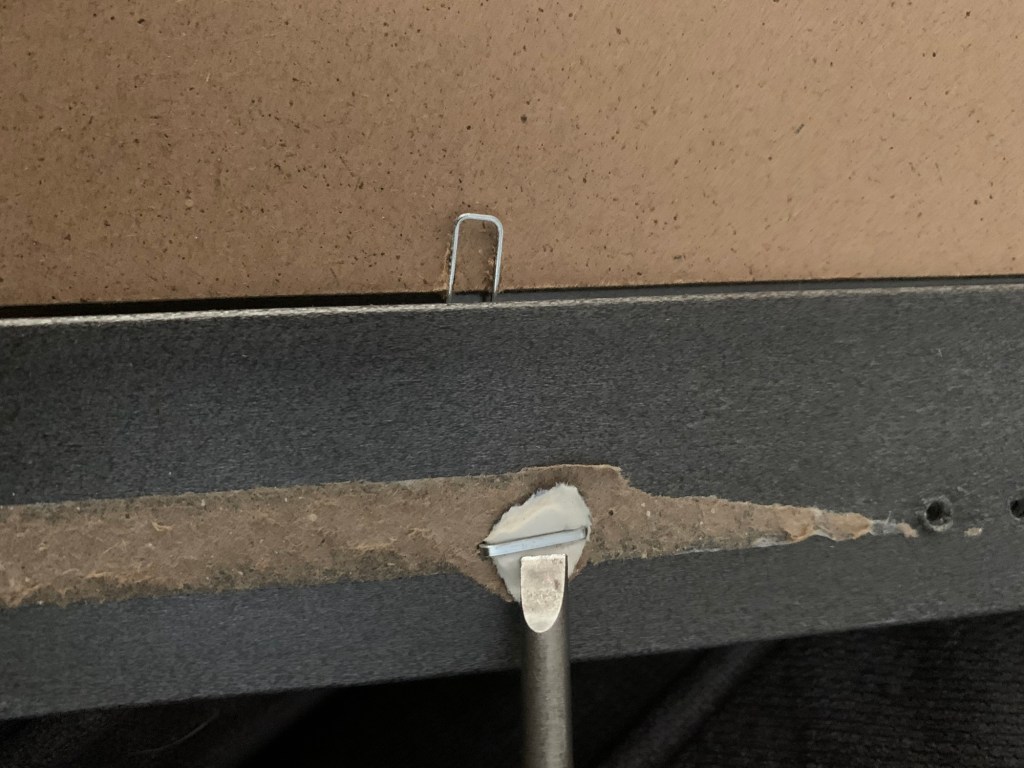
Then with the same screwdriver lifted the prongs up to take out the artwork, mat and board backing.

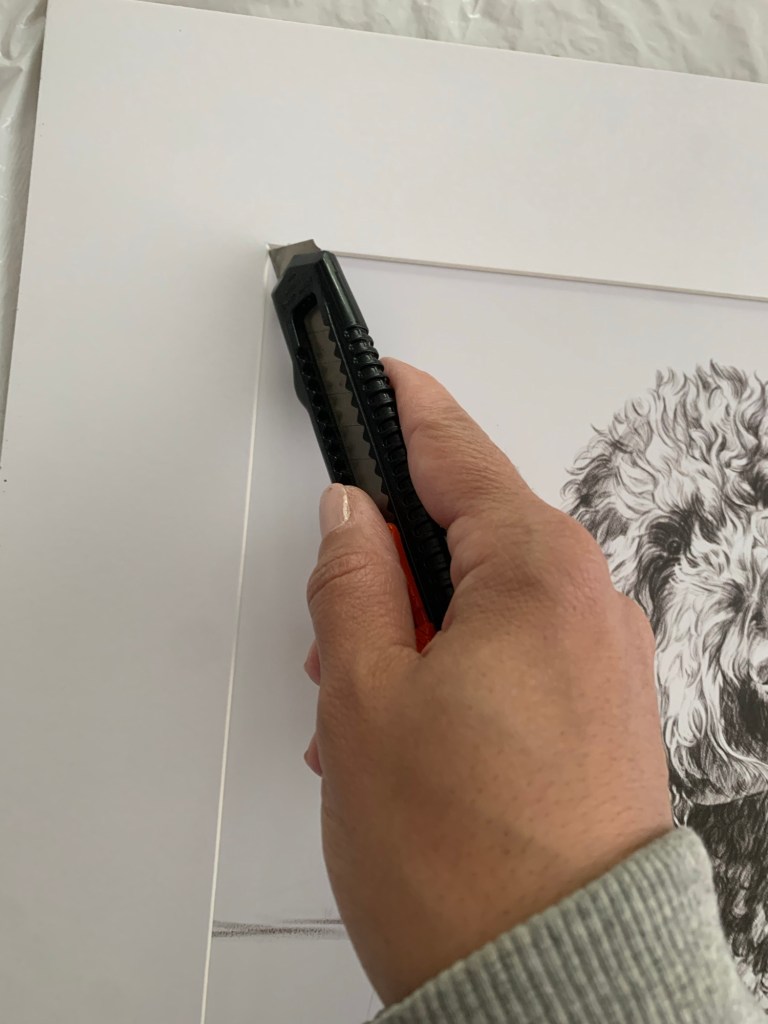
In some instances, the artwork will be taped to the mat. If it is, use a utility knife, or Exacto knife to cut the artwork away from the mat.
After, add the new photo/artwork into the frame with the mat and backing. Close the prongs and add hooks back onto the frame. You can use the ones that come with the frame. I add my own hooks.
Now to get the frames hung on the wall. One down three to go.
Discover more from ENAMOUR
Subscribe to get the latest posts sent to your email.
