

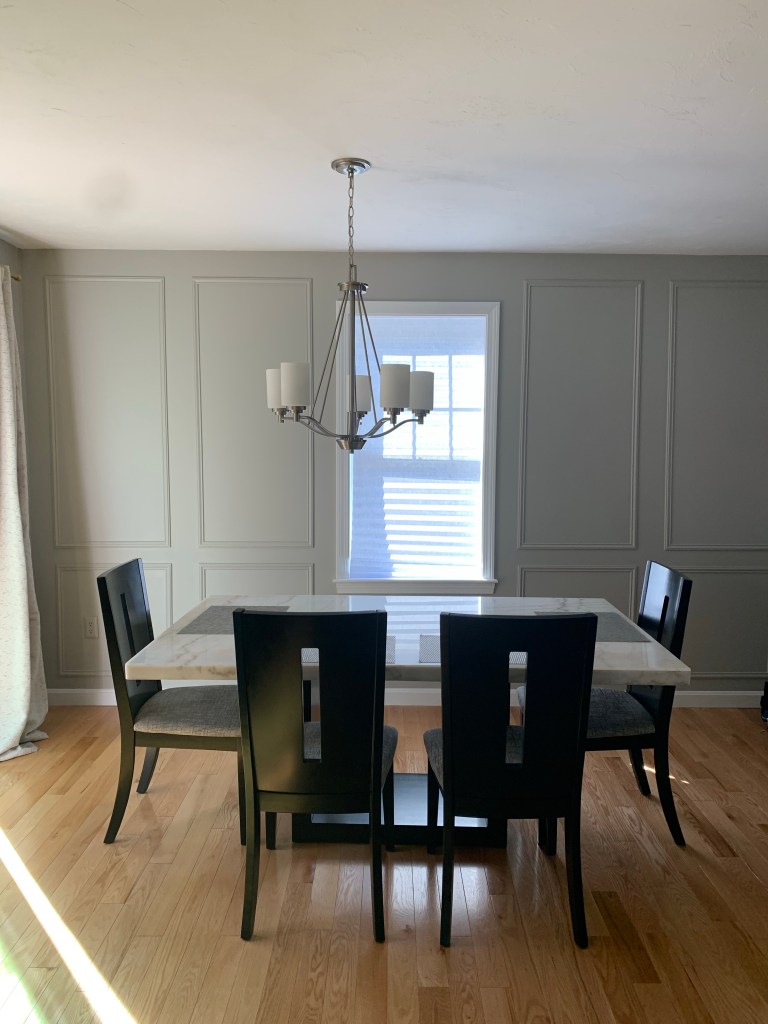
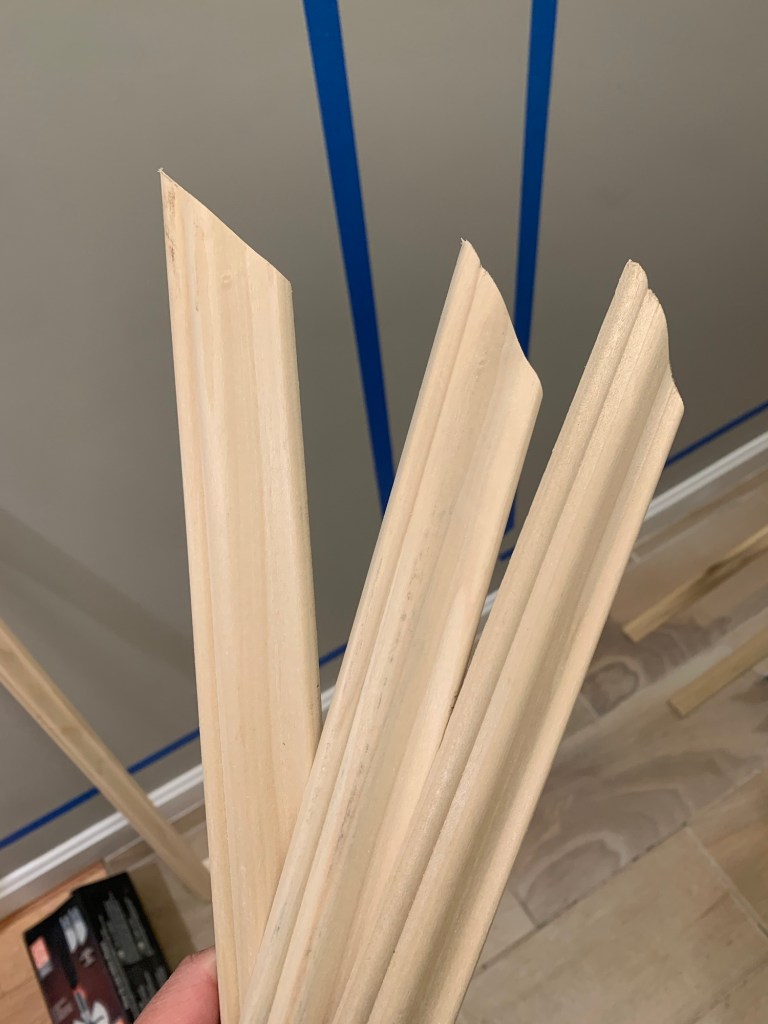
Week two of the One Room Challenge is finished and here is the recap. This week I added box molding to the hallway wall. If you remember the box molding we added to the dining room last year, it will look similar. I want the style of molding to be simple, because I don’t want it to detract from the photos I plan to add to the hallway walls.

Below are some inspiration images of some ideas I like for the hallway. I want the hallway to feel grander, have photos and additional lighting.

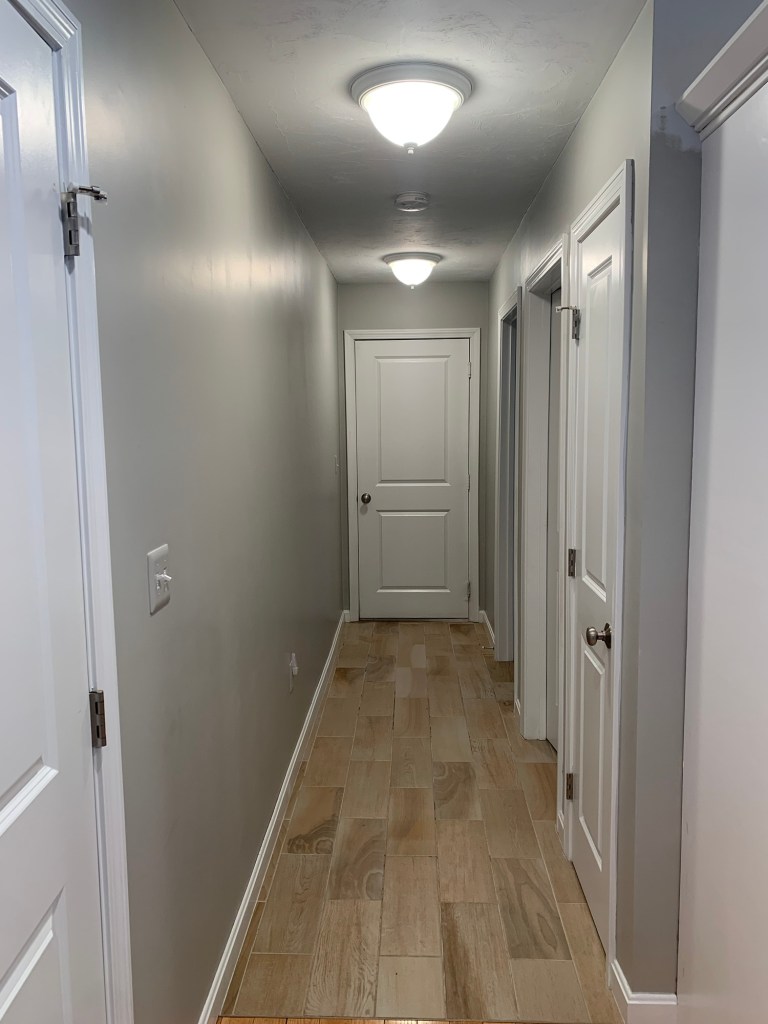
To give the illusion of a grander hallway, I want to add tall picture molding boxes to the wall. This will draw the eye up and allow the hallway to feel higher.
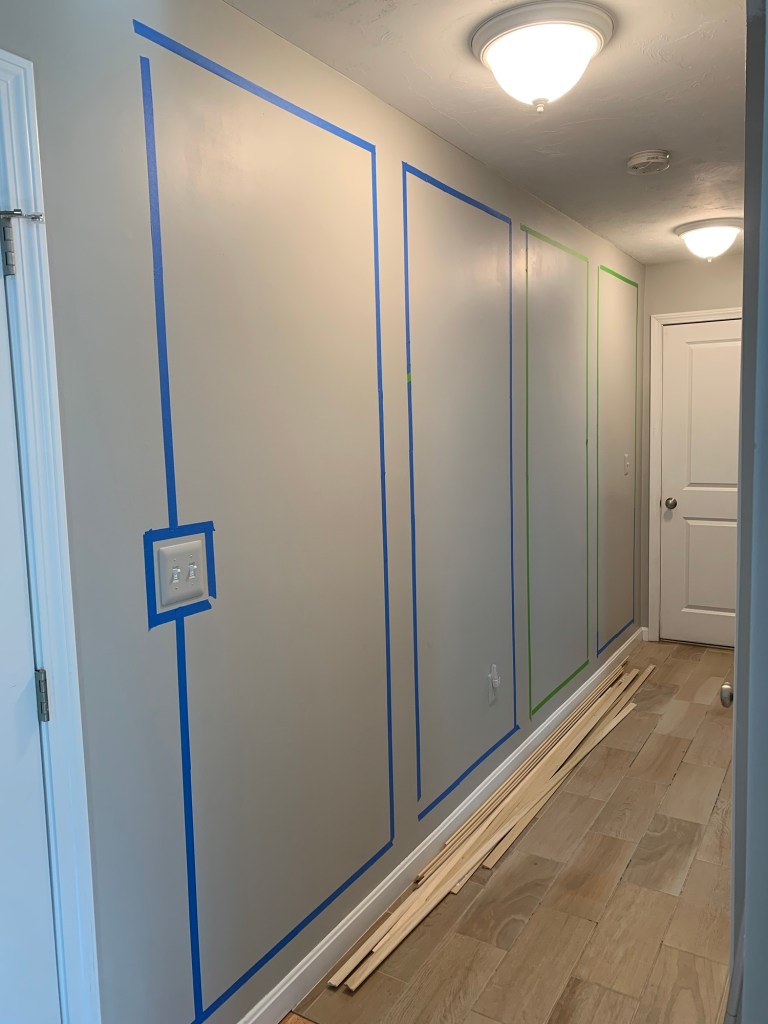
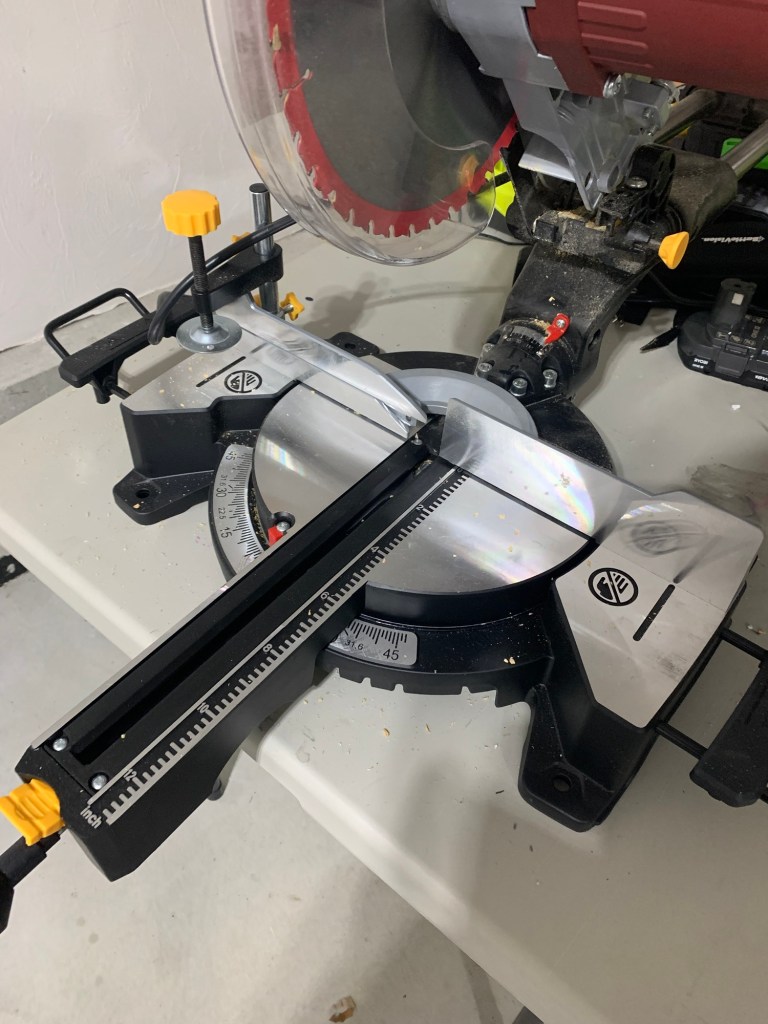
To start, I taped the measurement of the boxes to the wall. Then Cruz used our newly purchased miter saw to cut all of the straight and angled cuts. After that, I began to add the molding to the wall.
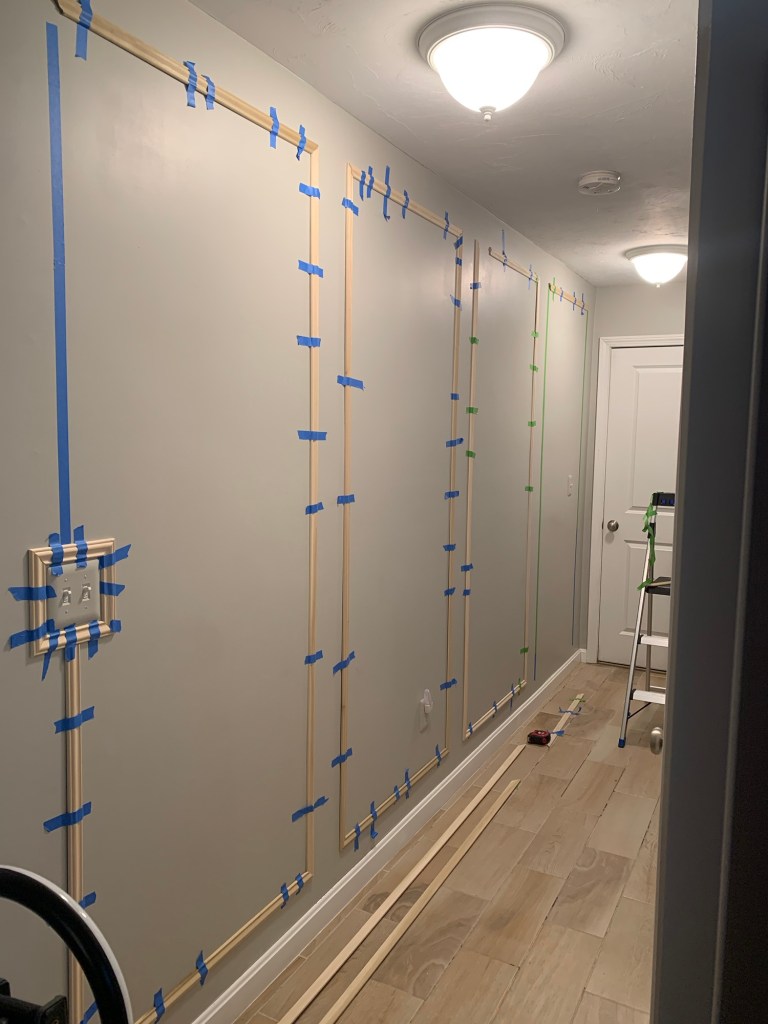
I always tape the molding to the wall first to make sure all of my measurements are correct. Then nail them into place.
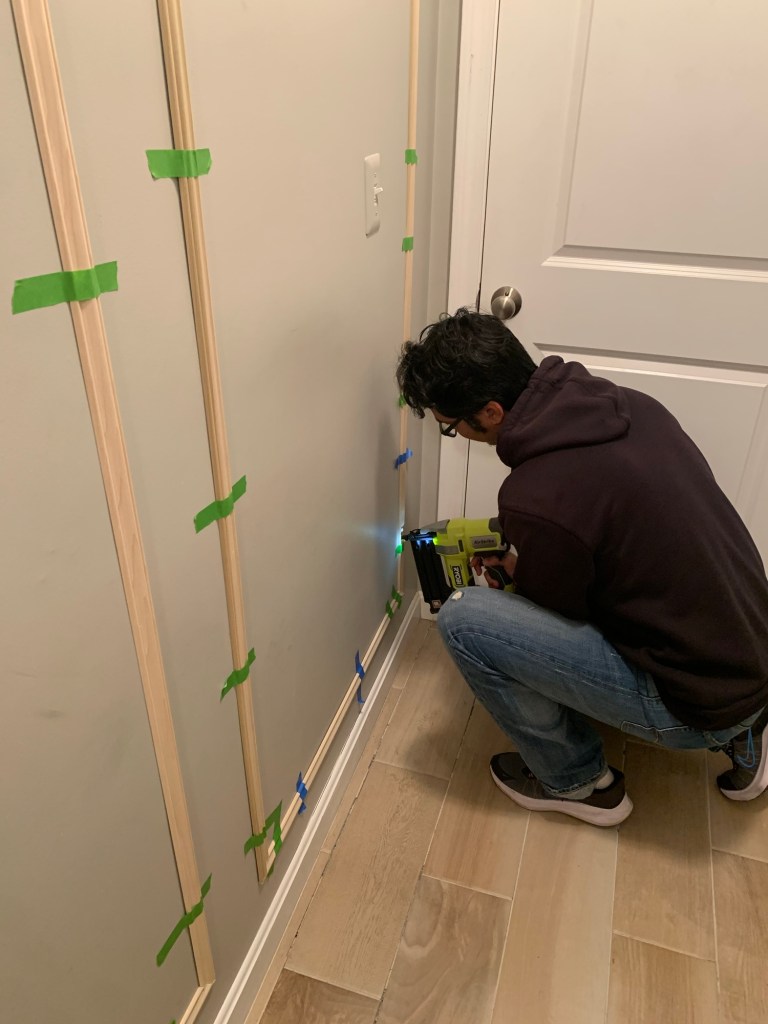
I haven’t even painted them yet and I already love how they turned out!

Next, I will be prepping the boxes for primer and paint.
Discover more from ENAMOUR
Subscribe to get the latest posts sent to your email.
