

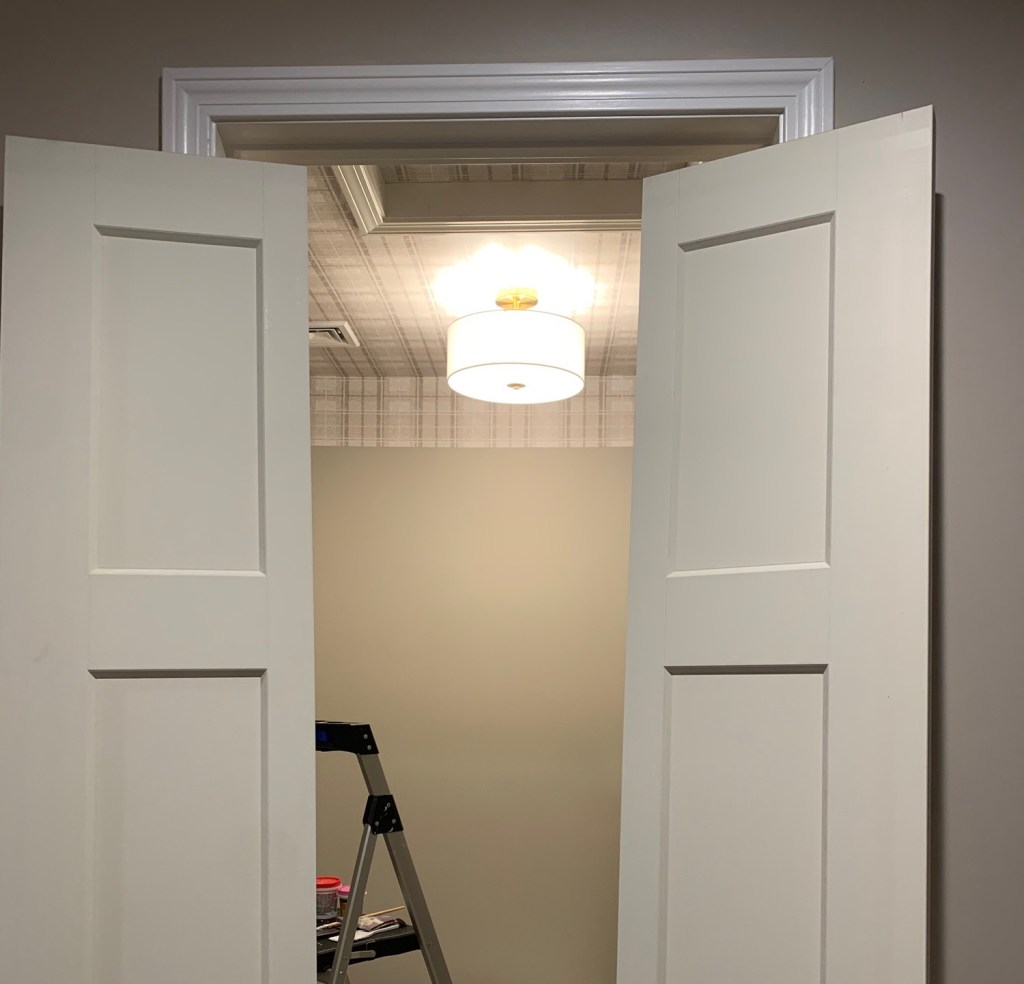
Now that the closet system is installed, I wanted to focus on the closet door.
If you’ve read my past blog posts, you’ll remember that the builder installed the closet door opening into the closet. This caused the door to cut off a lot of space in the closet and it was a hassle to walk into the closet and close the door or walk around it.

I shared in my previous post (HERE) that I had two options I was considering to replace the door. Option one was a mirror, and although I love the idea, and want to use it somewhere in our home, I feel the second option of a bi-fold door fits this space best.


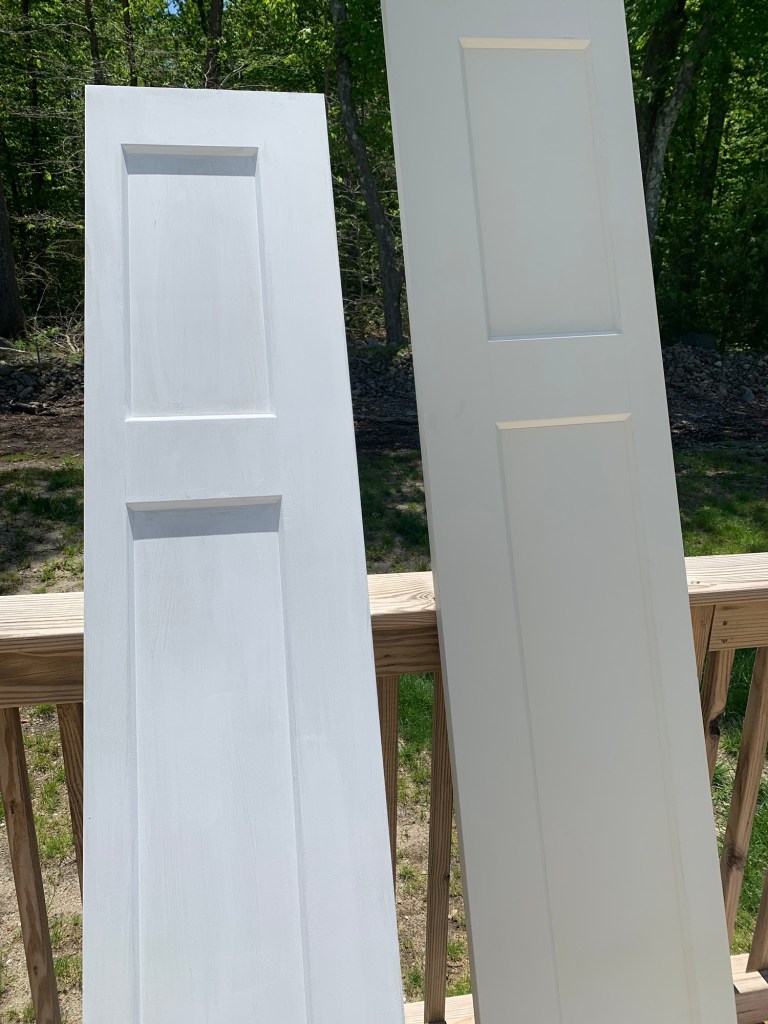
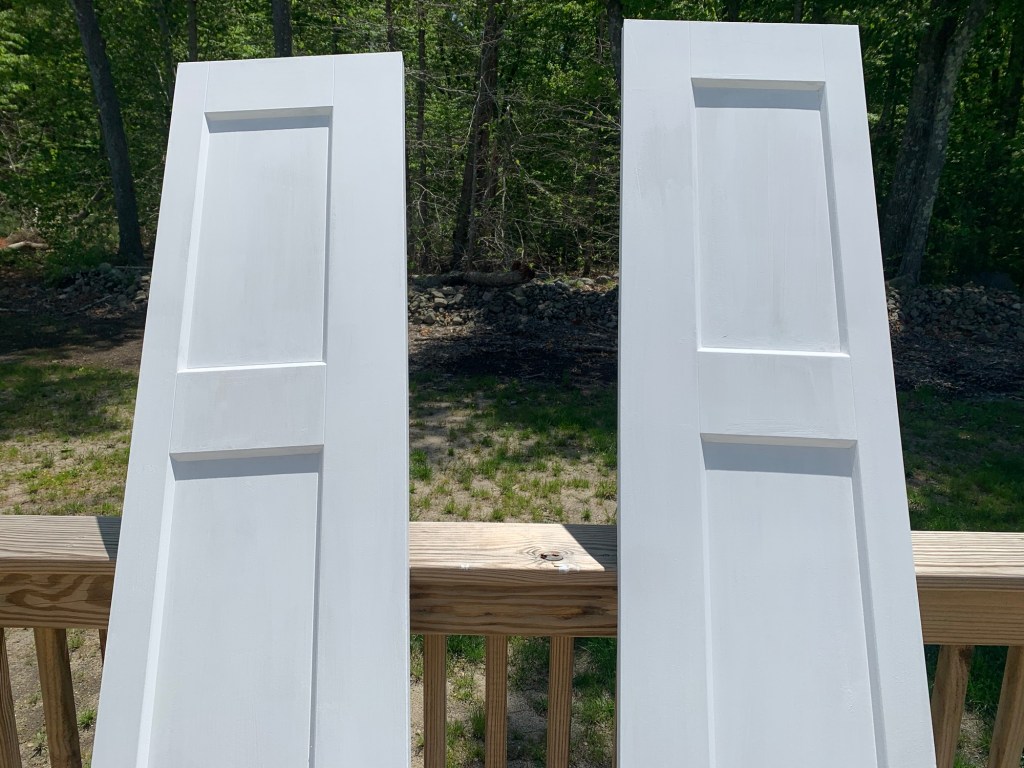
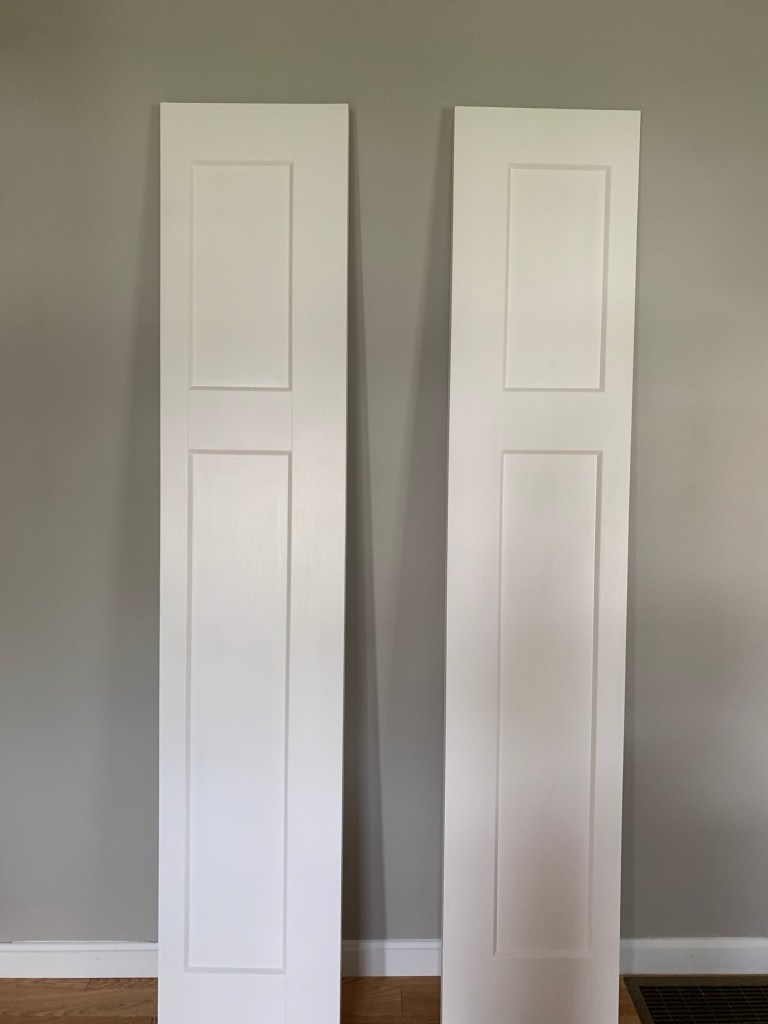
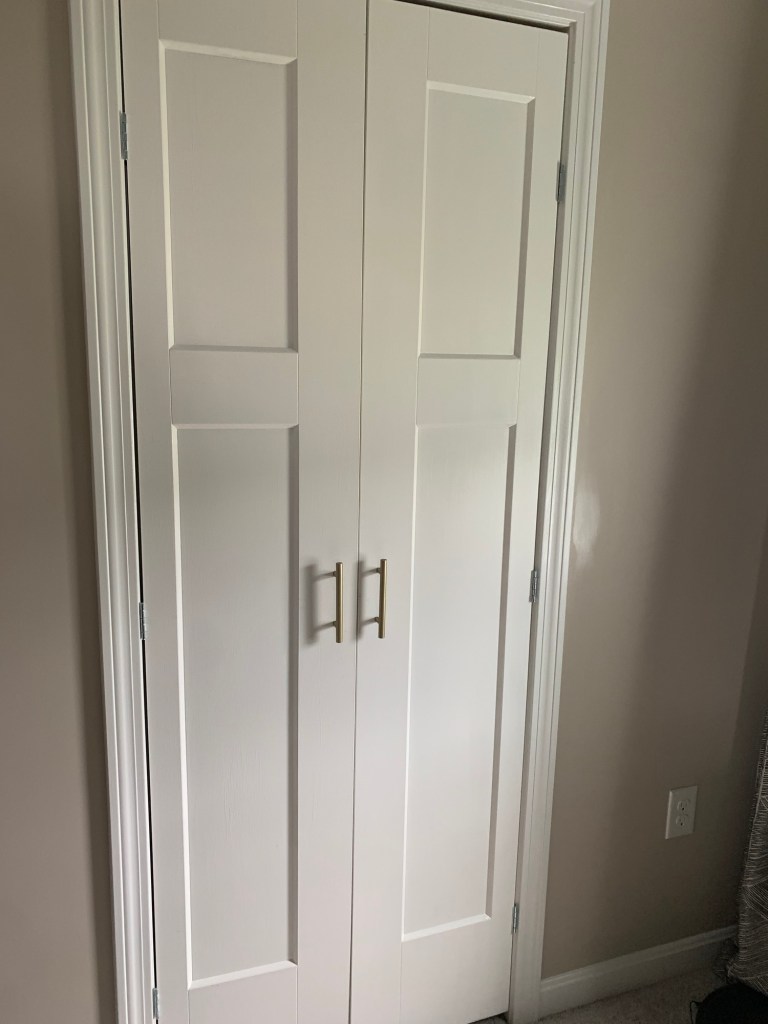
We purchased the unprimed bi-fold door from Lowe’s. I didn’t want to keep the door as is, because I want to have mini french doors as the opening to our closet. So I took the bi-fold door apart and primed both sides of the doors and then painted each door with two coats of white semi-gloss paint.
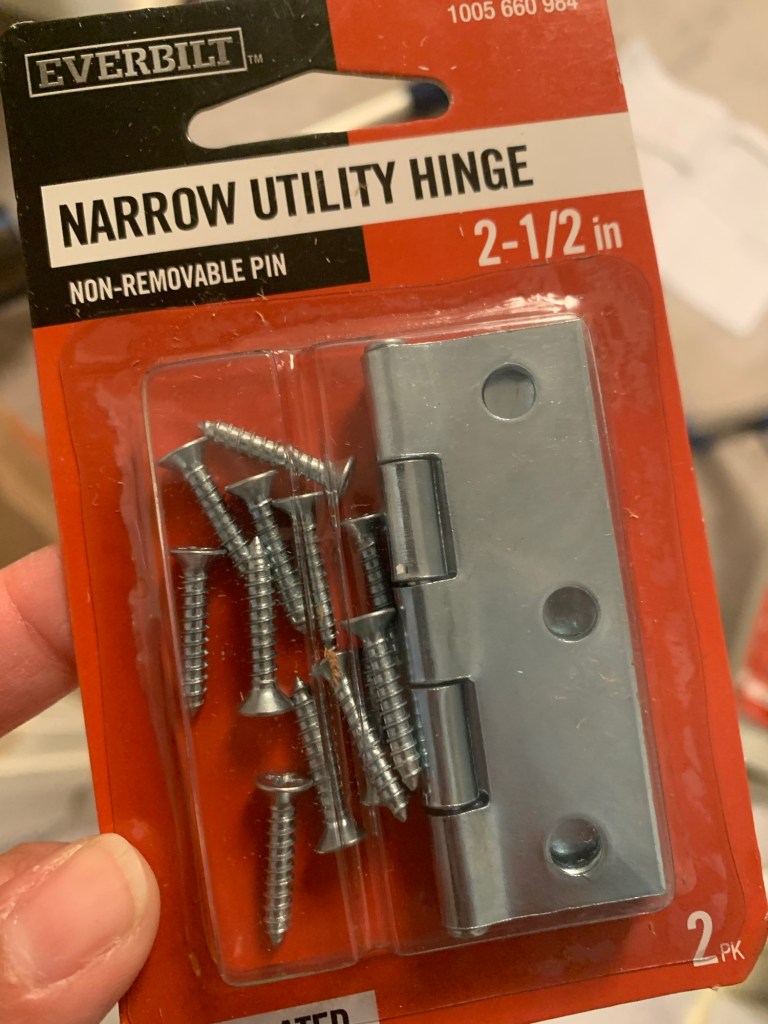
Once the doors were ready to hang, I measured the placement of the hinges on both doors. We decided on narrow utility hinges for a low profile, also since the doors are a lighter weight than the previous door, we didn’t have a need to use large hinges.
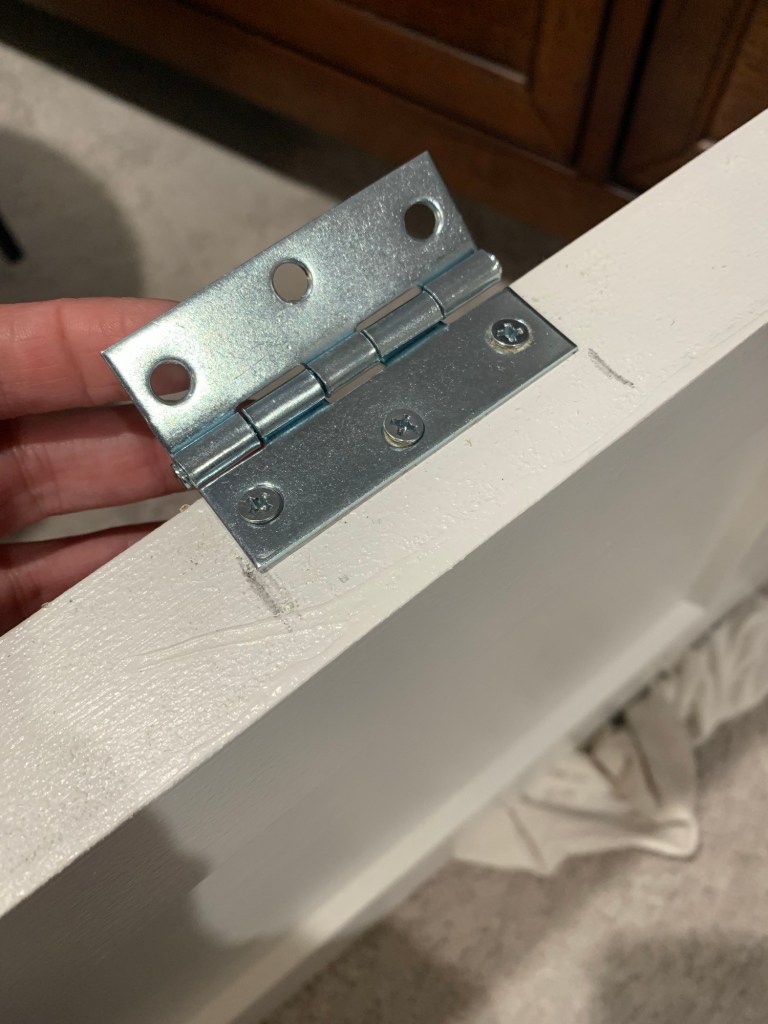
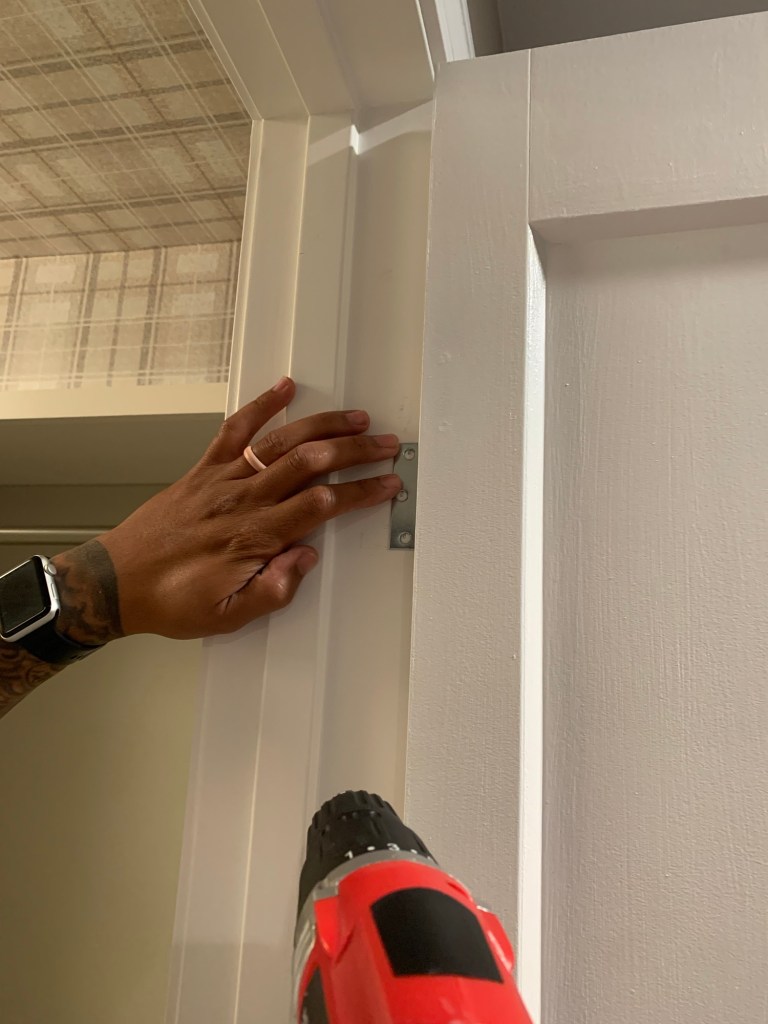
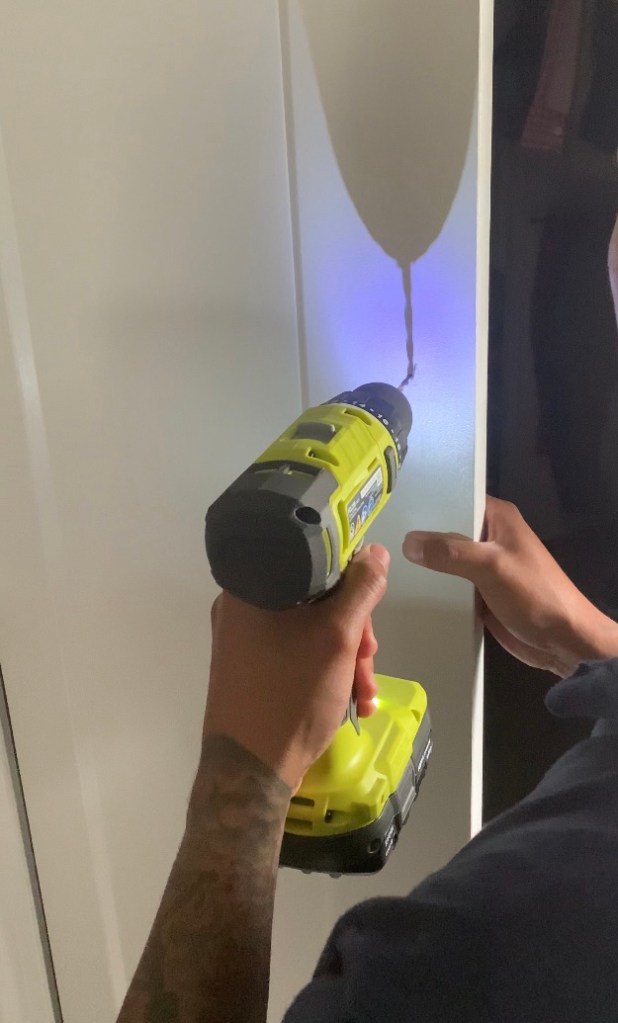
Once all of the hinges were secured to the door, I measured the placement for the hinges on the door frame and we added the doors to the frame.
Once both doors were hung, I marked the placement for the door handles. I didn’t purchase new handles, I used extra handles we had on hand and spray painted them with a gold finish.
The end result is exactly what I envisioned. We love the new doors and the added amount of space it’s given us in the new closet.
I can’t wait to share the full closet reveal soon, along with more images of the new doors in action!
A side note: our doors fit snugly in the doorframe, so we didn’t need to add a magnet and catch for the doors to remain closed. If you try this project and your doors have space or aren’t closing, you may need to add a magnet and catch at the top of the doors and the doorframe for a tight close.
Discover more from ENAMOUR
Subscribe to get the latest posts sent to your email.
