

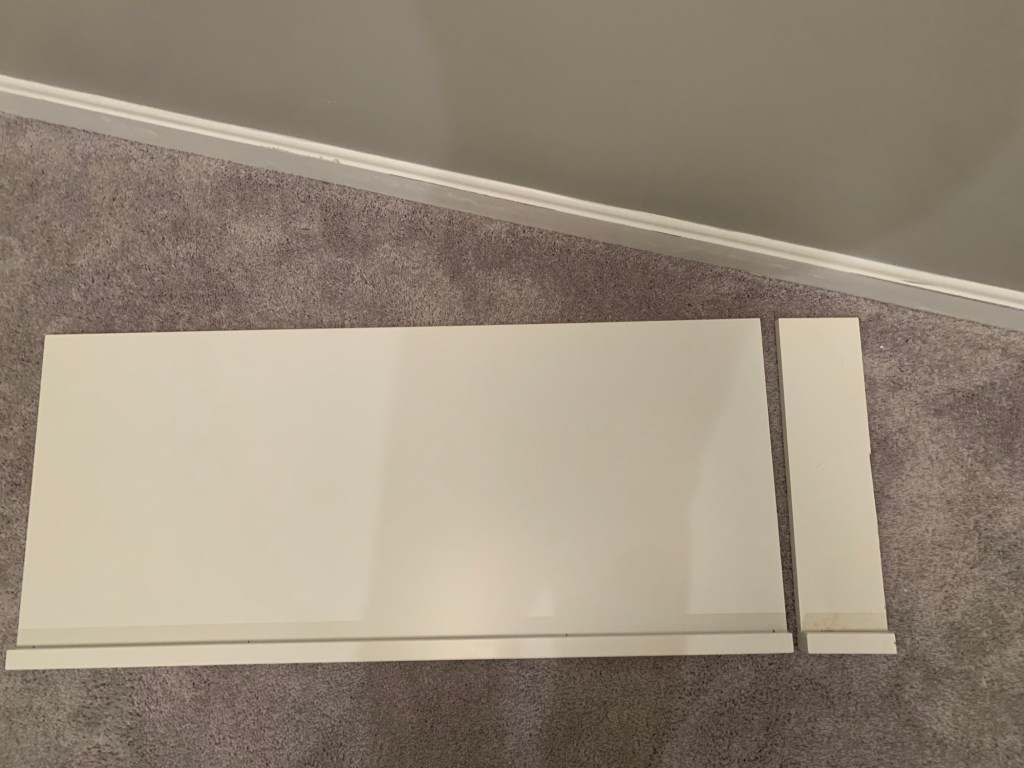
The most frustrating part of the closet installation was the shelving. The original plan was to mount the towers in the center of each wall and create a symmetrical layout. But the placement of the studs in the wall, meant that idea was out the window. Because we didn’t want to create a new bracket for the wall, we mounted the towers off center and then needed to cut two shelves down and extend two shelves.

Luckily the excess we trimmed off the two shelves was the exact amount we needed to extend the other pair of shelves.
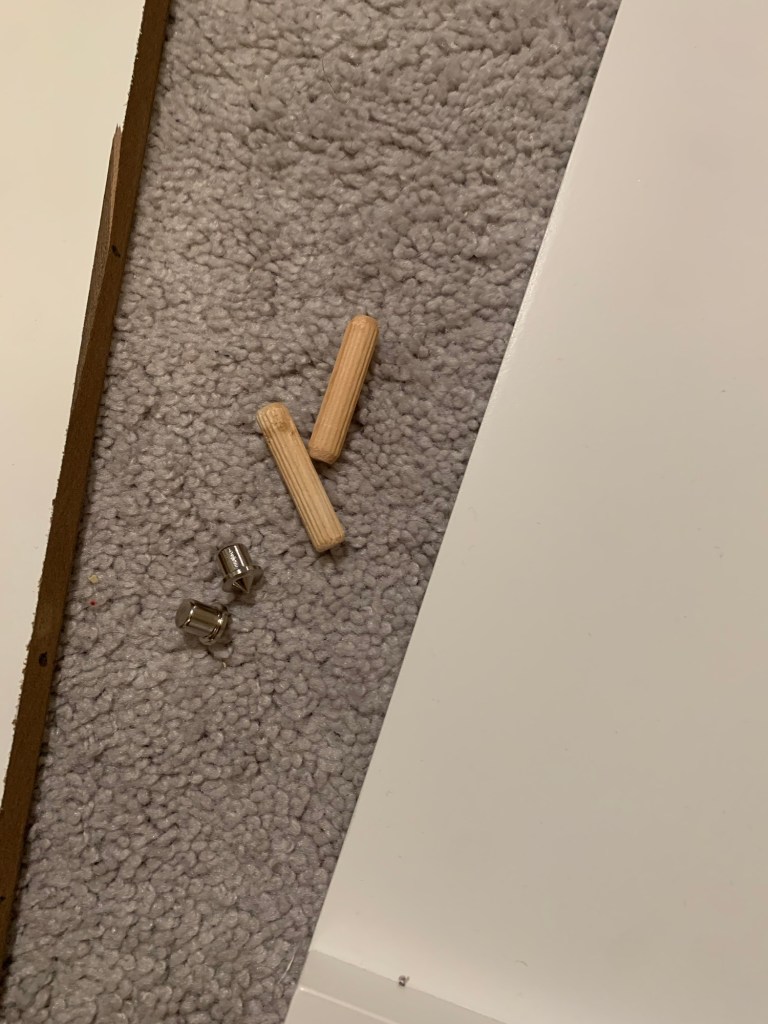
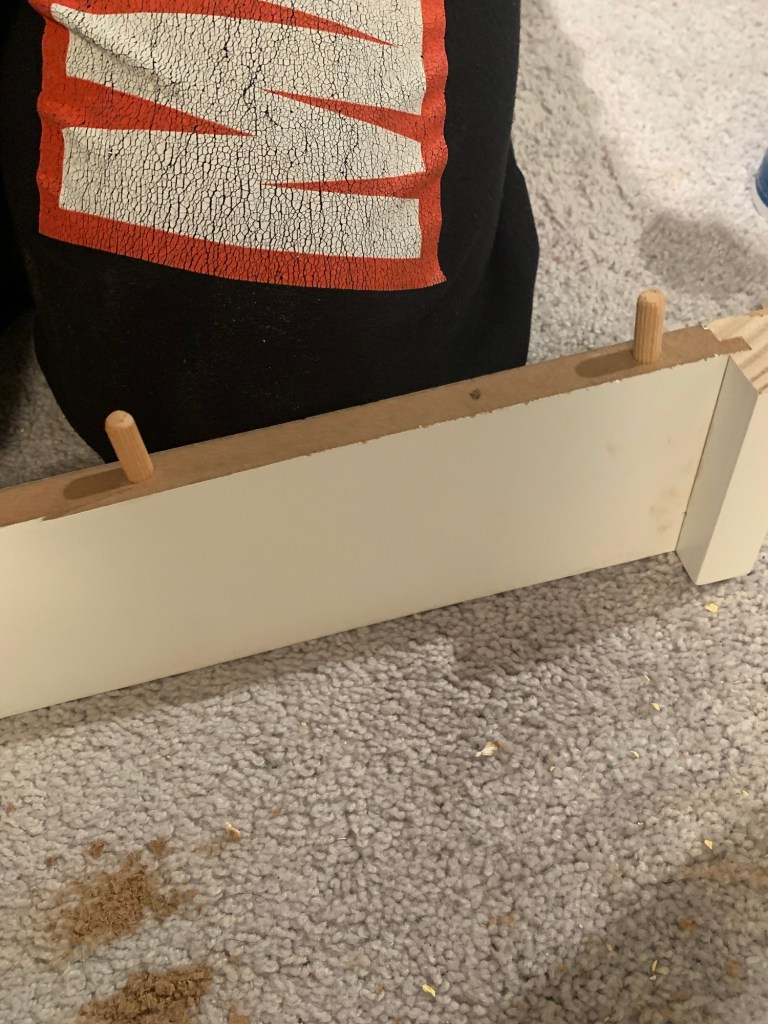
In order to extend the shelving, we needed to add in some dowels to create a firm bond for the two pieces of wood. To do this we purchased a dowel jig kit from Home Depot. It came with dowels, a drill bit and metal inserts to mark the dowel placement. and added in dowel holes to the shelf sides.
We measured the width of the board and placed markings equidistant giving us 3 dowel placements. Then we drilled the holes for the dowels.
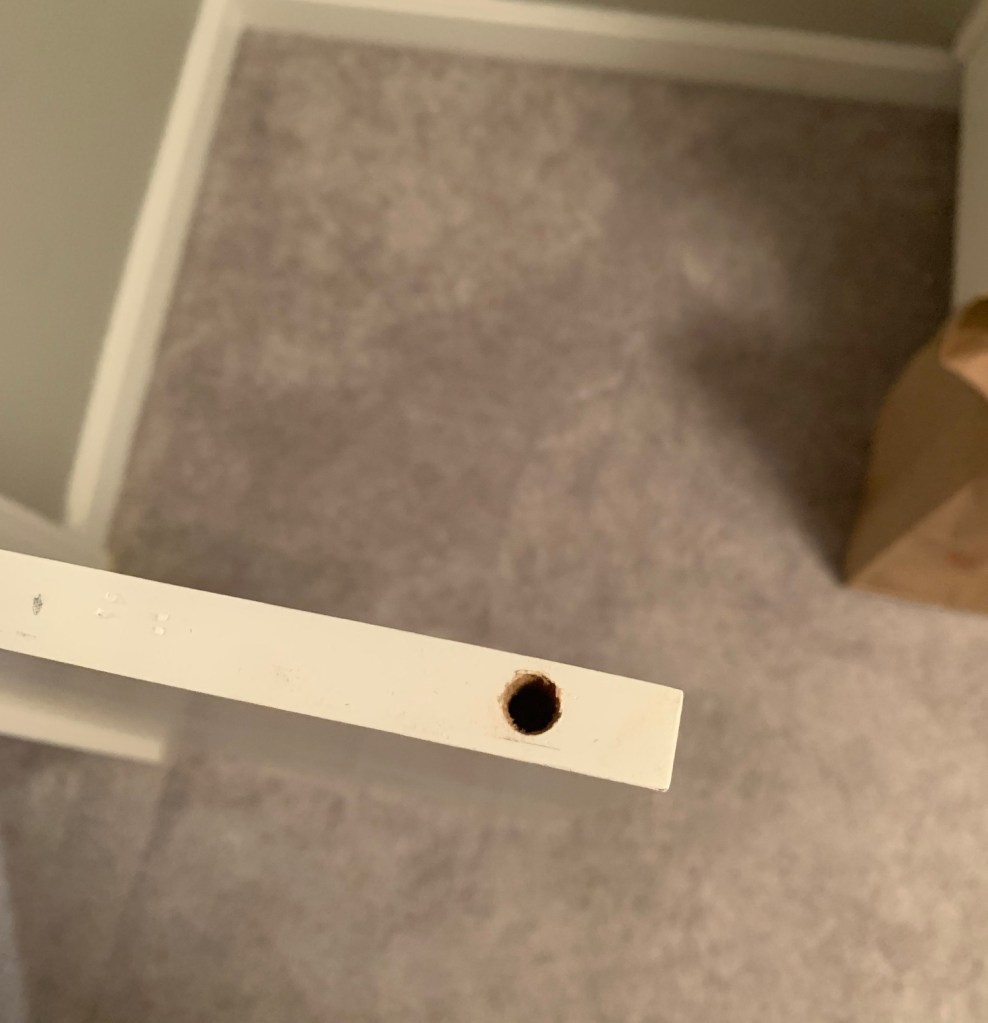
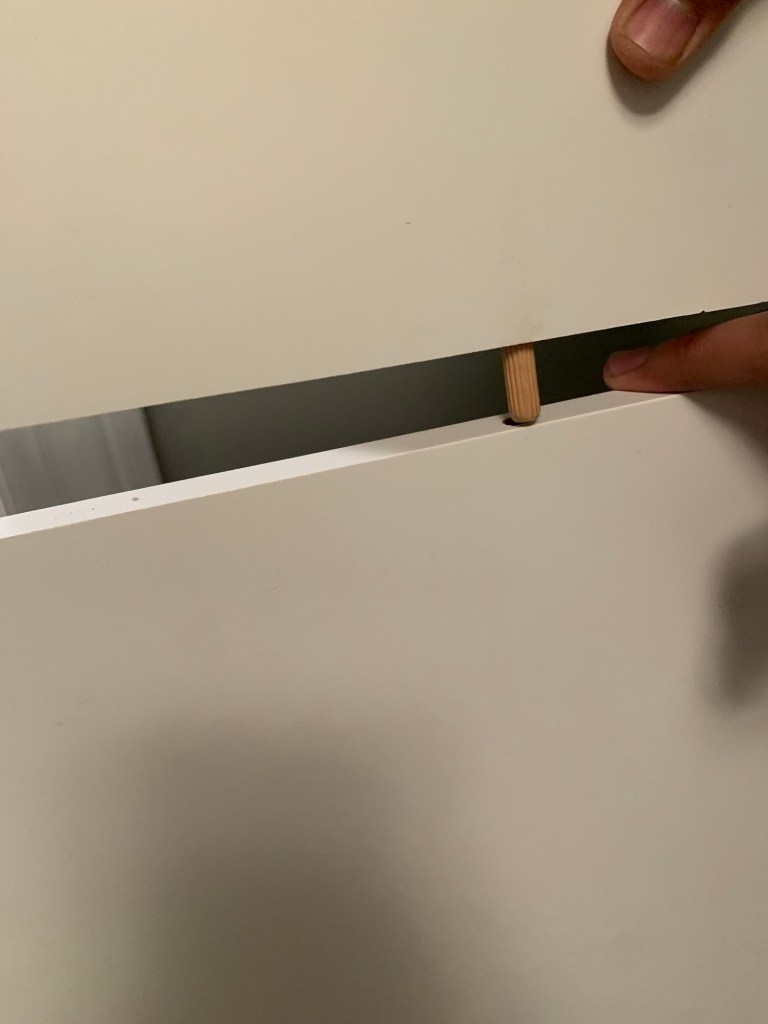
Once the holes were drilled we added in the metal inserts and placed the other shelf onto the seam to mark were to drill the holes on the other piece of wood.
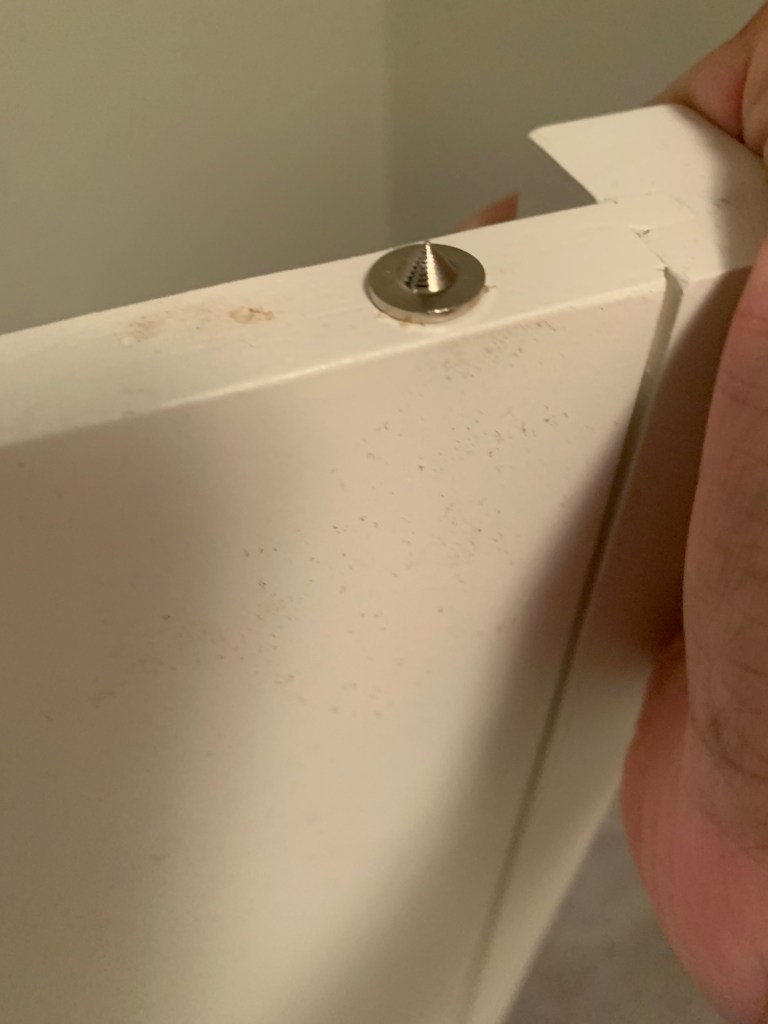
Then we added in the dowels to see how well they fit. Once we tested out the dowel holes, we added wood glue to the shelf sides and the dowel holes and placed the dowels into each hole connecting the two pieces of shelving to create one longer shelf.
I let the wood glue dry for 24 before I added wood fill to the seam to even it out and make it flush with the shelf. After the wood fill dried and I sanded it, I still didn’t like how it looked, so I added on some plaster.
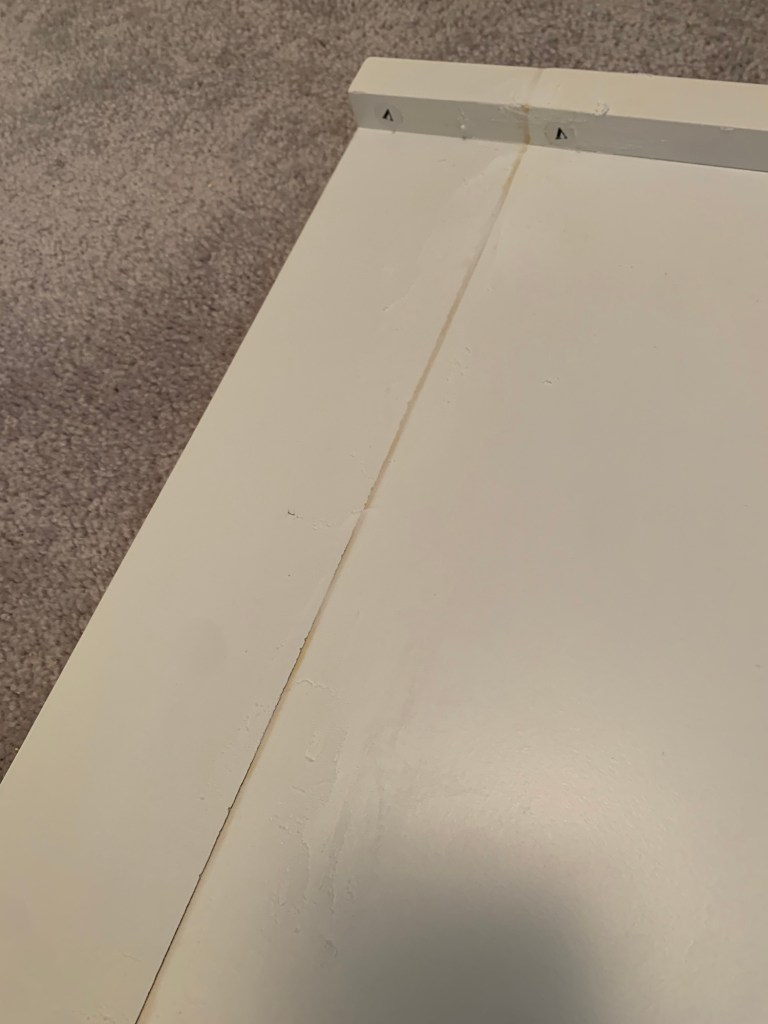
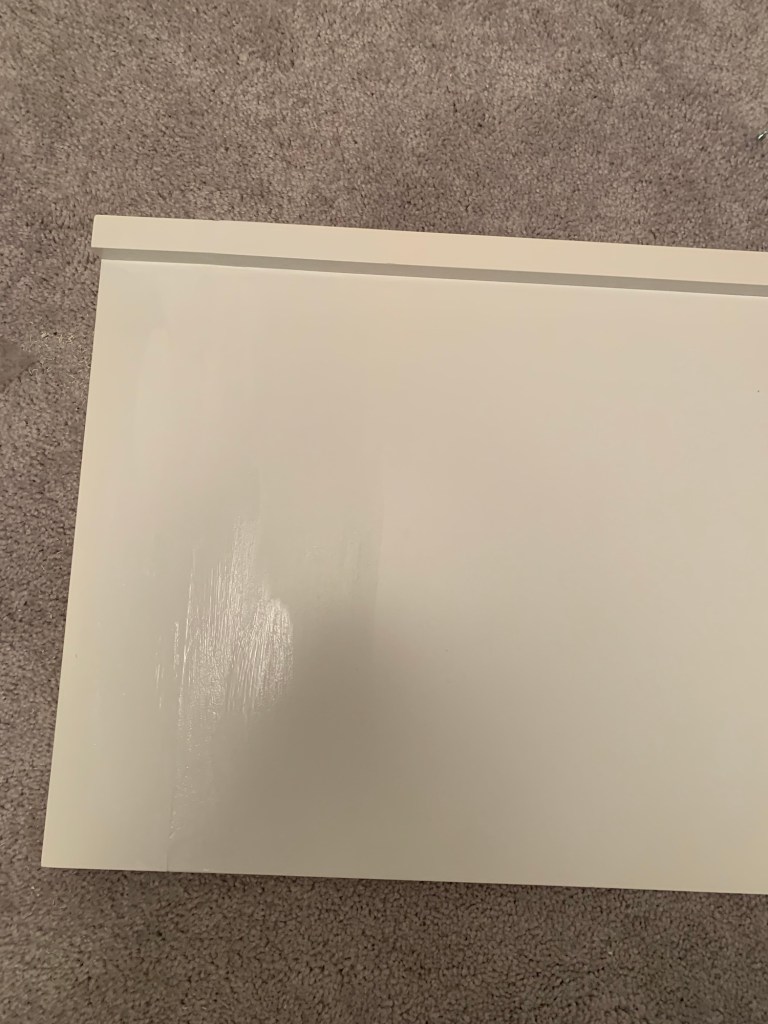
Once the plaster was dry, I sanded the shelf and liked the look of it a bit better.
I added 2 coats of paint and repeated this process on the front and back of both shelves.
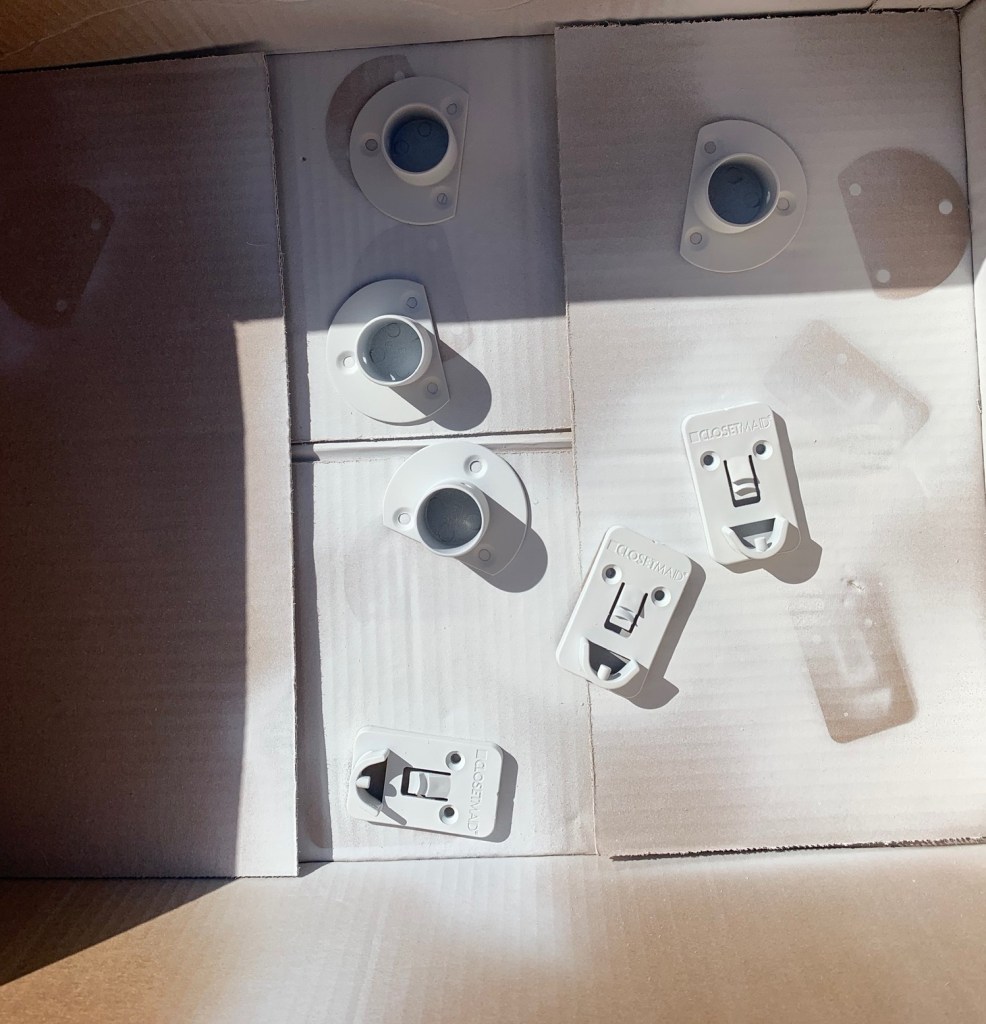
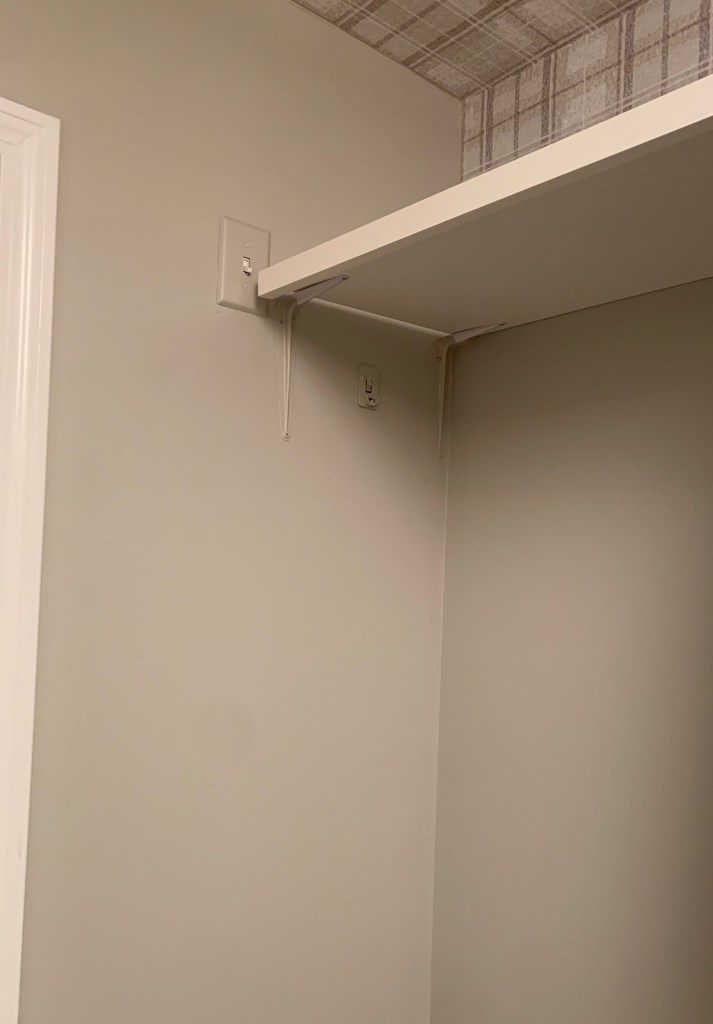
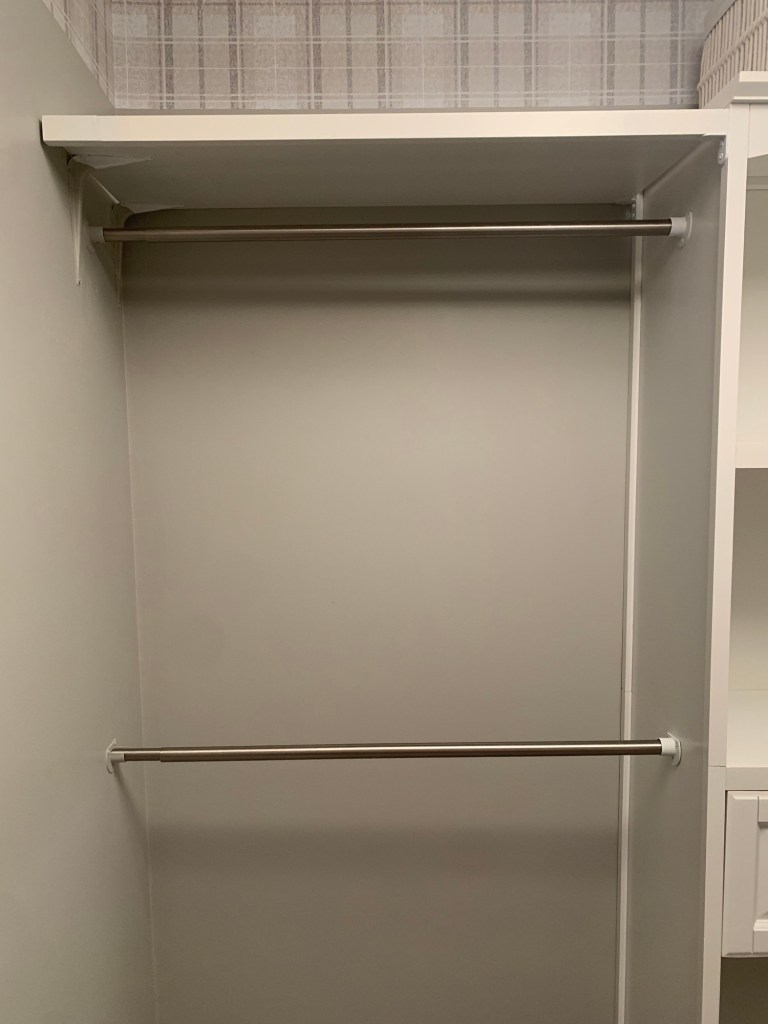
On the shorter side, we had to change out the mounting brackets to allow for the attic light switch to function. I wasn’t too worried about the longer brackets, because I planned on painting all of the brackets and holders anyway.
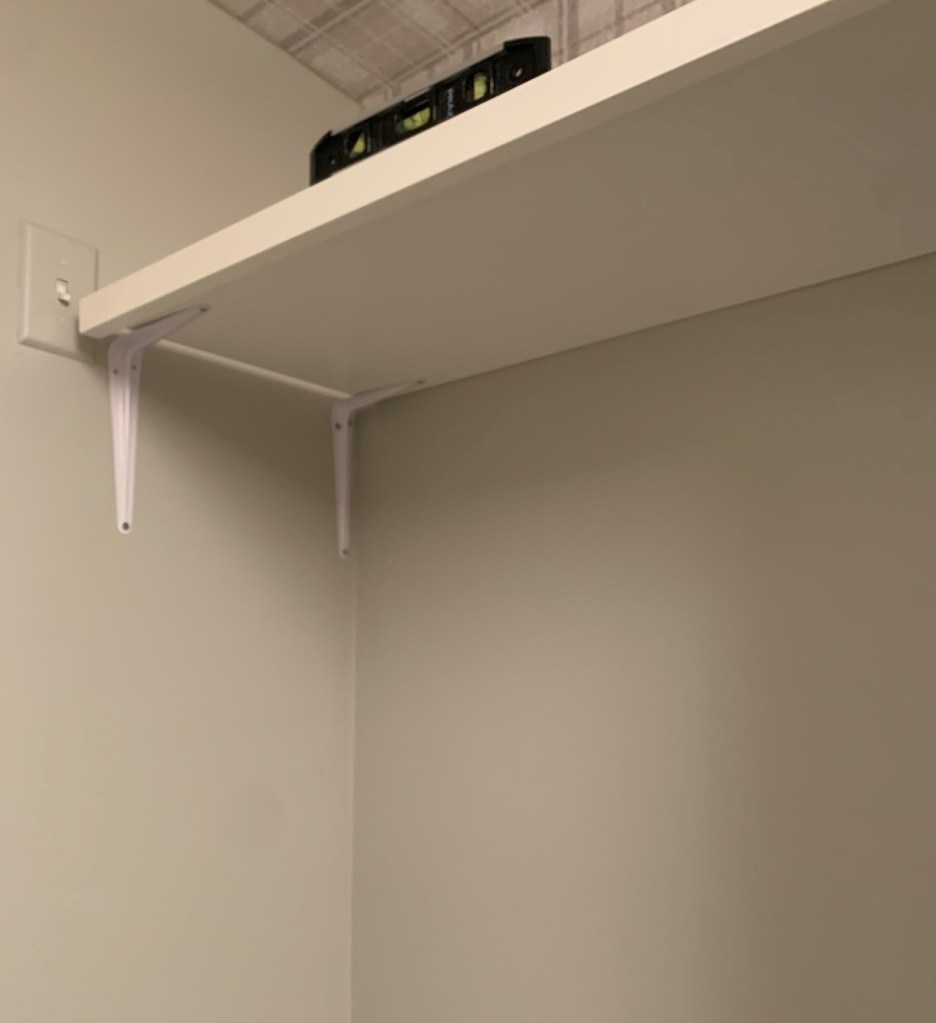
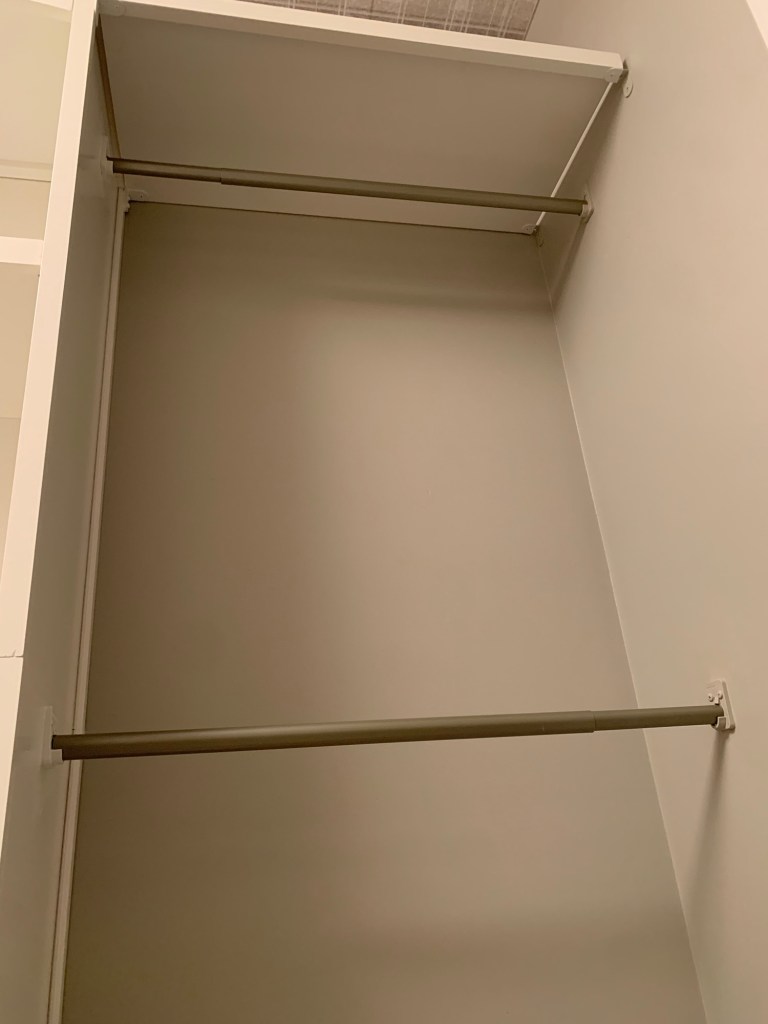
I primed all of the pole brackets and holders and painted all of the brackets and holders the color of the wall and tower, to allow them to blend more easily.

This whole process was much more than I expected, but it’s the details for me, I never mind adding a little more work into a project to make the final result something I truly love to look at.
Discover more from ENAMOUR
Subscribe to get the latest posts sent to your email.
