

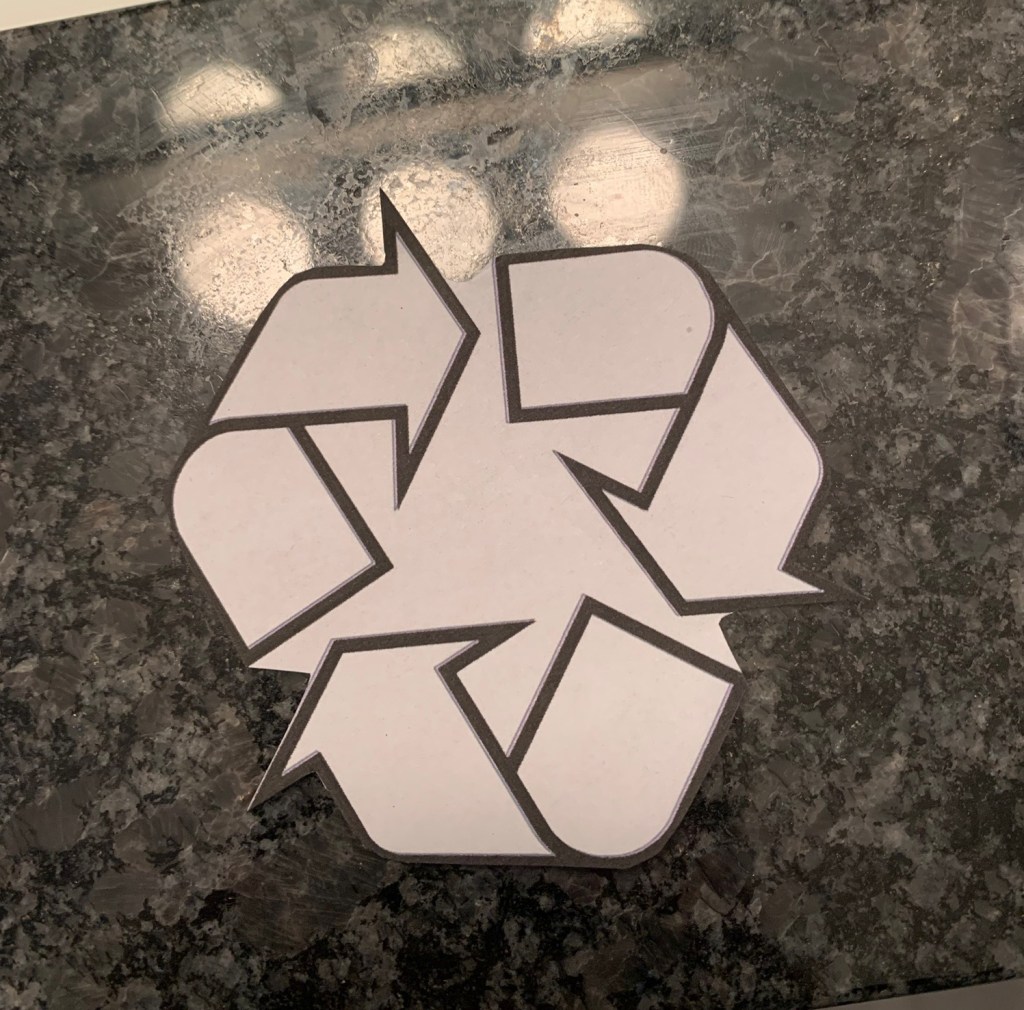
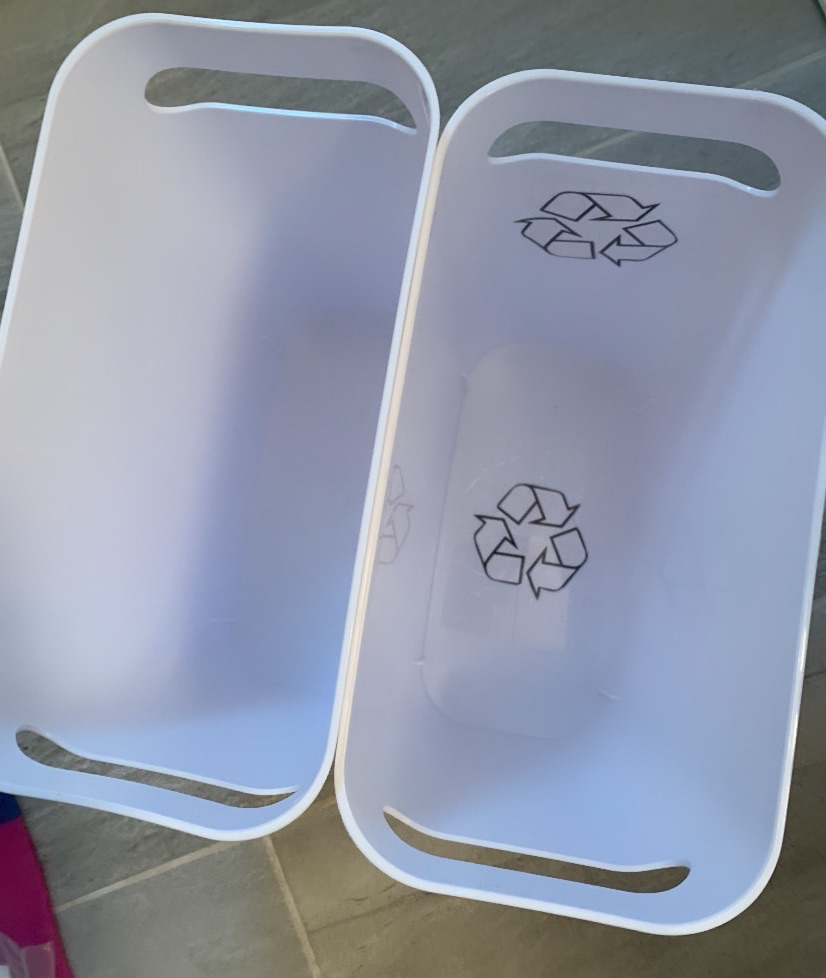
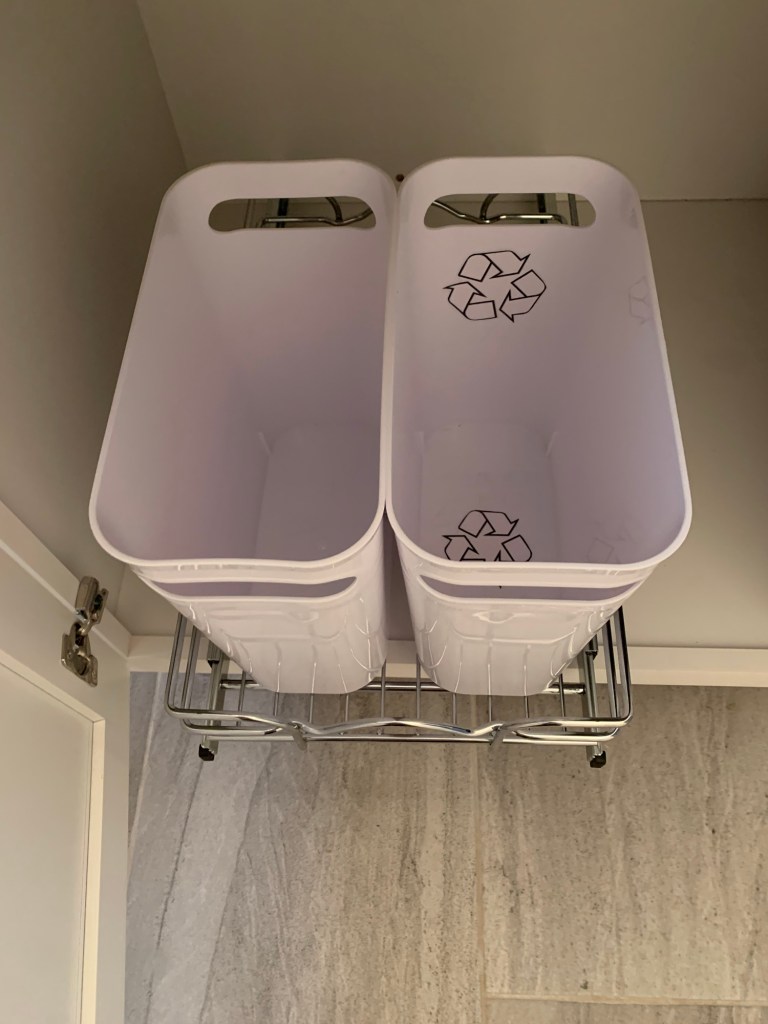
One of the things I wanted to add into the kid’s bathroom was a recycle bin. We recycle and have for years, it’s a habit the kids are used to, but one they don’t do in the bathroom, and I wanted to change that. I bought 2 new, but smaller trash bins. I printed out 2 small recycle symbols and cut them out.
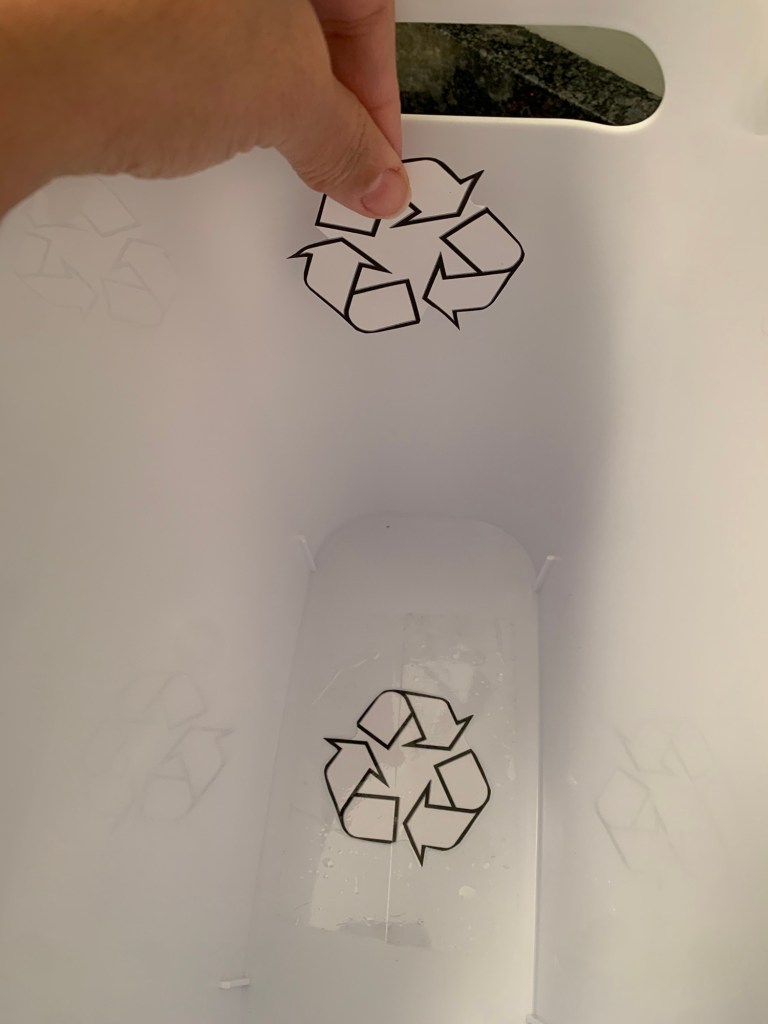
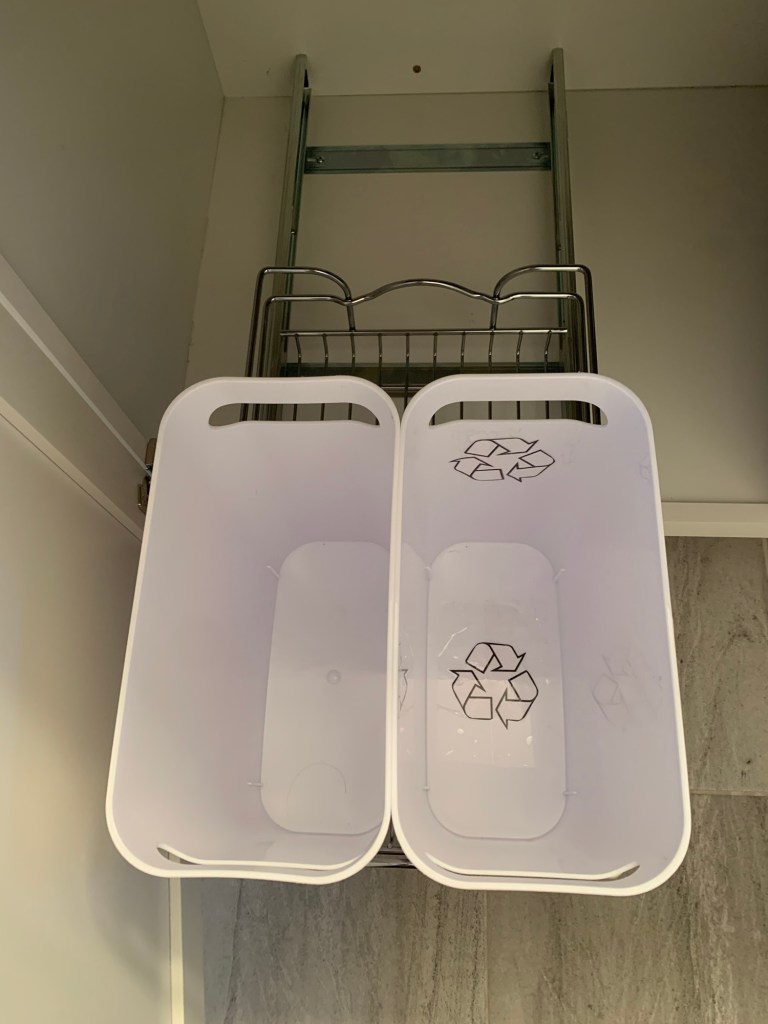
Then I used clear packaging tape to add the symbols to the bottom and back of the trash bin. This will help the kids to know the difference between the two bins even as they fill up.
I also bought a Rev-A-Shelf slide out shelf for the bathroom vanity cabinet. I bought the shelf to make it easy for the kids to pull out the bins to add their trash and recyclables. The shelf came with 5 screws ( 1 extra) and the shelf, the directions said it’s an easy install, 5 minutes to assemble.
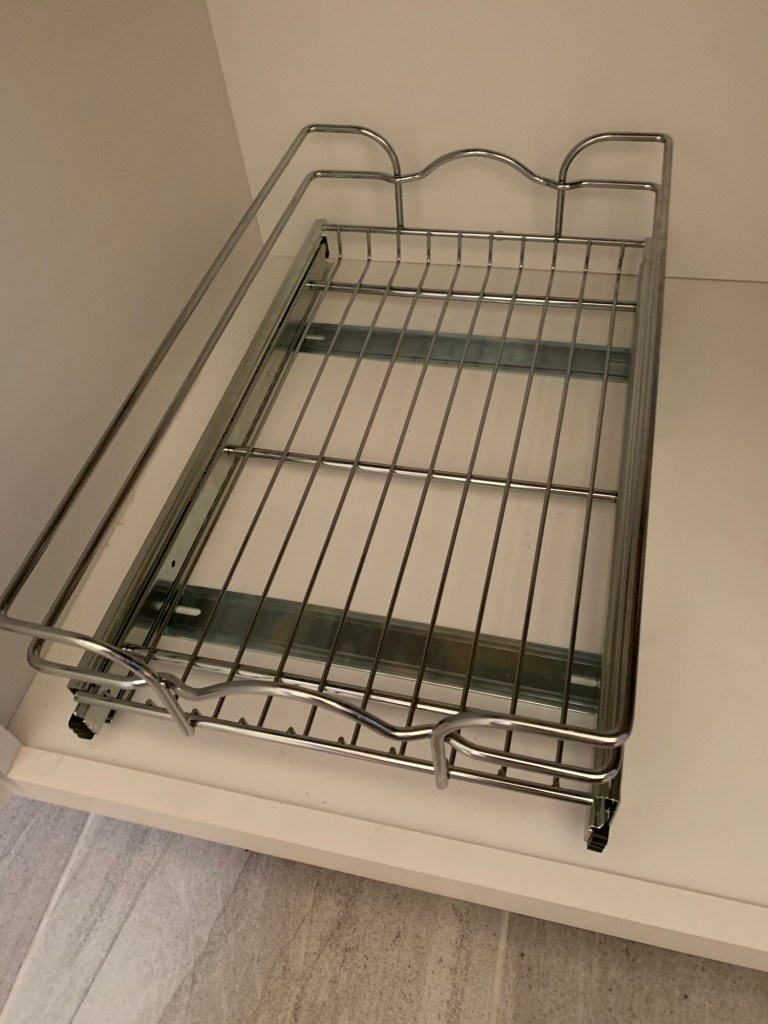
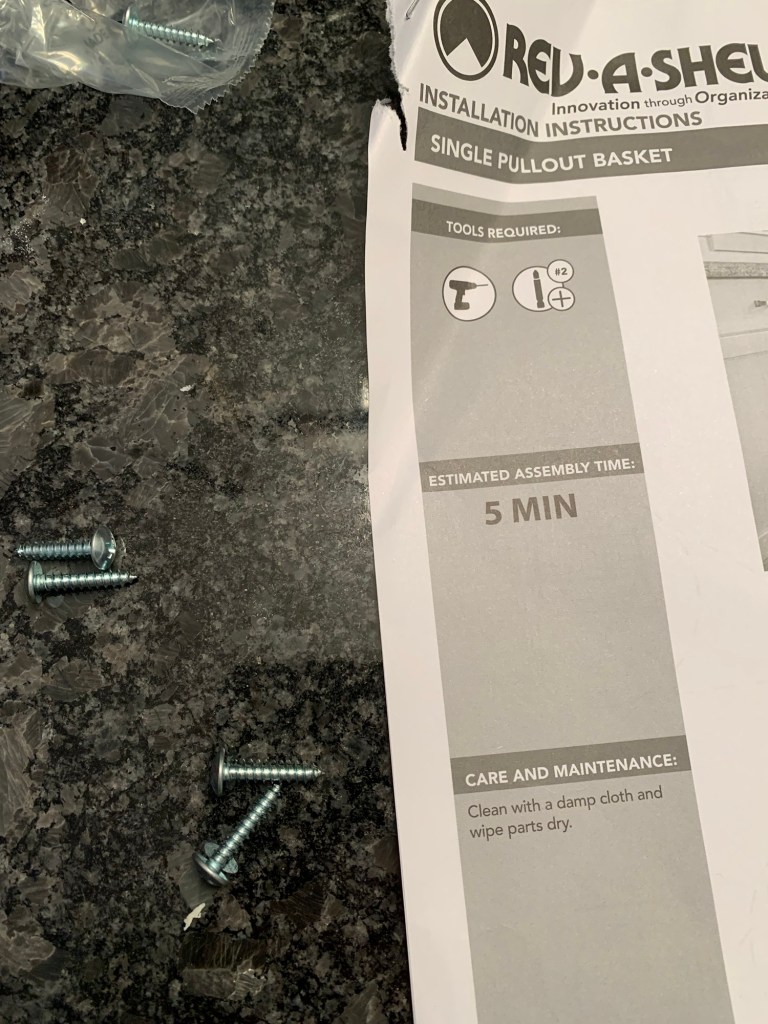
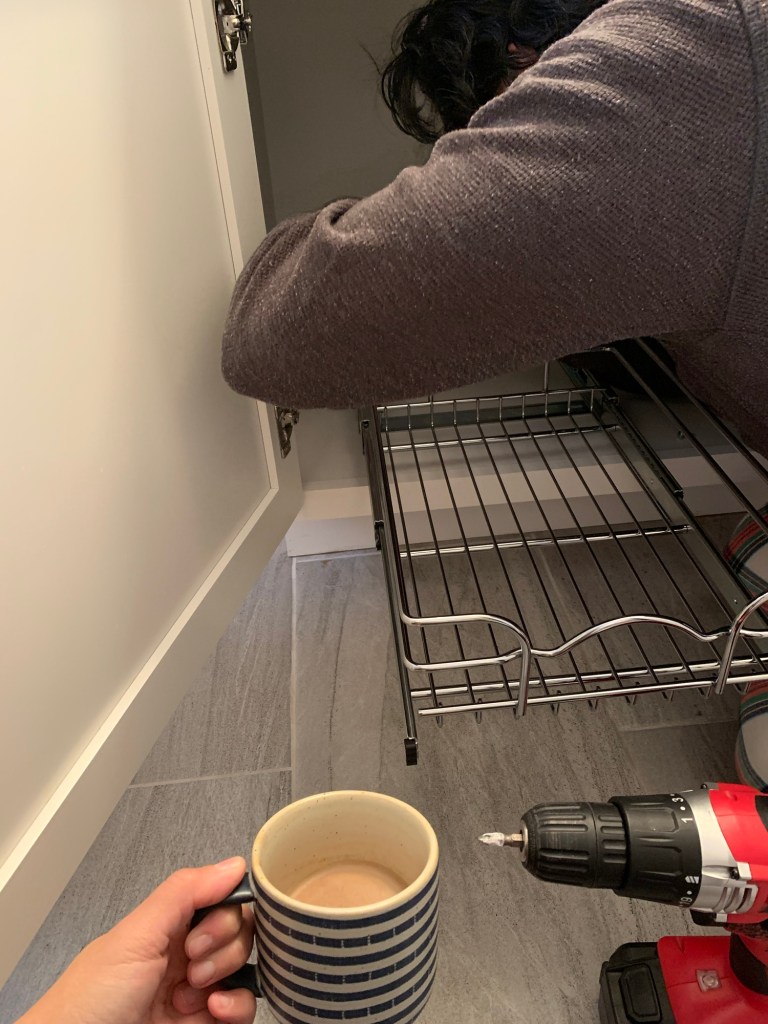
I didn’t install the shelf, Cruz, my husband did. He used a screwdriver first to mark the screw placement, then drilled in all 4 screws. Once the screws were secure the shelf was ready to use. The install was easy, not 5 minutes but, no more than 15 minutes.
The bins fit nicely into the shelf.
There is also some space behind the bins that I plan to add cleaning supplies, to make them easier for me to grab too.
This install was a test run of the shelving to see if we want to use them in our lower kitchen cabinets for pots, pans and other cookware. The shelving was easy to install, but is also easy to push and pull and has a soft close aspect. All of which I like for the kitchen. So we will move forward with researching more about the brand, the styles of organizers and sizes.
I’ll be sure to share a post about what styles and sizes we went with in the future.
Discover more from ENAMOUR
Subscribe to get the latest posts sent to your email.
