

Last week, I shared about the pivot I made with the washcloth rack, although I think the pivot was the best idea long term, it would require some work for me to hang it as more than a temporary solution.

The rack had subpar reviews about the adhesive backing, so I peeled off the backing and replaced it with T-Rex tape that can hold 50lb weight. I added the rack onto the shower wall and allowed it to sit for 24 hours. Once it was set in place, I began to add clear polyurethane to seal the bar. I want to make sure the bar doesn’t rust or discolor, and polyurethane is a great way to prevent this.

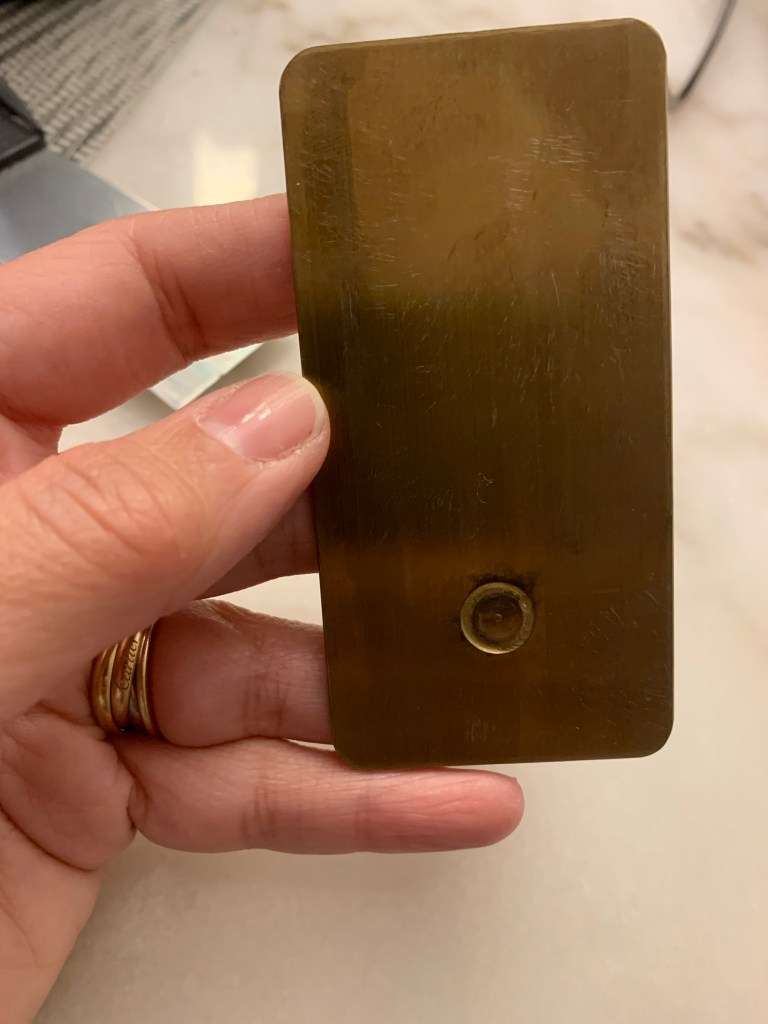


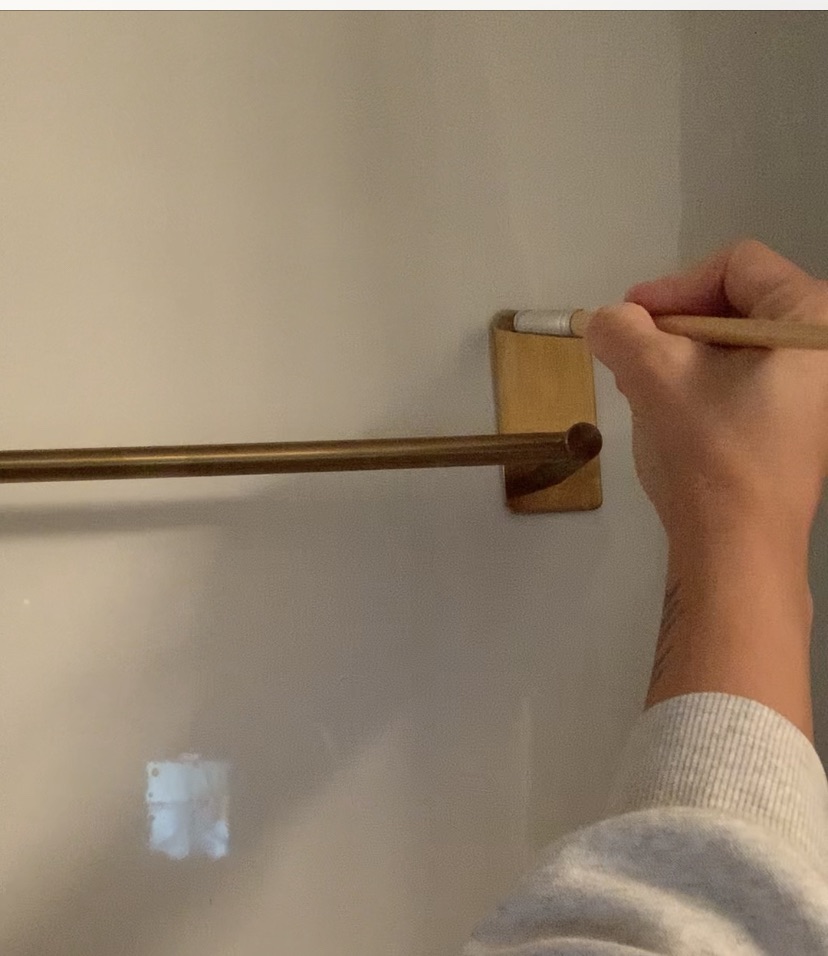
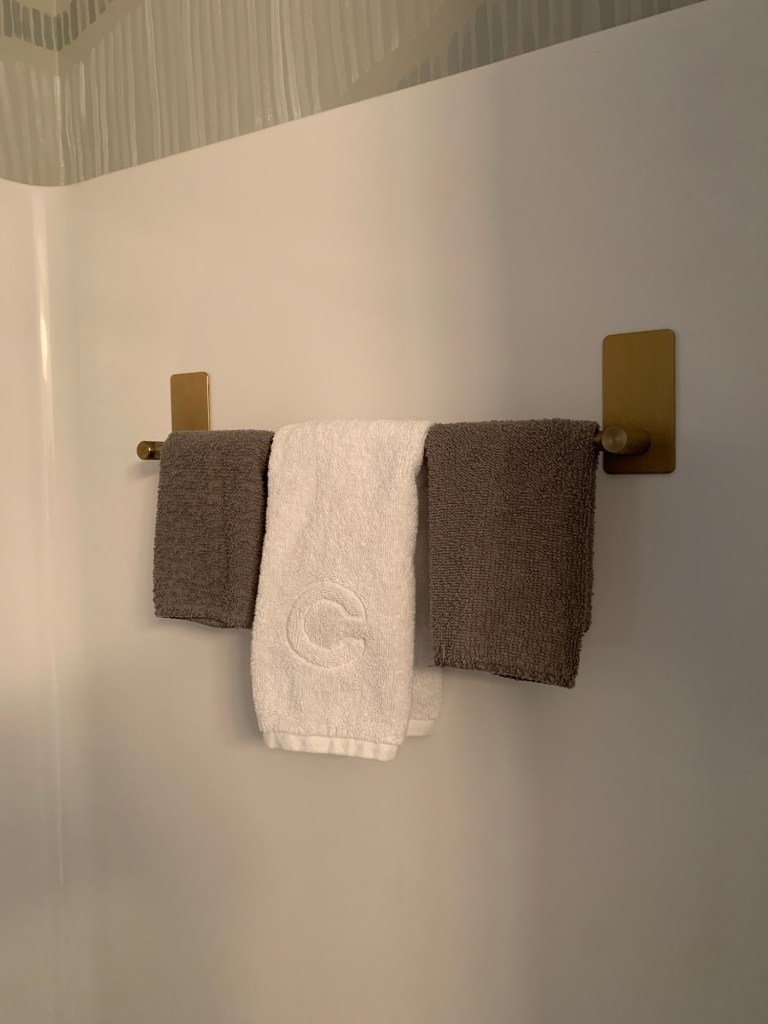
After adding 3 coats of polyurethane to the rack and back panels, I silicone caulked the back panels to seal them to the wall, and waterproof them. I know it can seem like a lot of extra steps to prepping the bar before using it, but I do believe it’s the prep work that will make the difference in the long run. Overall, even with the extra work to prepare the bar, I think it looks great and adds the function the kids need in their tub/shower.
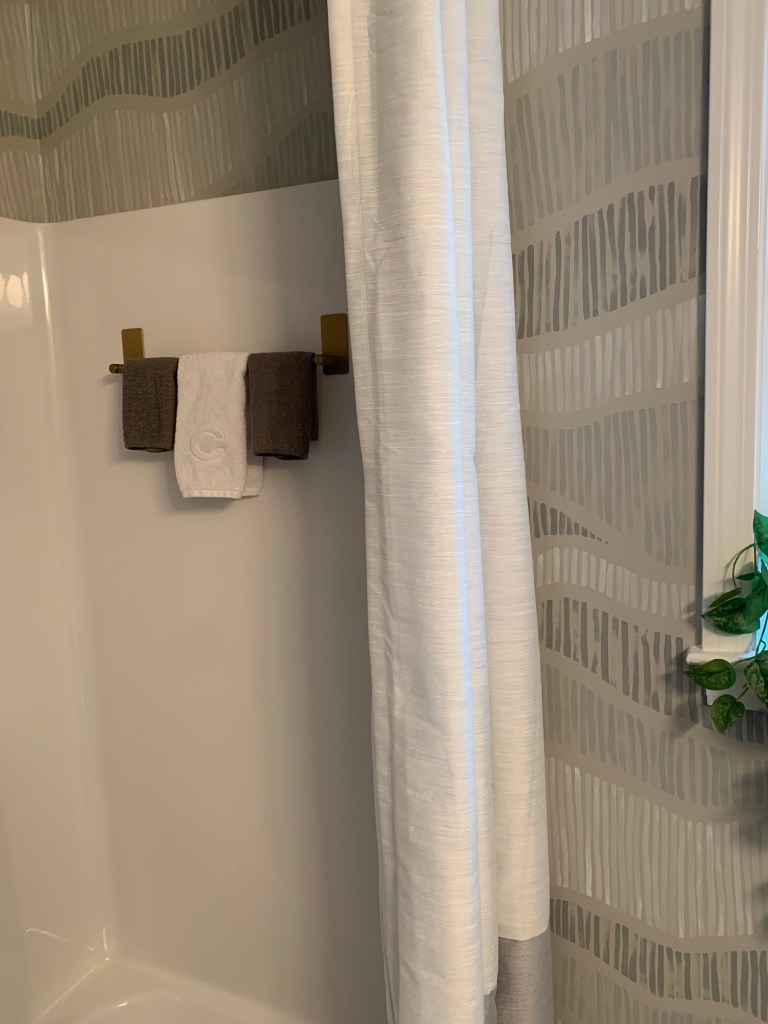
Side note – because of this pivot, I’m also going to add a small towel hook to the wall beside the shower, to serve as a towel holder that the original rack provided. And then I can say that the shower in the kid’s bathroom is officially complete.
Discover more from ENAMOUR
Subscribe to get the latest posts sent to your email.
