

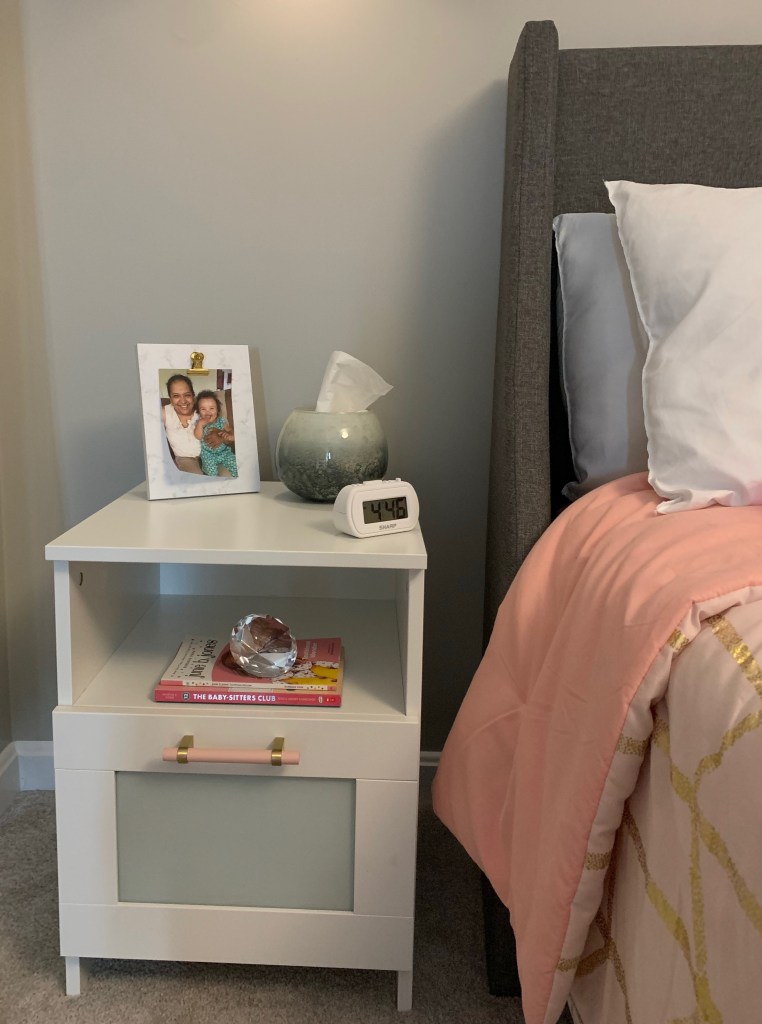
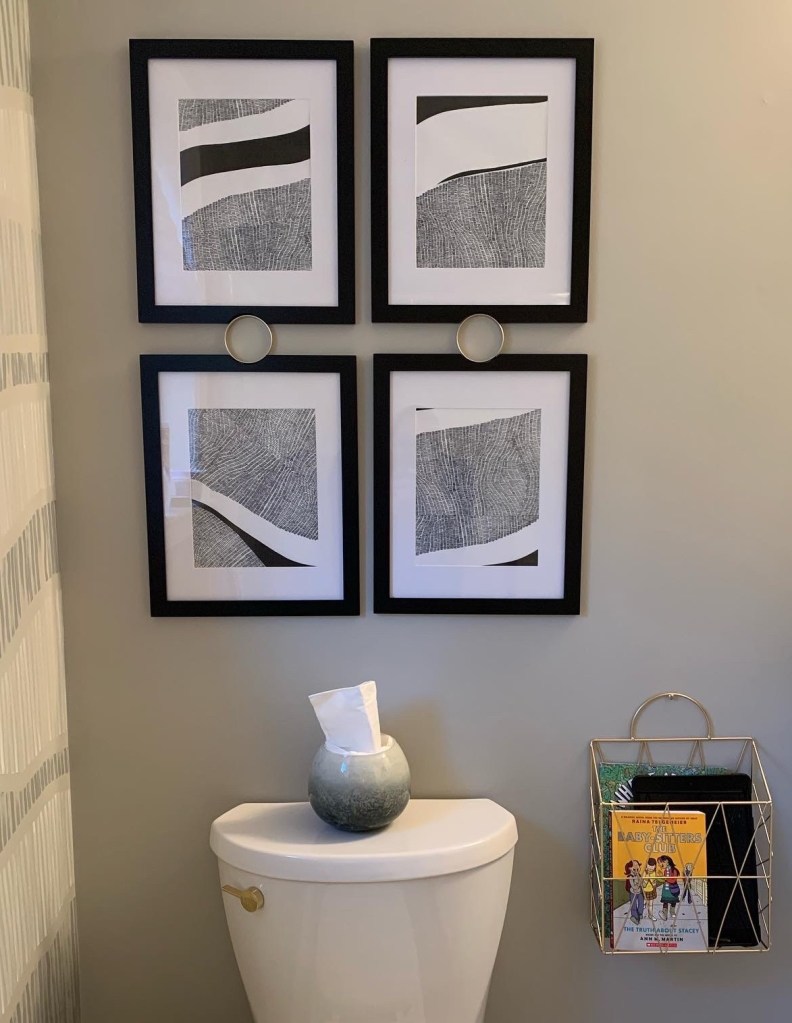
When adding tissue boxes to both my daughter’s bedroom and my kid’s bathroom, I didn’t want to use the standard cardboard boxes. No matter the design, I rarely find a box I feel fits the decor of the rooms I’m in.
I decided to replace the tissue boxes with decorative glass bowls. I found a pair of grey ombré glass bowls at Home Goods and knew they would look good in both rooms.
I created a short Reel tutorial on Instagram and Facebook, but recently I was asked to also provide a blog post with a tutorial- so here it is, the steps to transferring your tissues from the box to a decorative container.
I use the smaller square boxes, because they work better for the bowls I bought, but you can still follow Tutorial B if you use a larger rectangle box for your tissues.
A. Tissue Fold for a Square Box

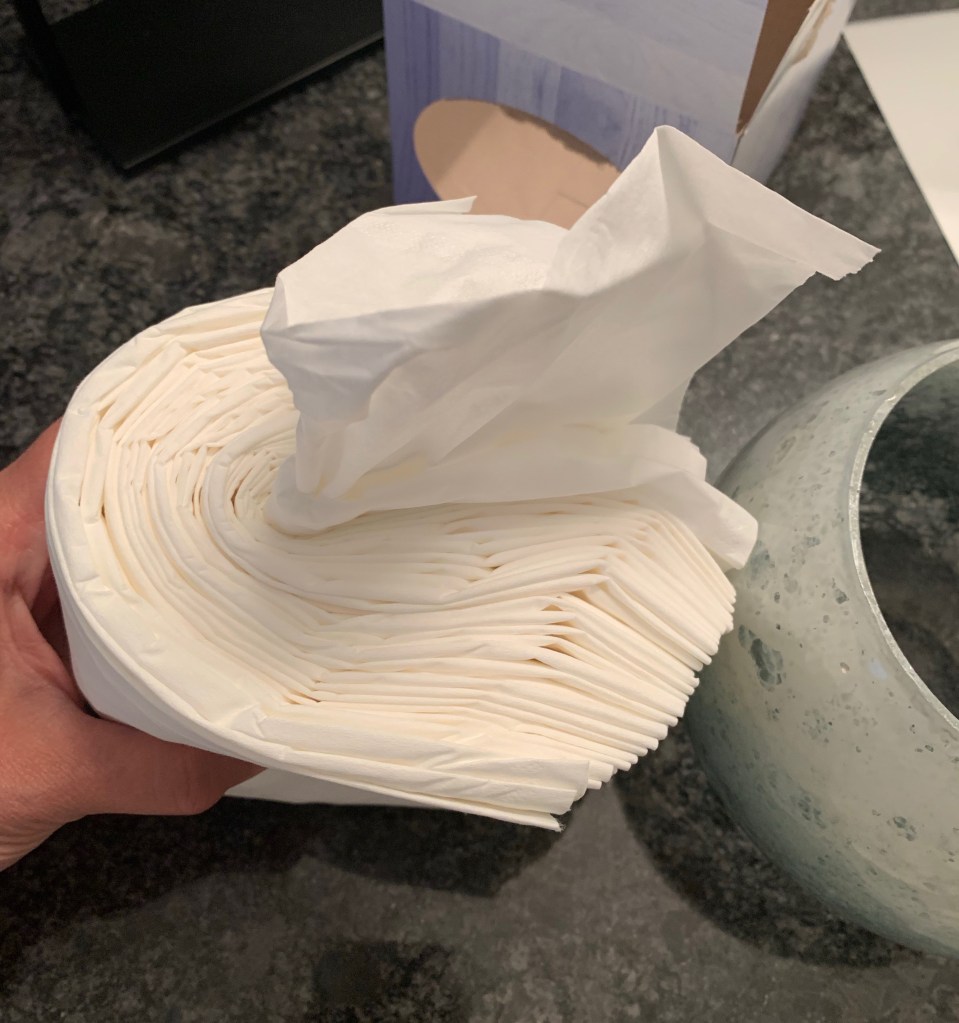
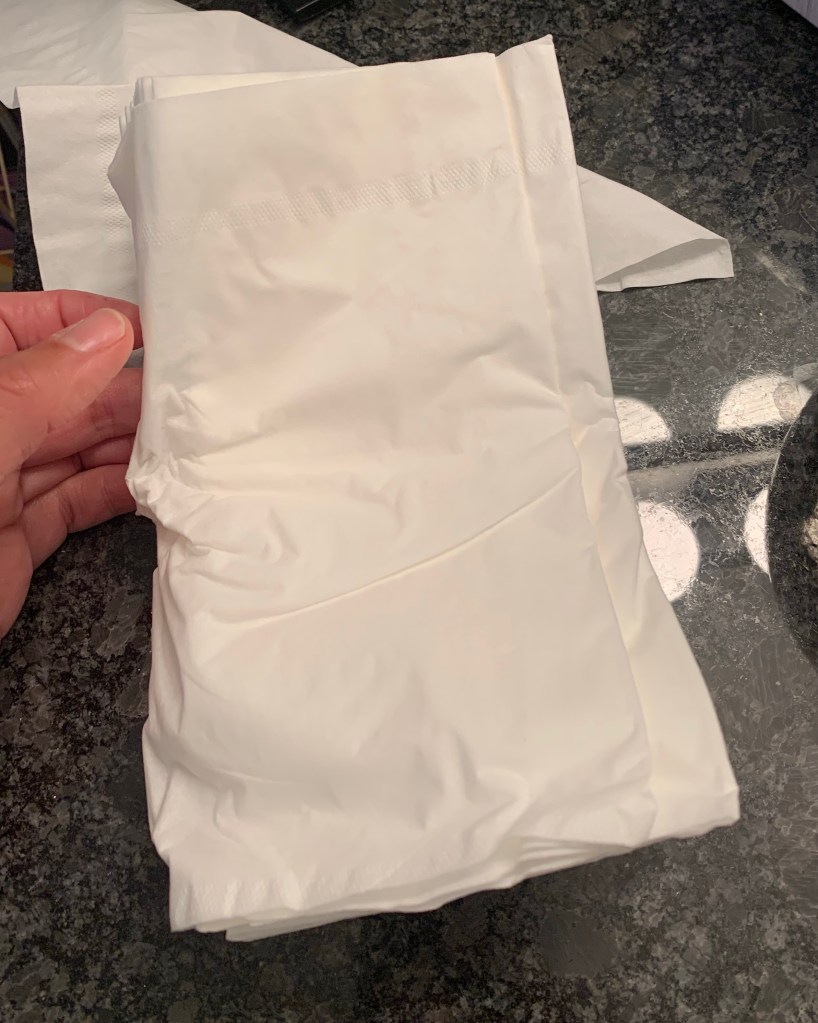
1. Open the box from its side.
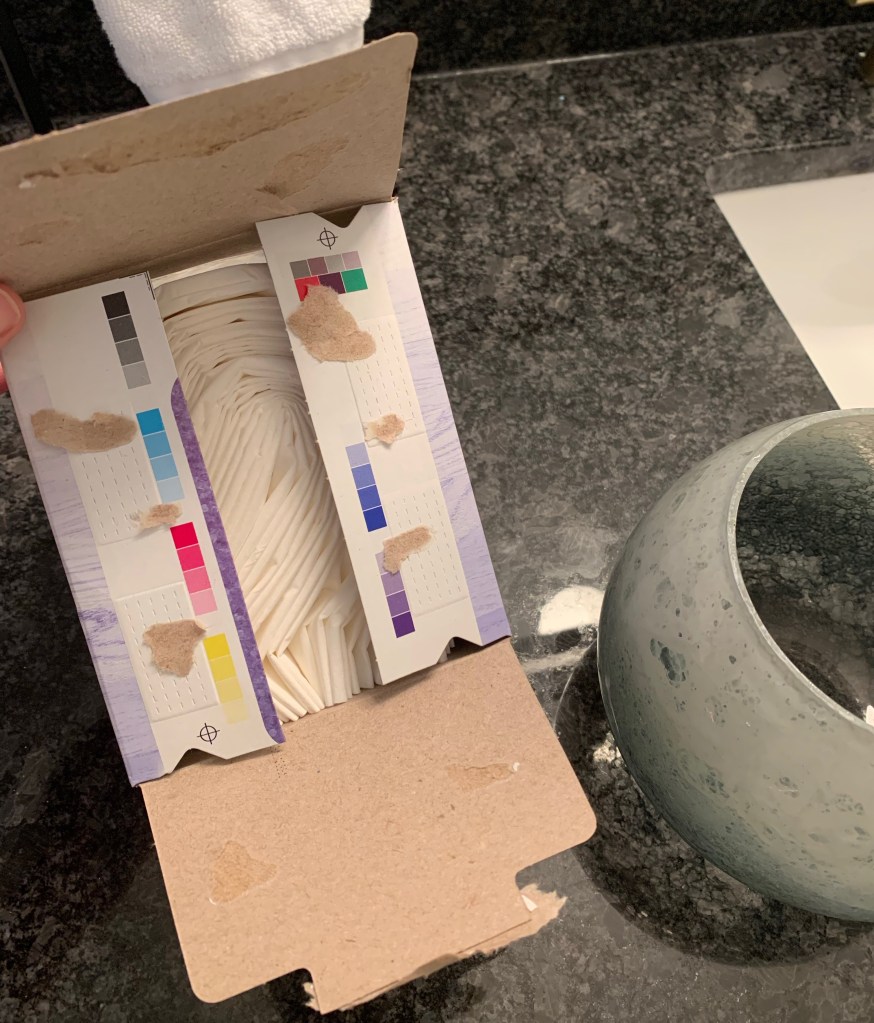
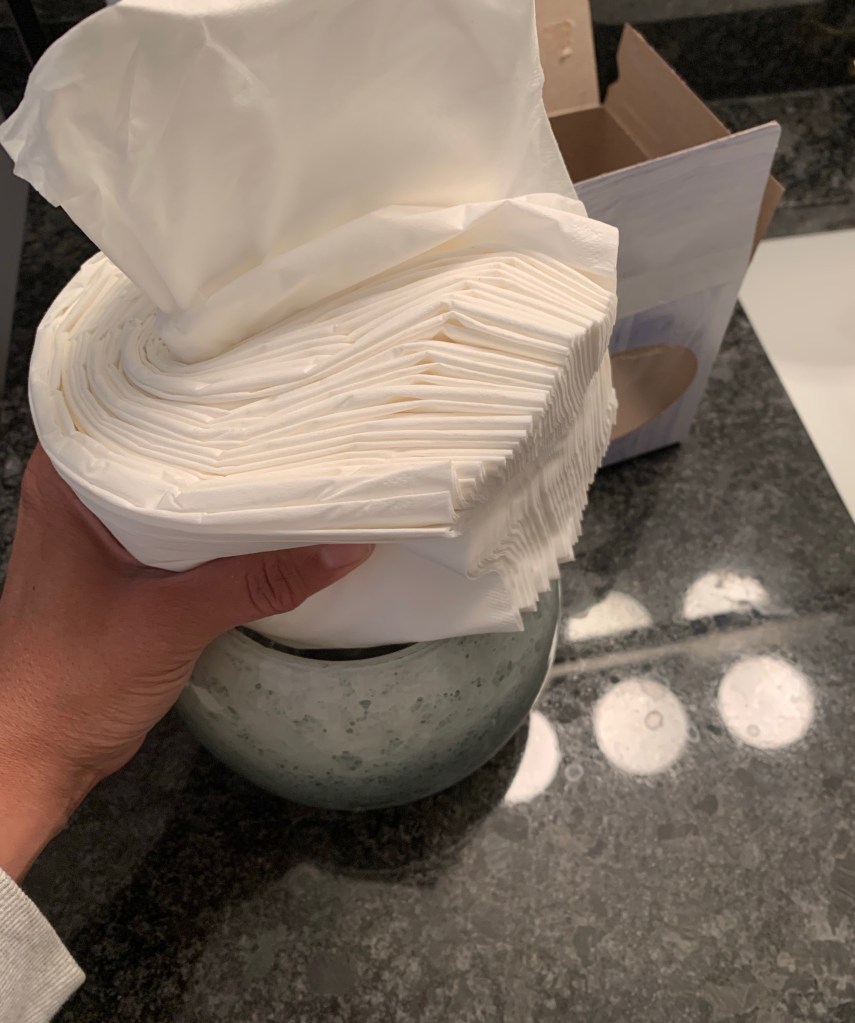
2. Pull the tissue out in the exact way they are placed in the box.

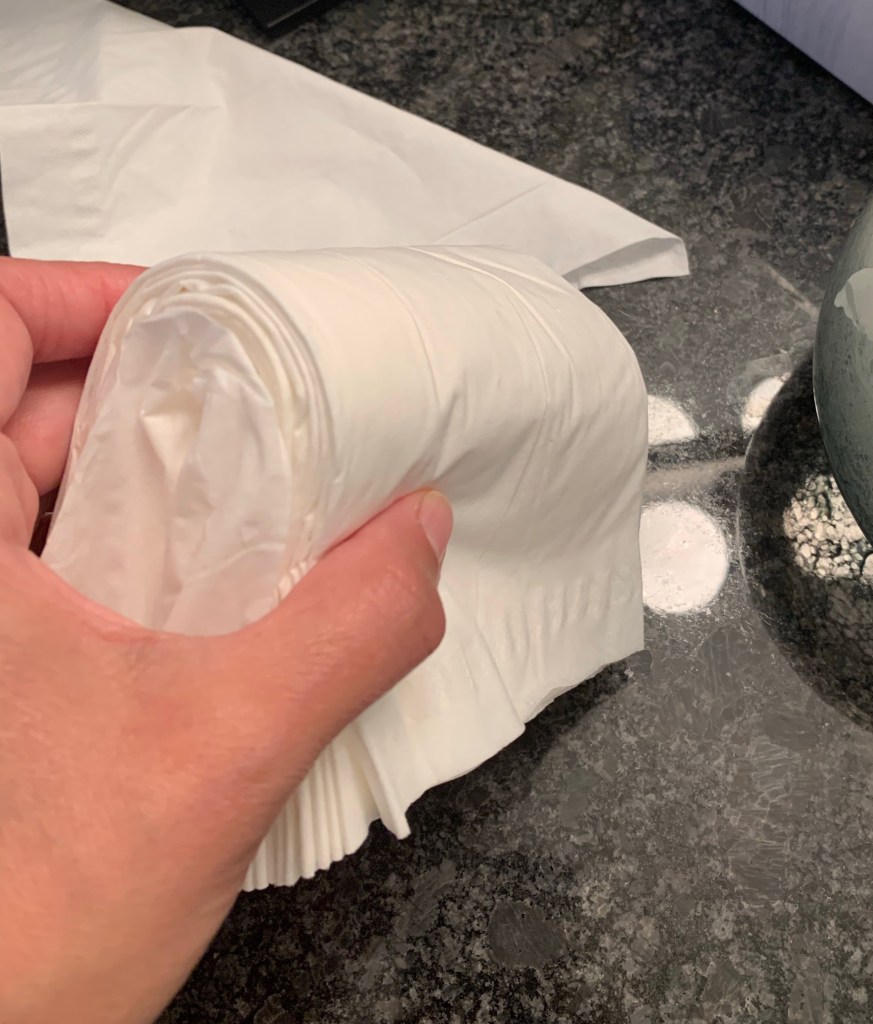
3. Gentle pull the middle tissue upward
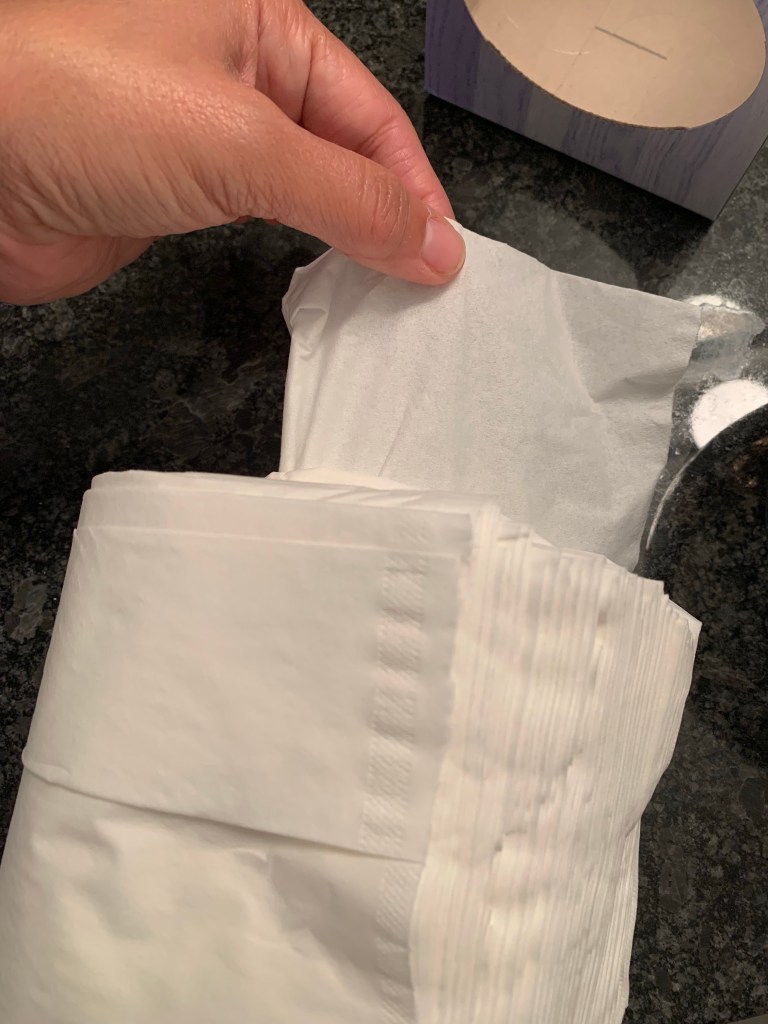
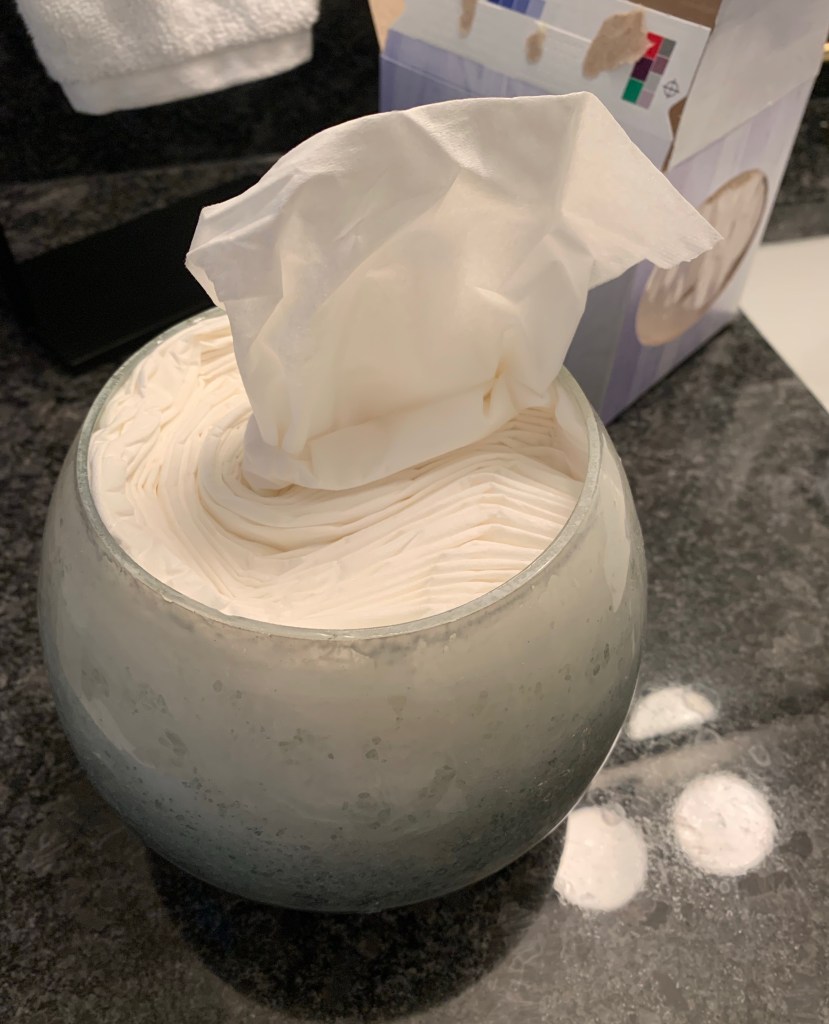
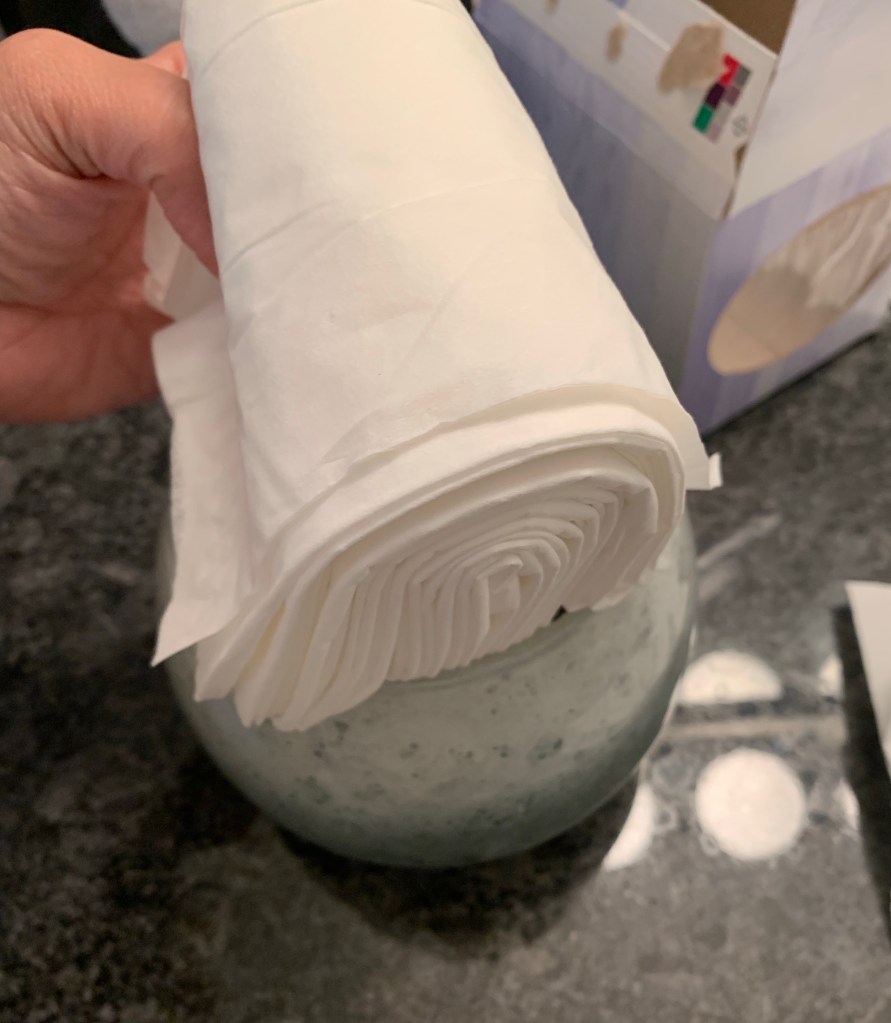
4. Add the tissues to your decorative container
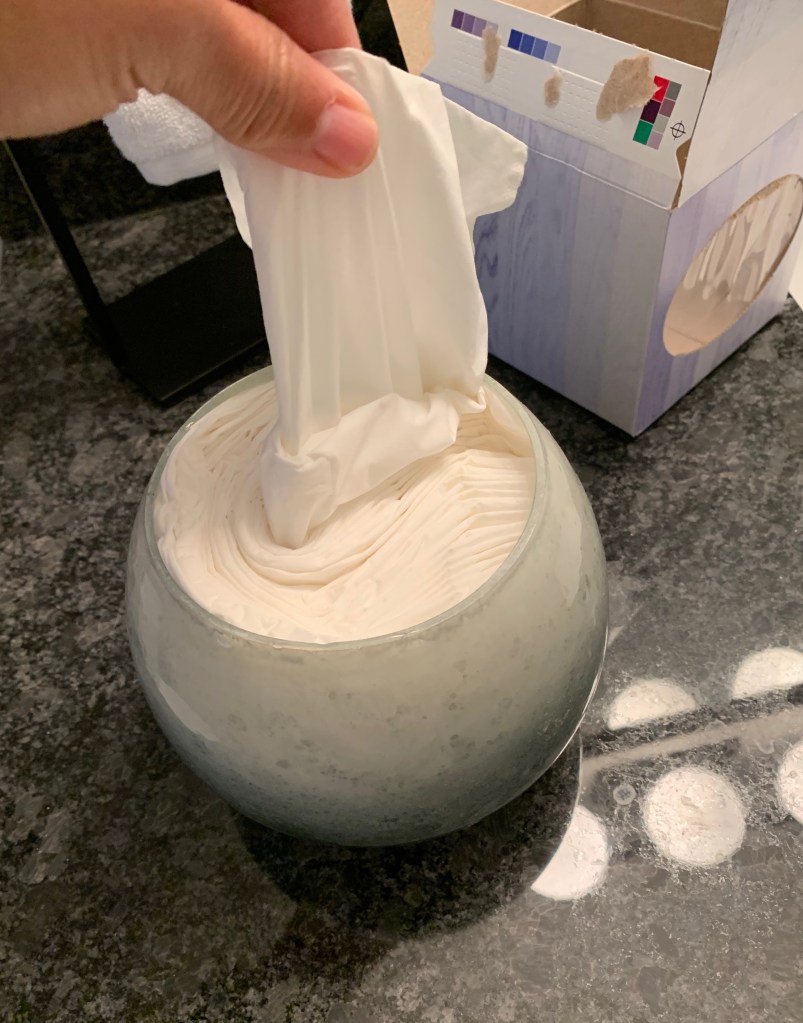
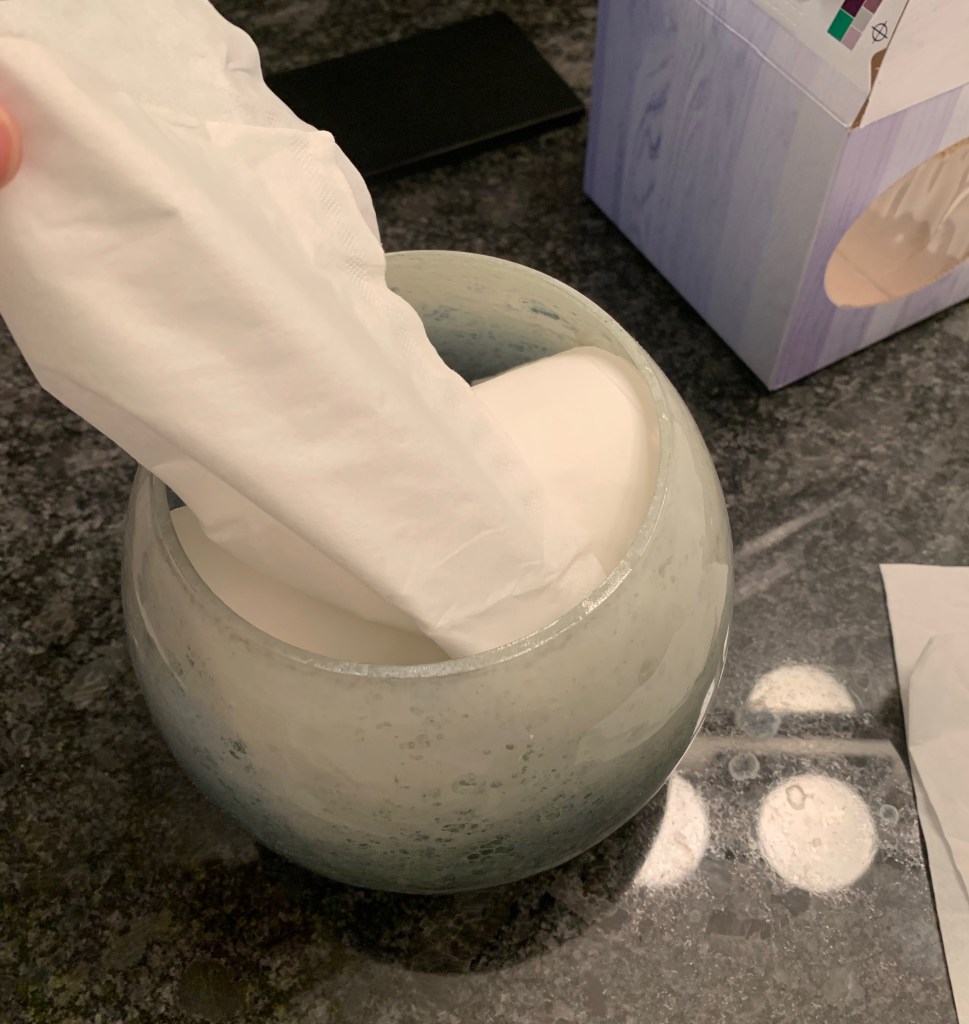
5. Pull the middle tissue out, allowing the next tissue to follow.
B. Tissue Fold for a Rectangle Box
Follow steps 1 and 2 from Tutorial A
3. Depending on the size of your container, you may need to take some of the tissues out of your stack.
4. Fold your tissue stack into a C format
5. Add the folded tissues into your container
6. Pull the first tissue to allow next tissue to follow
Discover more from ENAMOUR
Subscribe to get the latest posts sent to your email.

Oh my gosh brilliant and so much prettier than a cardboard box! Unfortunately it looks so fun to watch the tissues unreel from the bowl, you may find they empty sooner than the box 😂
let’s hope not or this tissue bowl will become the new hand towel rack discussion 😂
Lolol 😂