

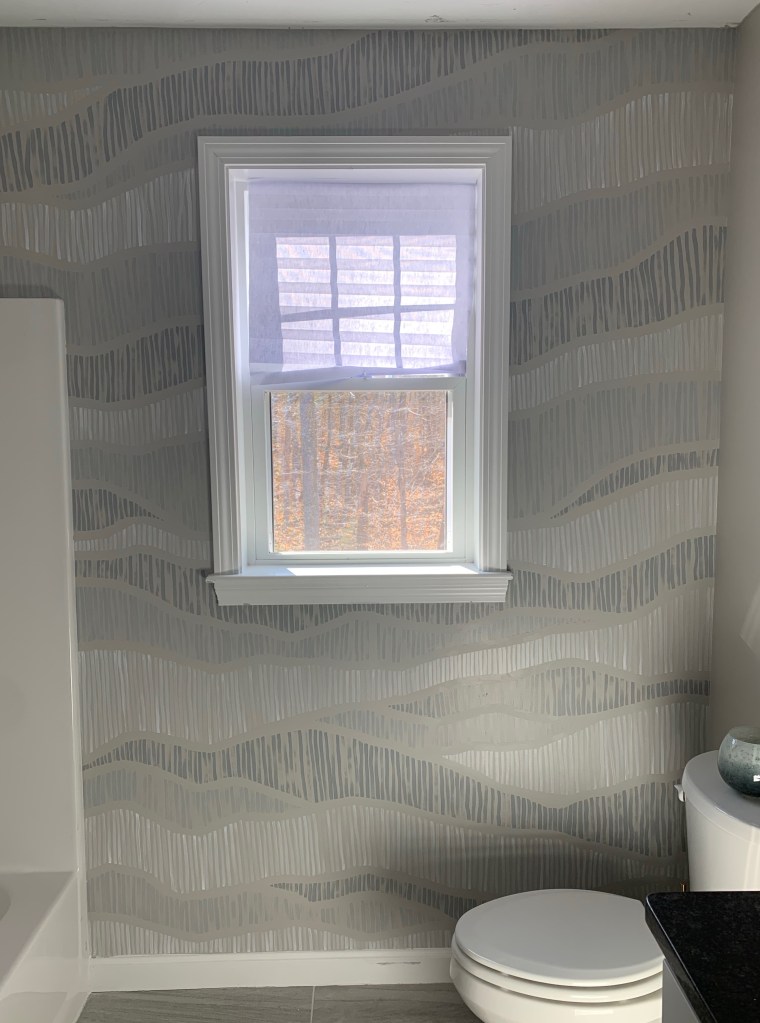
After 2 weeks of planning, prep work and painting I’m finally done! The wall is complete and I love the way it turned out.
If you haven’t been following the progress of this project you can read about the different phases of planning here and painting here.

When I started the project I knew I wanted it to have movement, but be subtle. I didn’t want anything to be too bold or overwhelming and I’m so happy with the results.

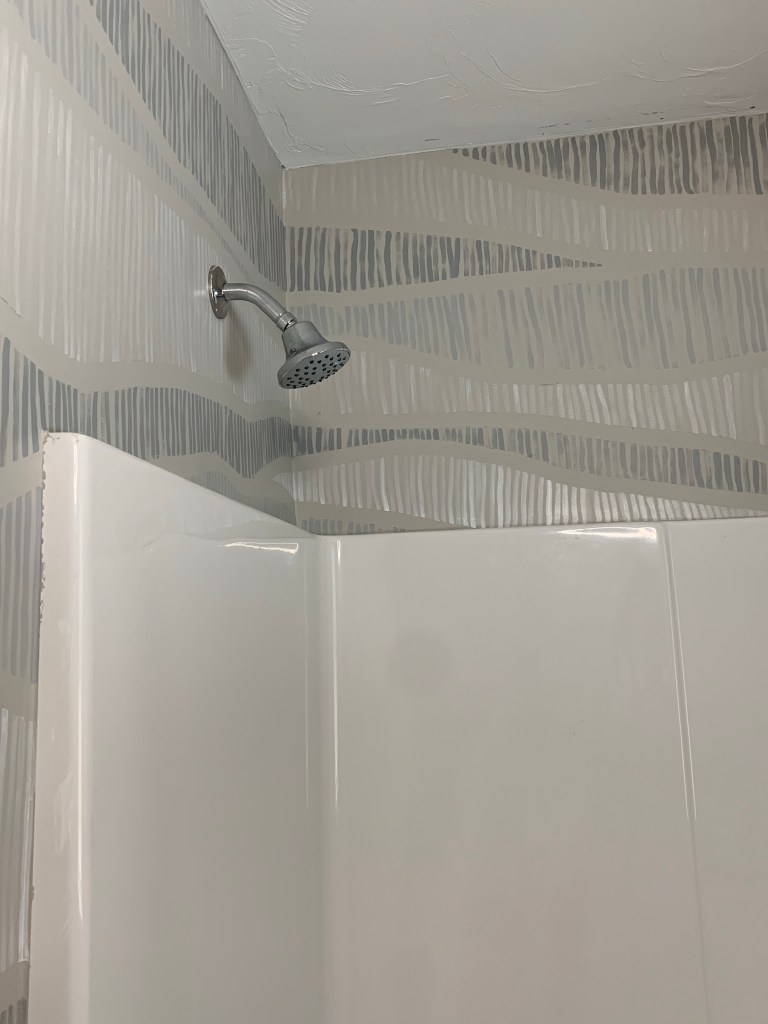
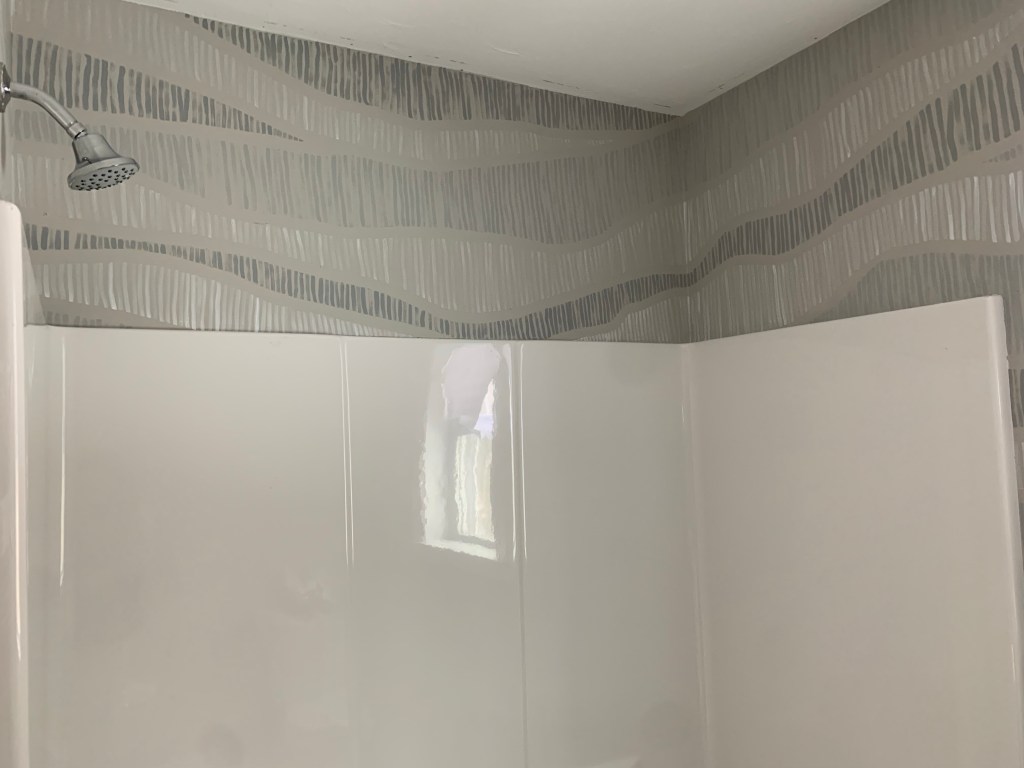
I used Cumulus Cloud by Benjamin Moore for the base of the wall and Network Gray along with Extra White by Sherwin Williams for the line work details. I used a flat brush to hand paint the lines to create the pattern details on the wall.
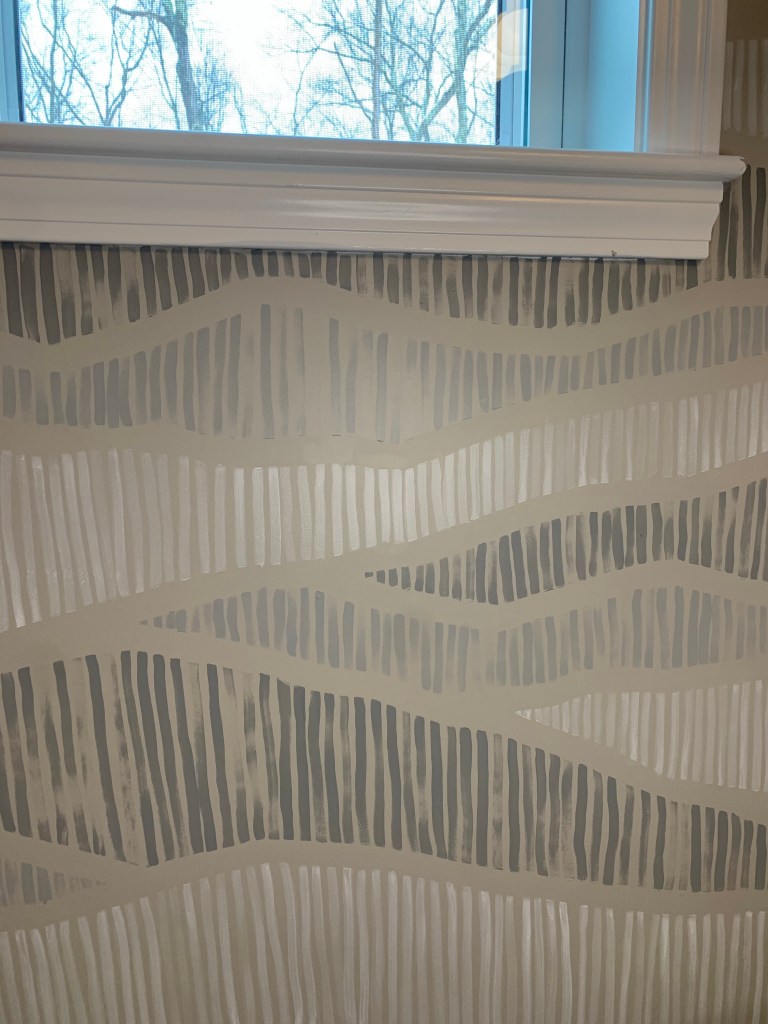
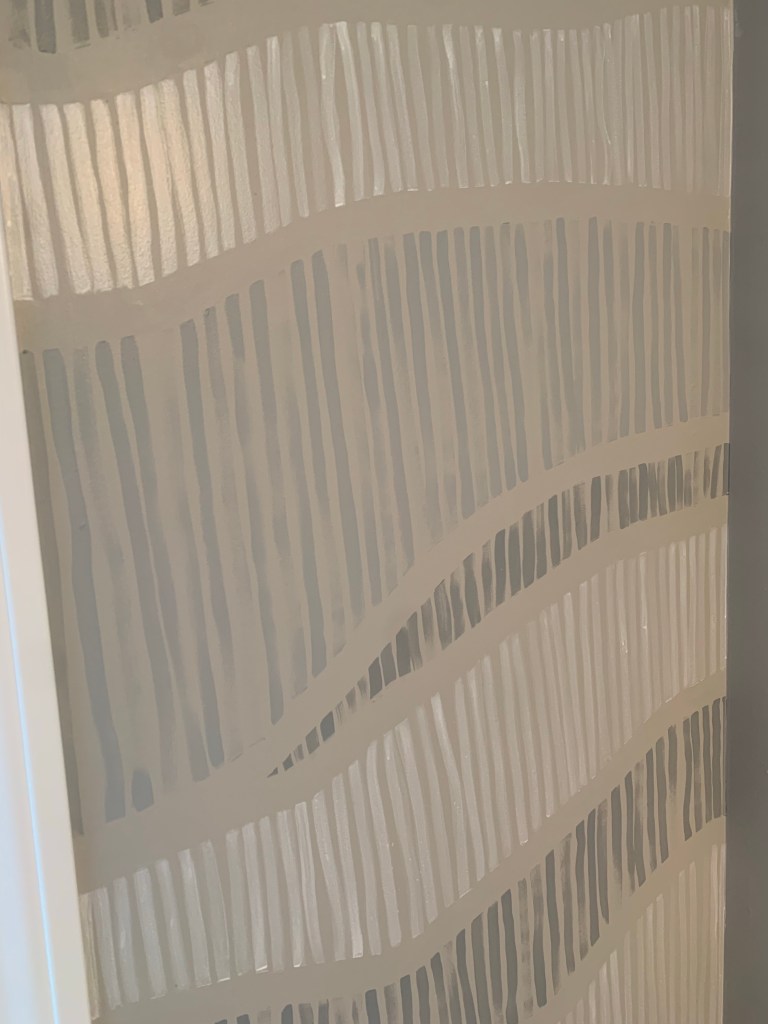
I also created two different shades of the Network Gray and washed out the Extra white paint to go on lighter, since in it’s pure form it was too bright. One of the things I like best, is the sheen that the washed out white paint has when light is reflected off of it. It’s subtle – (like in the picture below) but adds more interest to the white line pattern as it moves around the space.
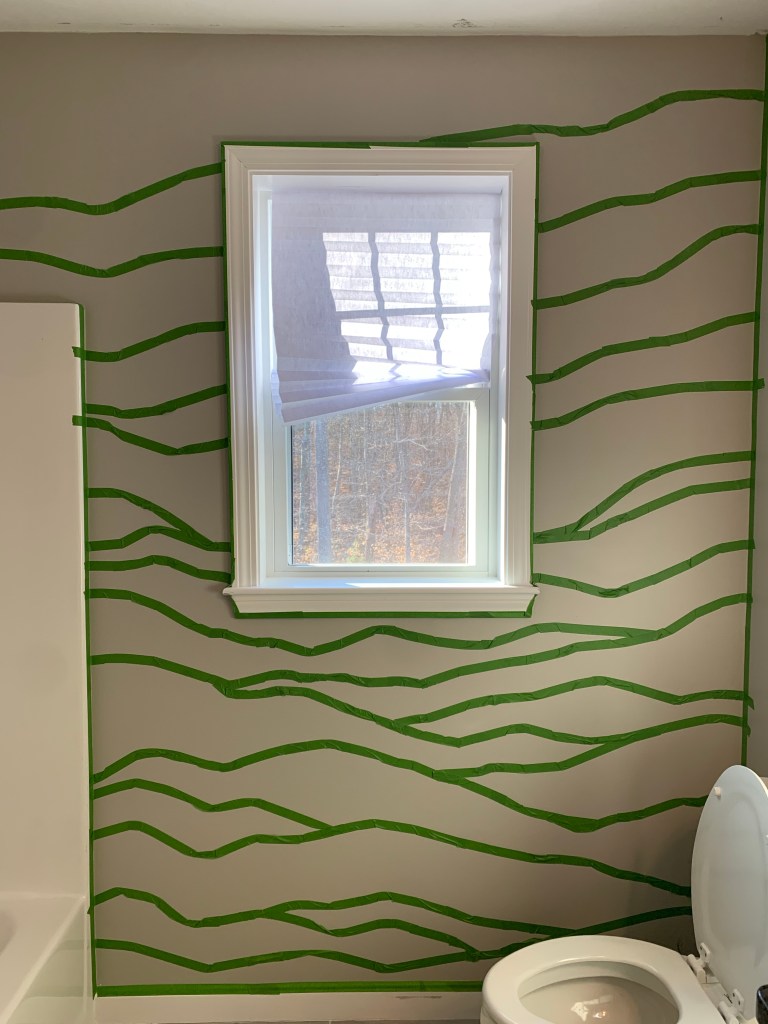
The space took 9 hours in total to paint, not including the tape prep work, but it was time well spent.
Now that the accent wall is complete, I’ll be adding in new lighting, hardware and focusing on all the decor additions to complete the space.
Discover more from ENAMOUR
Subscribe to get the latest posts sent to your email.

I loved watching this project develop earlier in the year. My question is … what sheen did you use for the paint. i.e. did you start with glossy white and then when you diluted it did it still hold some shine? Or did you use flat or satin?
Also could you explain how you “washed” out the paint?
I love that you shared your thought process and that you repositioned some tape lines before beginning. Like what did you see that I didn’t (and that I won’t see when i start my own project lol).
Thanks
Hi Anne- I used a satin sheen, I wanted to still be able to wipe down the walls when I needed to clean them. So all the wall paint I selected has a satin finish. To wash out the white paint, I used a cup of water and then slowly added white paint to the cup of water, after adding the paint, I did a test strip to see if it was the color I wanted. Once I knew my water to paint ratio I wrote it down and used that mix whenever I needed to remake the white wash tone.
I had inspiration for my wall design but no template, so I freehand taped up the design and repositioned the tape based on what I thought would work aesthetically for balance of my 3 colors. If this is your first time painting a wall design you may want to use a template, and then transfer the design on to the wall. It will make it easier to follow the pattern with the tape.
Feel free to ask me any questions about the process as you go along.