

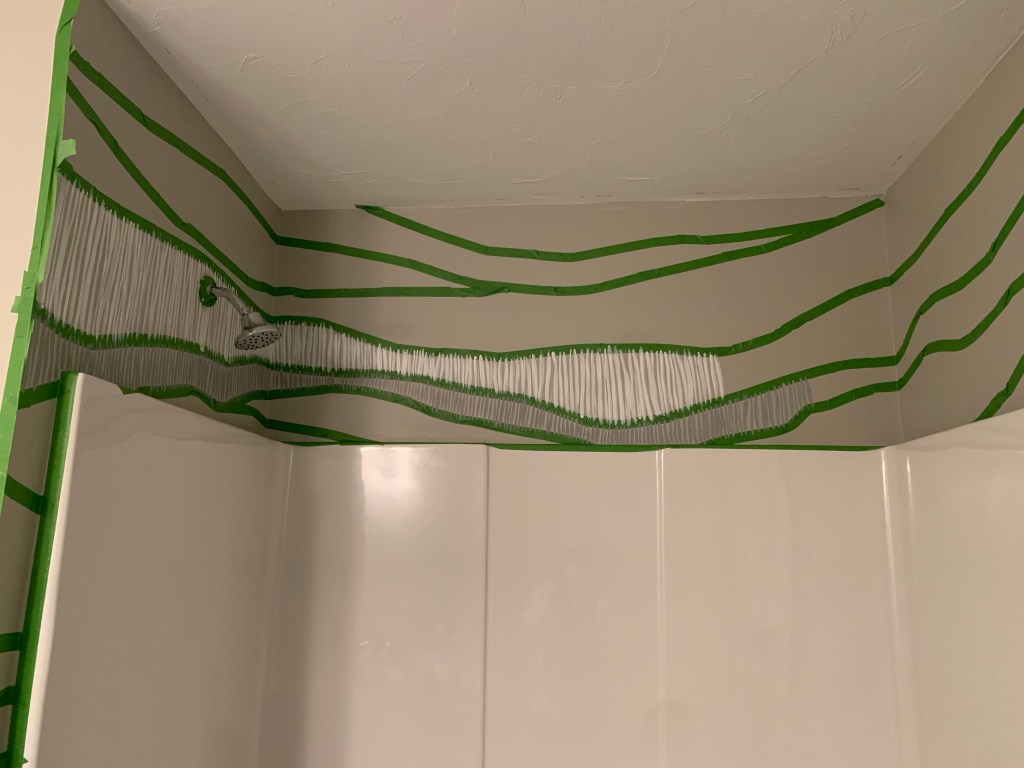
Recently I shared the tape/design process for my kid’s bathroom accent wall, and that I would be hand painting the design as opposed to buying wallpaper (read more about the idea HERE).
After I had taped the full wall, I began to plan out my color combinations and figuring out how the paints would interact.
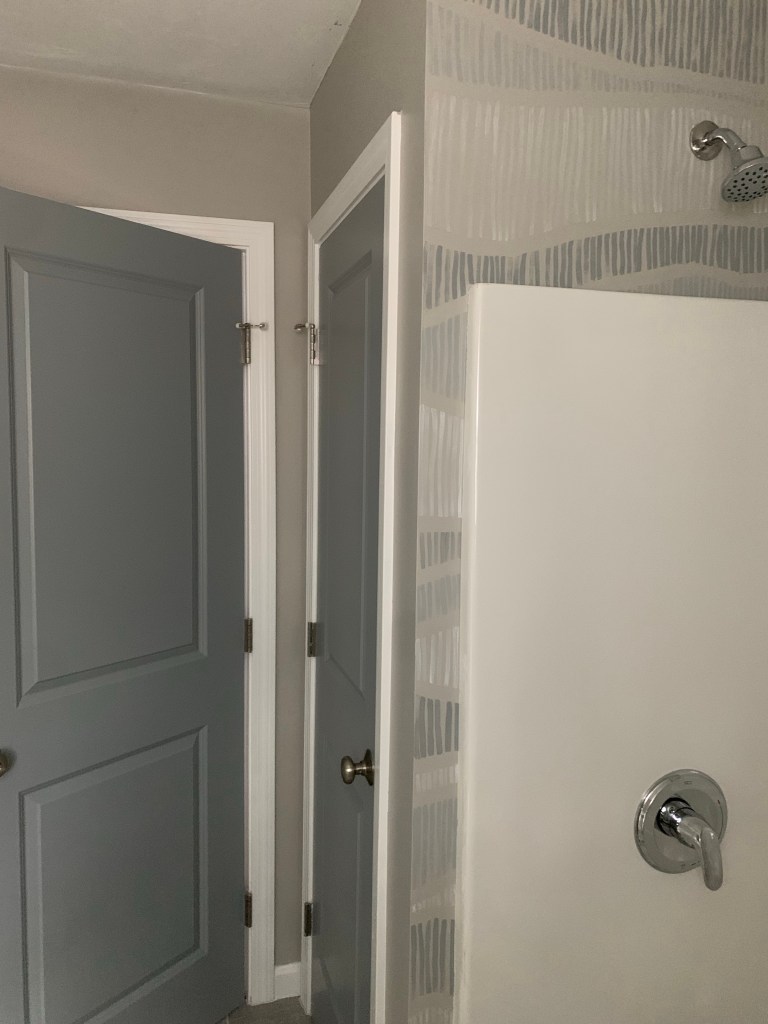
I plan to use white to brighten the space, as well as the grey I used to paint the bathroom doors to hint at the shade of grey before it’s fully introduced into the space when the bathroom door is shut. I also plan to tint the bathroom door grey 3 shades lighter, and use it in the design. again to brighten the space.
The decor in the bathroom will have black accents and those lines will be quite strong, so I don’t want the wall to compete with the decor and it to feel too busy. I want the design to feel playful, but not overwhelming.
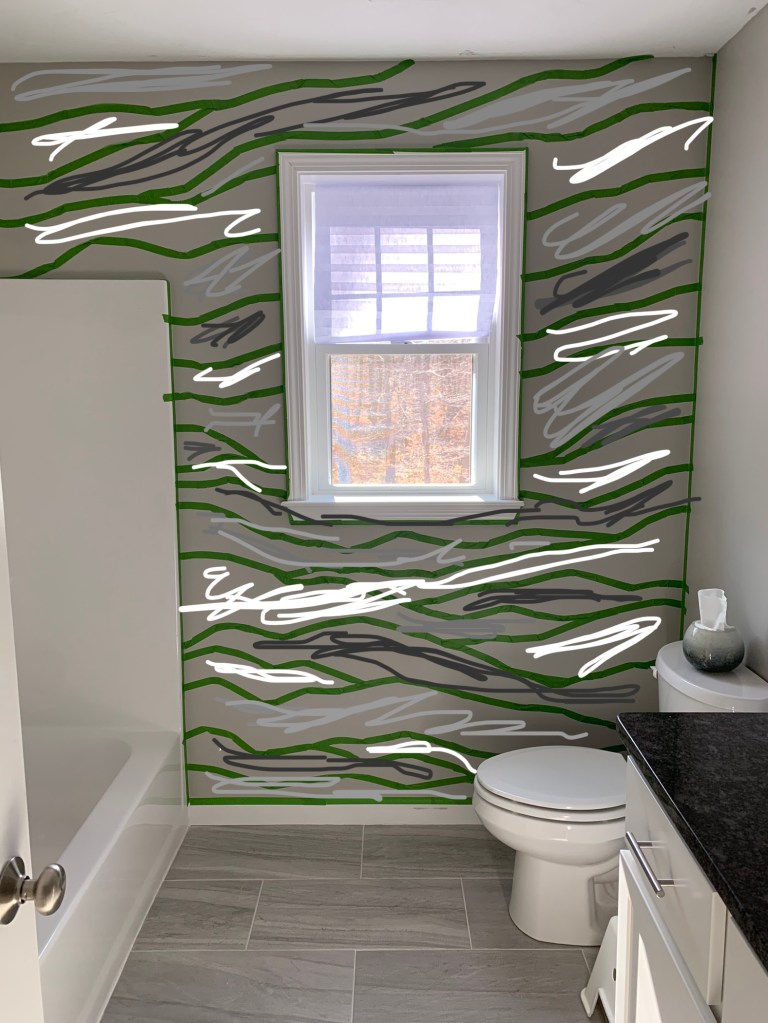
After choosing the colors and seeing how they would dry on the base color of the wall, I then planned out where each color would be applied to the wall. Although I free form taped the wall pattern, I knew I wanted the colors to be planned.
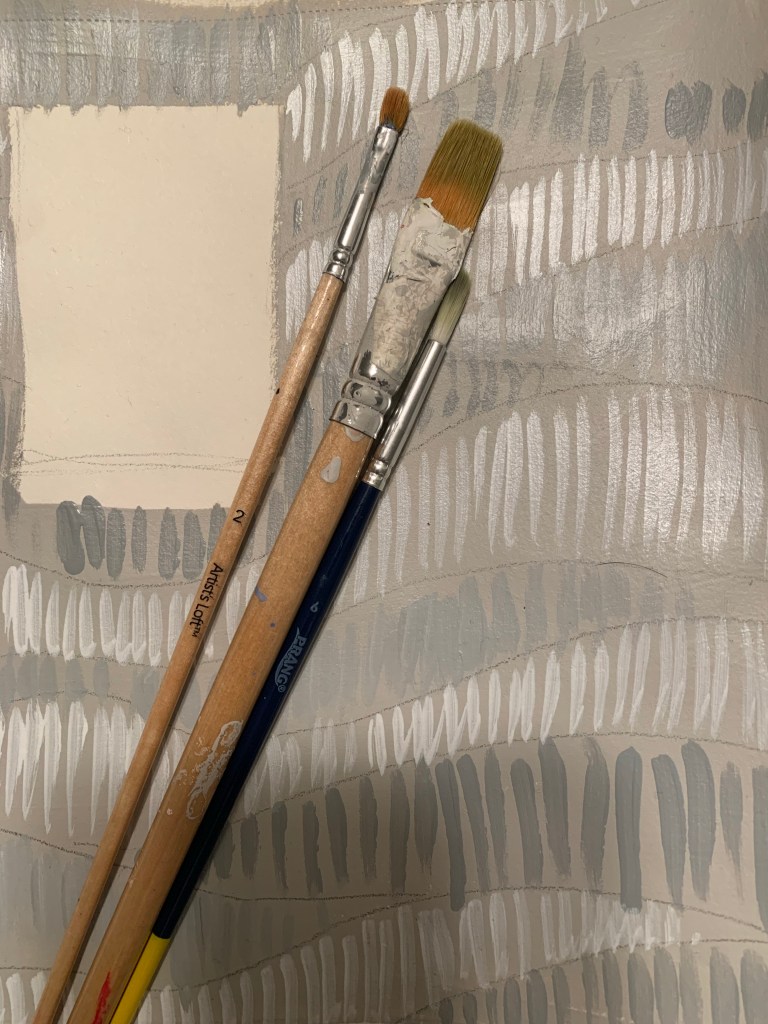
My first attempt at painting the pattern was unsuccessful for two reasons, one, the paint in its pure state was too bold and busy on the eye and two, I didn’t have the correct brushes to make the lines I envisioned. Luckily paint is easy to fix. I painted over the lines, went to the art supply store and restarted.
My second attempt went much smoother, I used a smaller stiff bristled flat brush and I used a wash for the white paint. I also applied the grey paints in a thinner application to give my lines some variation- not in width but in color.
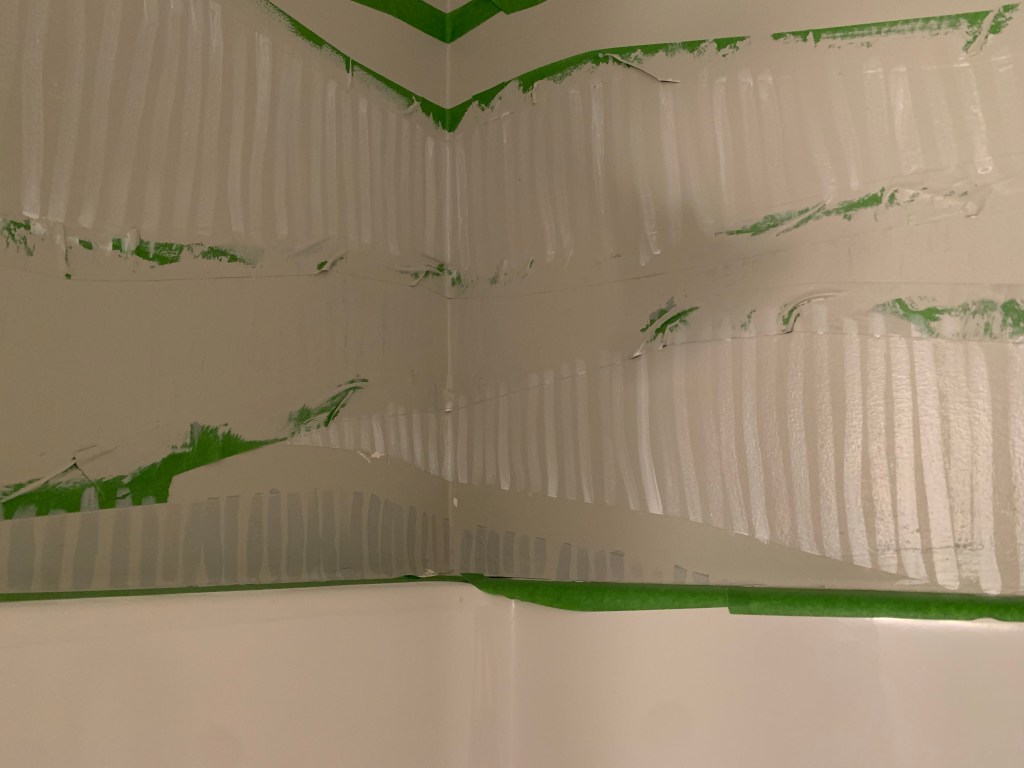
Here’s a sneak peek of the hand painted design with the tape pulled. I’m excited to get the rest of the accent wall painted. I’ll be sharing the reveal photos next week.
Discover more from ENAMOUR
Subscribe to get the latest posts sent to your email.
