

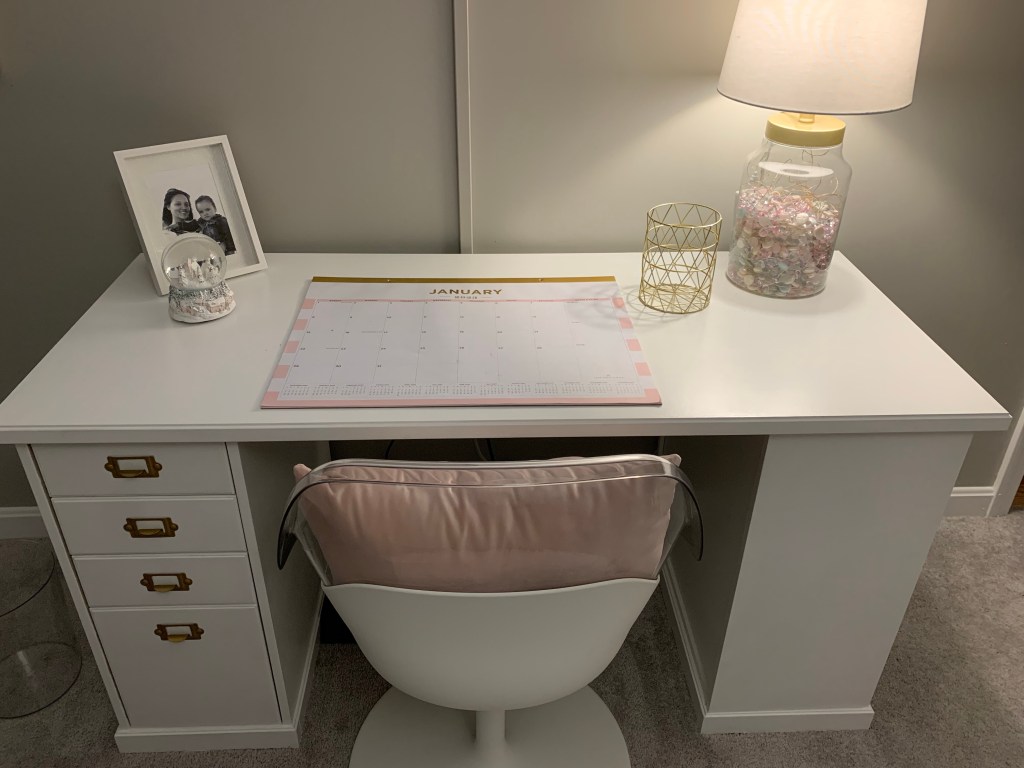
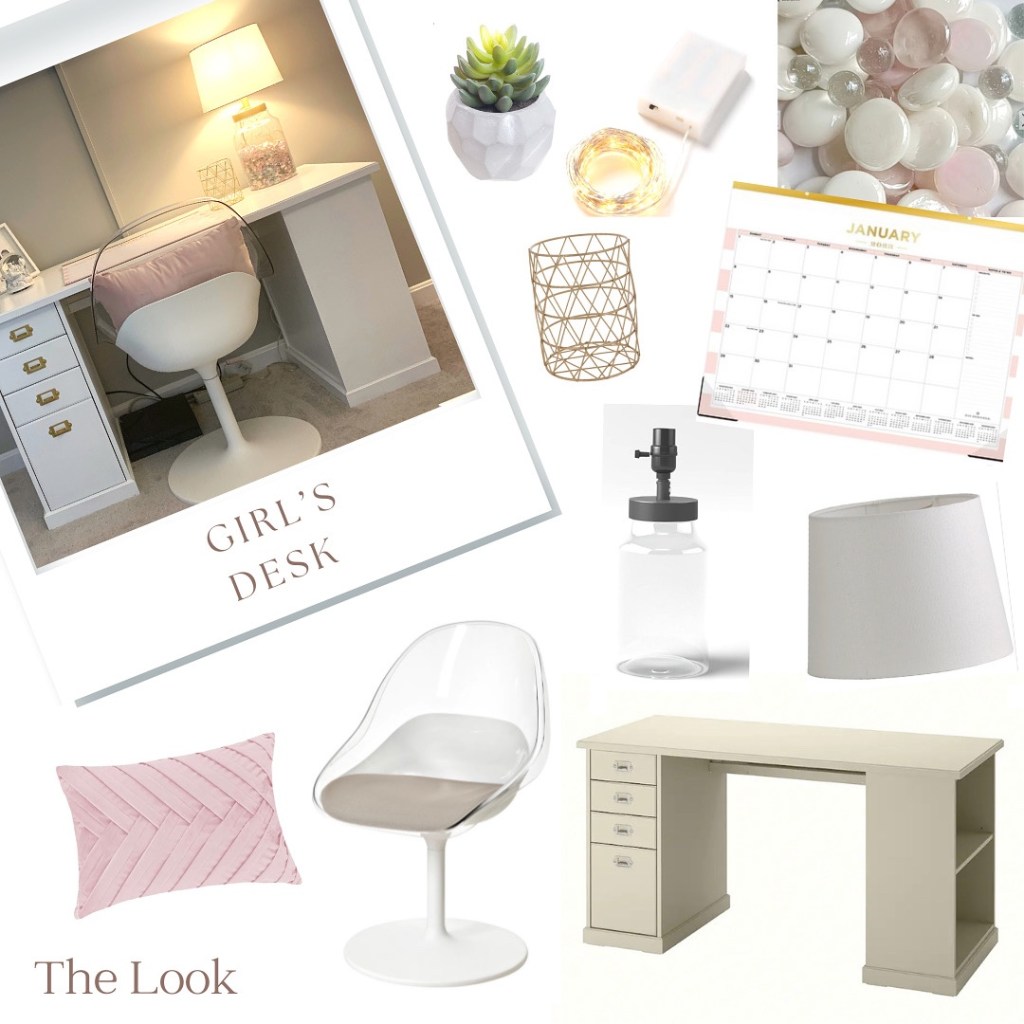
When designing my daughter’s room I knew I wanted it to be an experience that she took part in too. So when thinking about the lighting in her room, I decided to have her help me create a nightlight she could use, that would also be her desk lamp.
Below are the items we used to make the light:
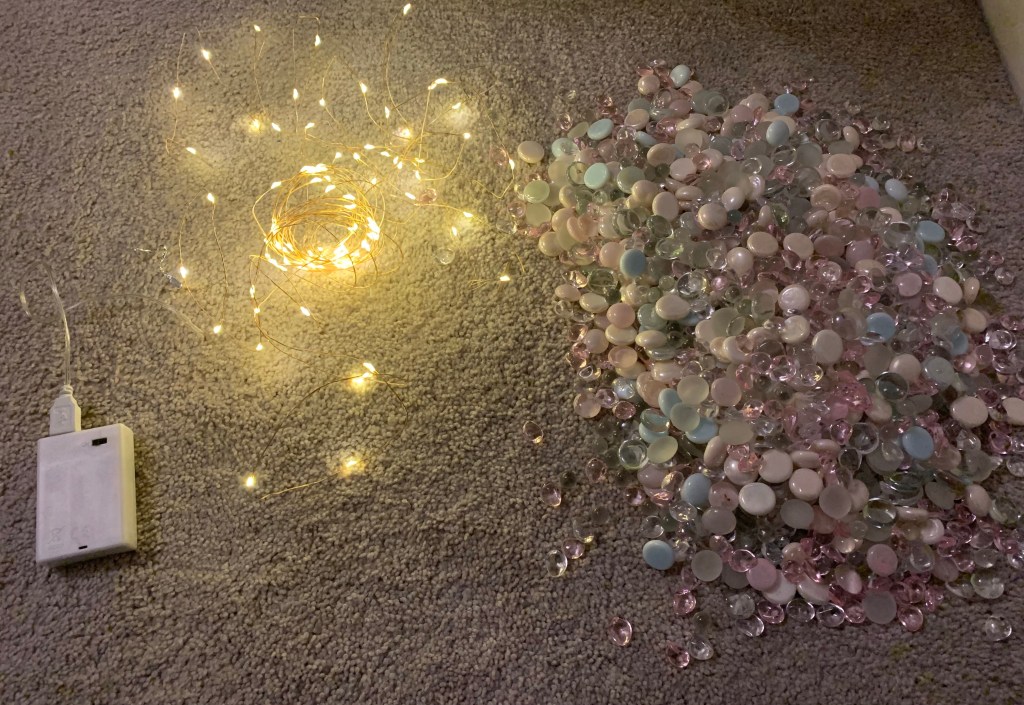
- 90 count timer based fairy lights
- Fillable lamp base
- Drum style lamp shade
- Glass gems in various colors
My daughter and I filled the lamp base with the fairy lights and gems – being sure to mix them evenly at the bottom and then leave some fairy lights at the top to add to the brightness of the night light.
Once the base was filled I screwed on the top on – not tightening it fully, since the battery pack has to be on the outside of the lamp, and added the light bulb and shade.
Now when my daughter wants to go to bed, she turns off her desk light, and turns on her fairy lights.
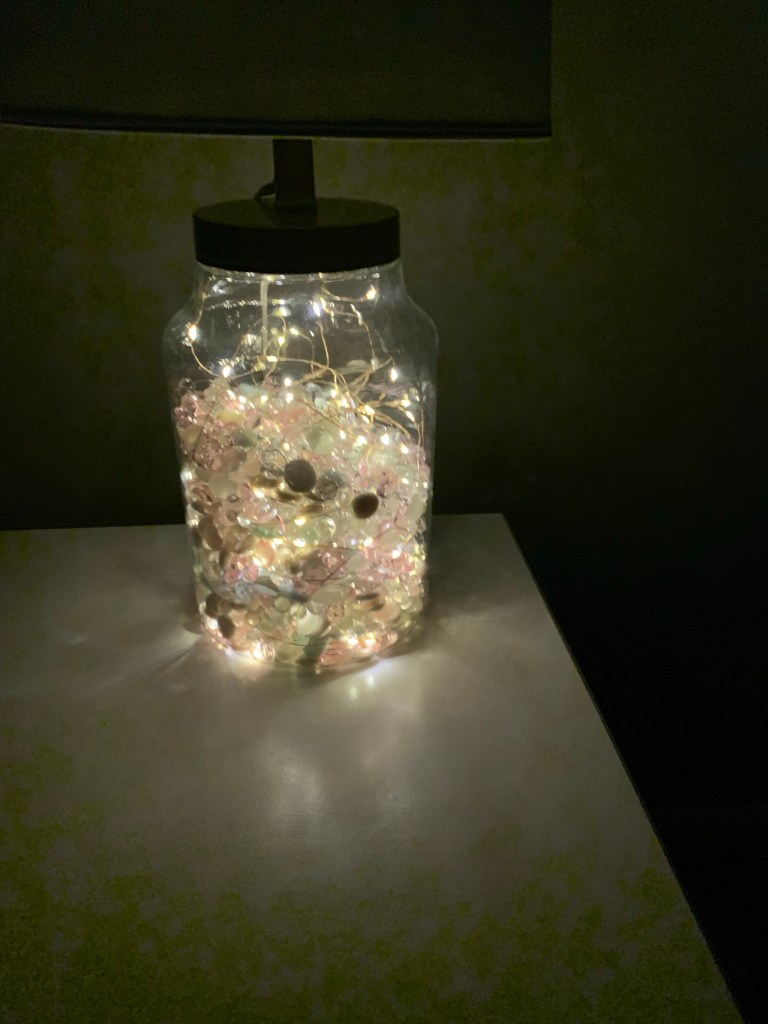
The timer works for 8 hours then shuts off automatically. The batteries are easily accessible in the pack, but we haven’t had to change them yet.
This is a cute and fun DIY project that kids can help with and an added bonus is the lamp interior can be changed out as their likes and interests change along with the style of the room.
Discover more from ENAMOUR
Subscribe to get the latest posts sent to your email.
