

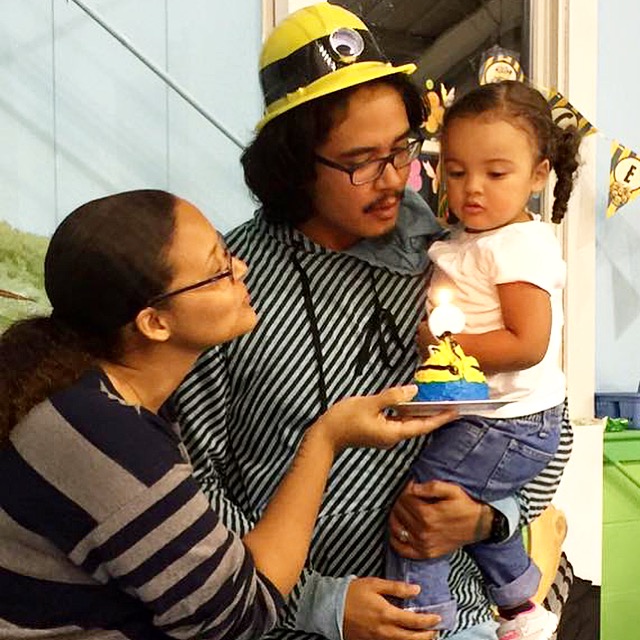
My daughter’s birthday party was this past weekend and I must say, we had a blast! For her first birthday, we kept it pretty low-key. Just a small cake and immediate family invited to help blow out the candles. But over this past year she has made some really great friends and had some fun times with each of them separately, so I thought her birthday party would be a great moment for them all to have fun together.
Although she loves Sid the Science Kid and Doc McStuffins, she, like every other toddler I know, has been bitten by the Minion Mania bug and for the past few months everything has been Minions and the Despicable Me movie series. So naturally thats the theme I went with for her first official birthday party.
Below are the items I created for the party with the “How – to”s and links to where I purchased the supplies. If you decide to throw your little one a Minions Party I hope you enjoy some of these items as much as we did!
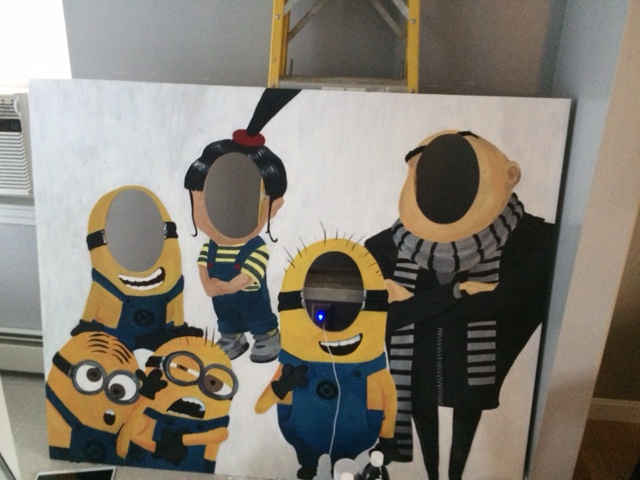
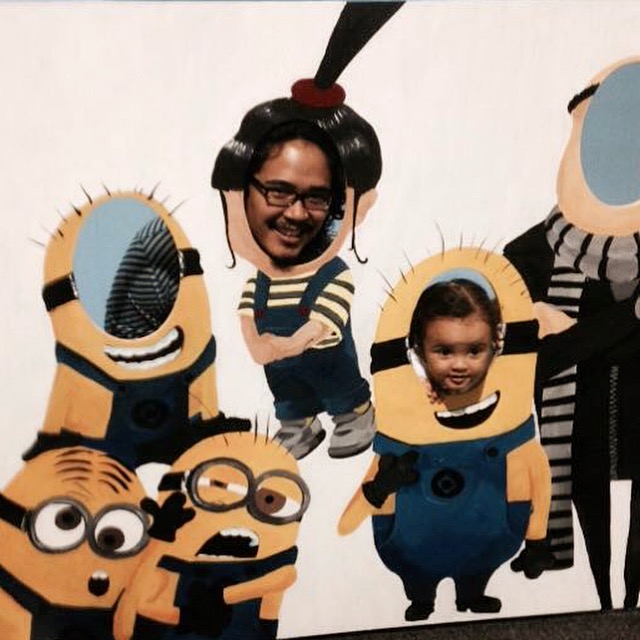
Although I am a designer, my background before design was Fine Art. So for me making a mural was not a difficult task, instead it was a fun endeavor. If you feel this is too much to take on here is a great link to a poster backdrop that would accomplish something similar to what I did:
Materials:
Acrylic Paint
Brushes (preferably cheap synthetic)
Chalk or Pencil
Eraser
MDF good 2 sided Board (1/2″ x 4′ x 8′ )
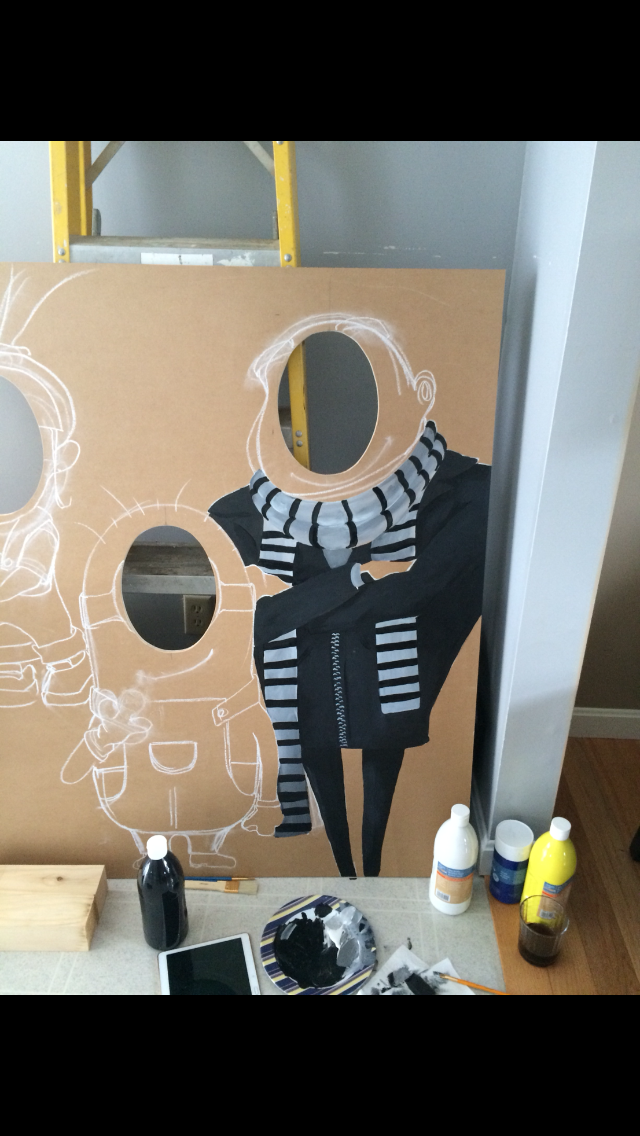
When making any painting I always start with a pencil or chalk drawing to map out how I will layout the design. After that, its important to do a underpainting, which essentially is just a layout of the proper colors in a block format before going back in with a second coat adding in details etc.

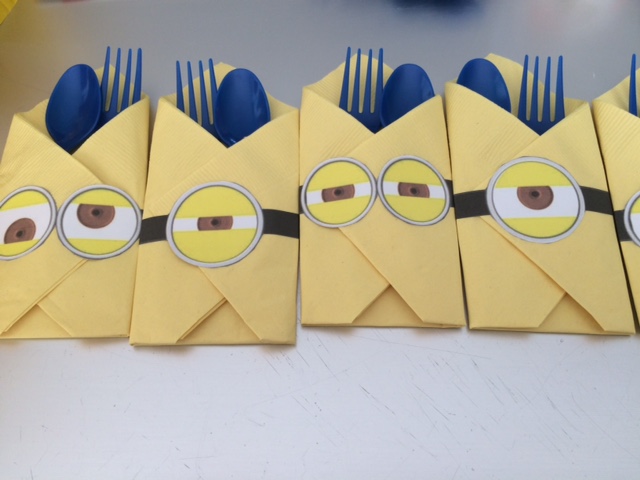
The next thing I tackled was the place settings, there were multiple parts to the setting, but the cost was low; I found most of the supplies at the Dollar Store.
Materials:
Blue Paper plates and utensils
Yellow napkins
Yellow Cups
Blue and White striped straws (the only item I purchased at Party City)
Small Water bottles (purchased at the Grocery store)
Sharpie Marker
Minion Party Printables (this was an awesome source and I used almost all the downloadable templates)
Mailing labels ( 2″x 4″) ( 1″ x 4″)
Clear Packaging Tape
Scissors
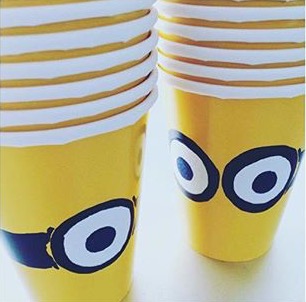
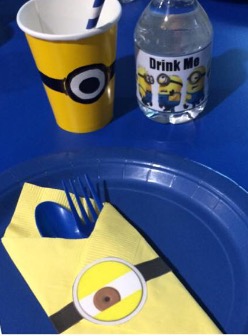
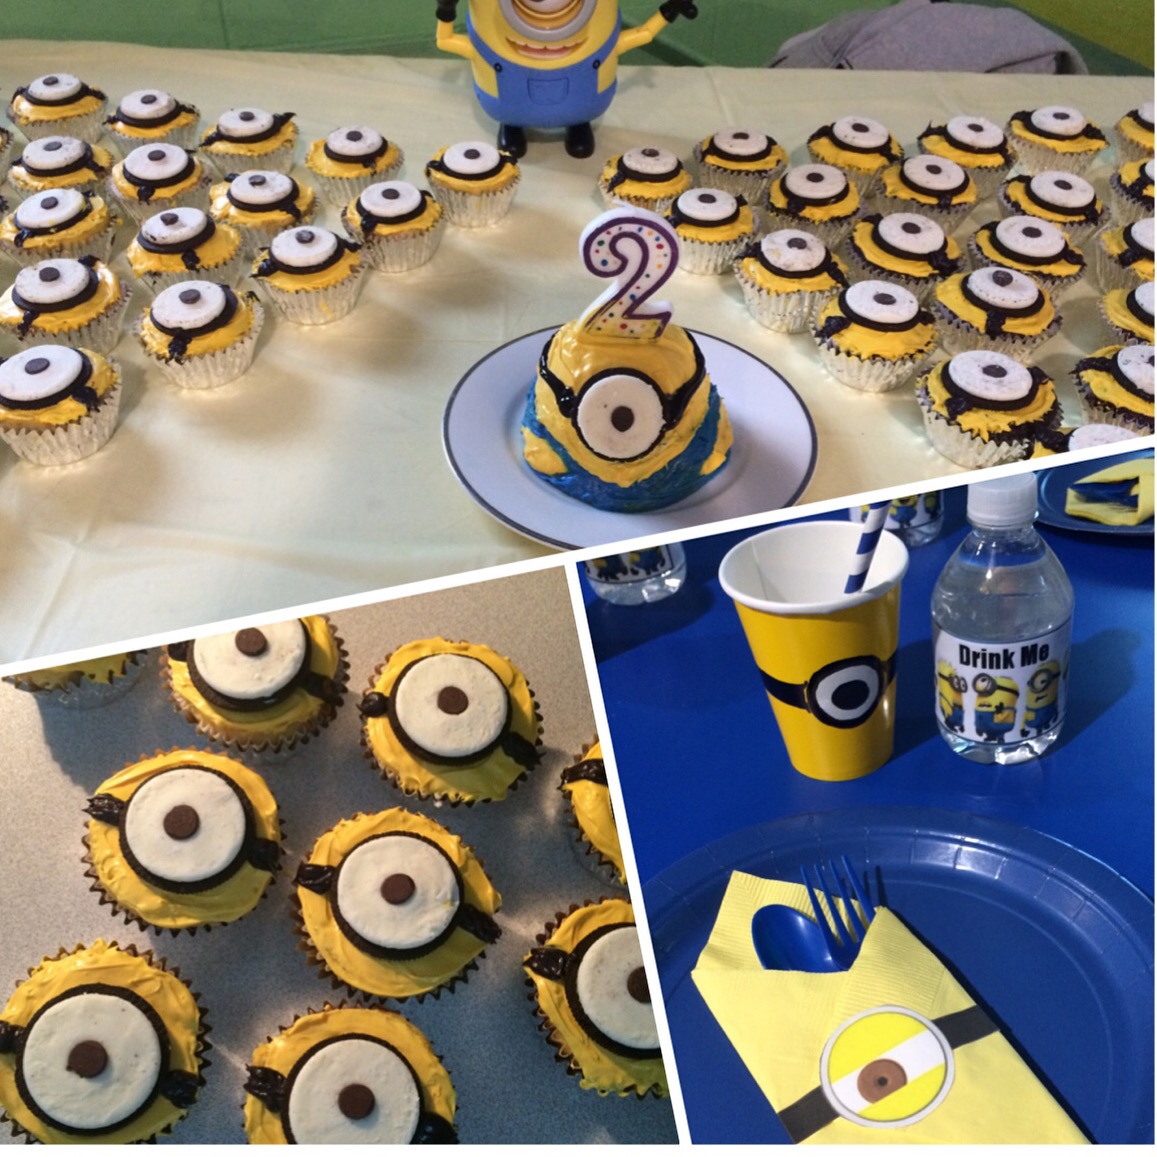
To make the cups I cut out circles from the large format mailing labels and added them to the middle of the cups. Then with a sharpie, I drew a black line around the cup for the band and traced around the sticker cut out with the sharpie as well. Lastly, I drew a black circle in the center of the sticker to create the eyeball.
To create the water bottle label I printed the label template from the Minion Party Printable download. I cut the labels out. Then I cut a strip of clear packaging tape slightly longer than the label. I stuck the label to the packaging tape (label image down) and then wrapped the label around the water bottles. The longer ends of the packaging tape adhere the label to the bottle and create a protective coating at the same time.
Materials:
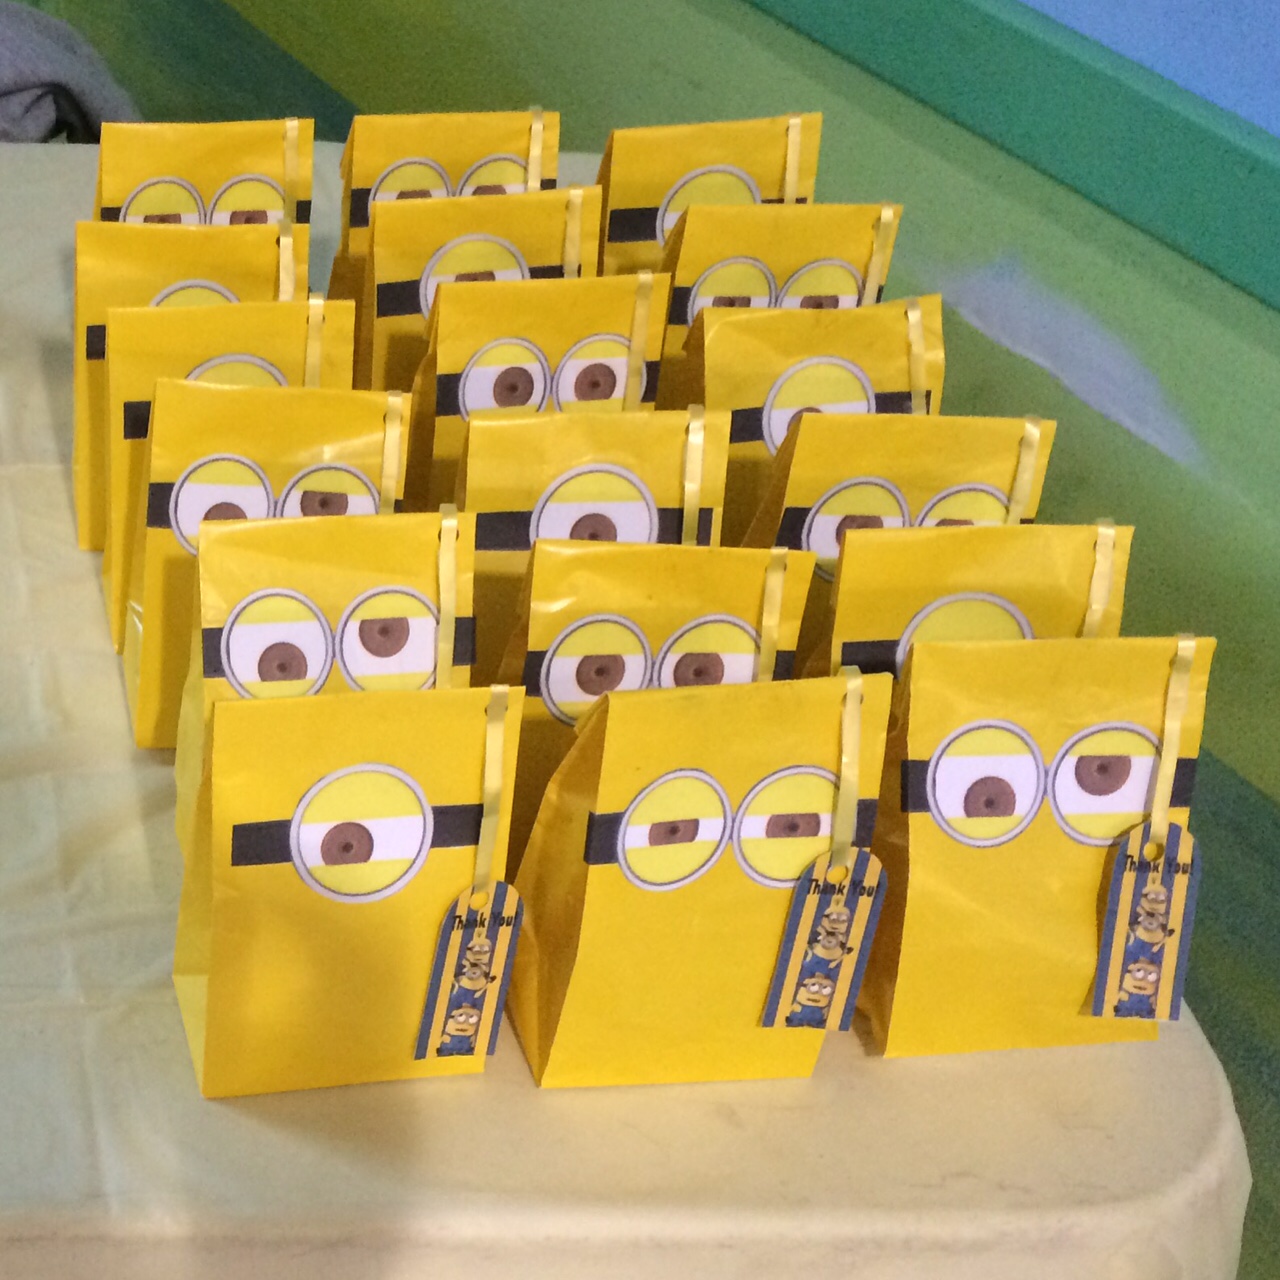
Mini Yellow Gift Bags (Oriental Trading Company)
Mailing Labels (1″ x 2″)
Cardstock
Minion Party Printables (See Link above)
Minion Eye Template
Scissors
Hole Punch
Yellow String
Tape
To make these cute little bags I first printed the eye template on the same labels as the napkin stickers and used the same process. After adhering all the eyes to the bags I printed the “Thank You” tags from the Minion Party Printable download onto cardstock and cut each tag out with scissors. I then made one hole at the top of the tag with a hole punch. I then filled each bag with the party goodies ( bubbles, bouncy balls and custom M&M’s). Once the bags were filled I folded them closed and sealed them with clear tape. Next I punched a hole through the top left corner of each of the bags. I cut yellow string pieces measuring about 5 inches and strung the tags onto each string. Once the tags had their strings I looped them into each bag hole and secured them with a piece of clear tape.
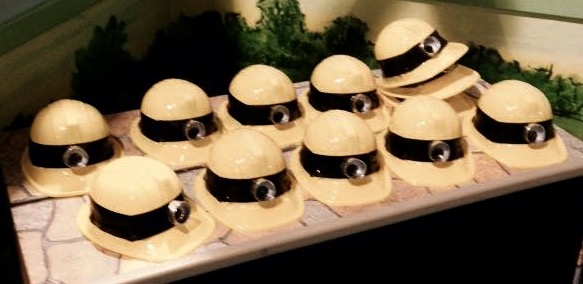
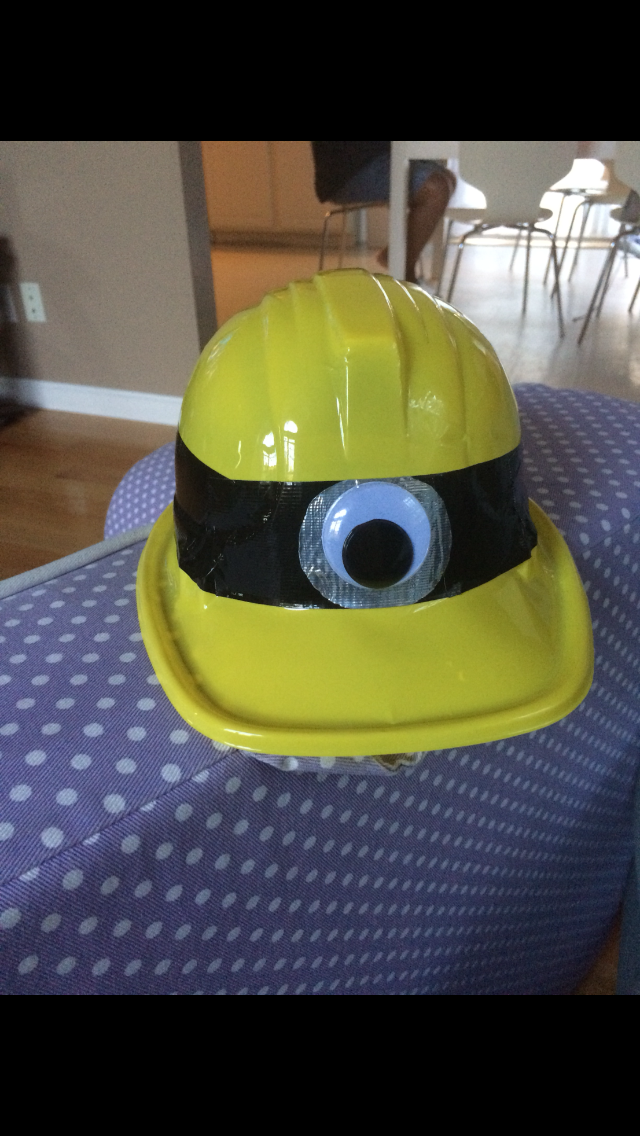
Although they weren’t a hit at our party; (with so much running around it was hard for them to keep their hats on) I know some kids may appreciate a Minion Helmet:
Materials:
Plastic Construction Helmets (Oriental Trading Co.)
Black Duct Tape
Metallic Duct Tape
Big Wiggly Eyes
2 paper towel rolls
Scissors
Glue gun/ glue sticks
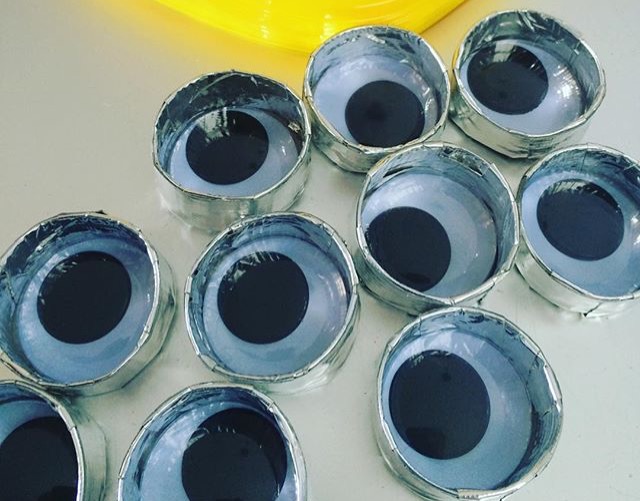
To make the helmets I adhered three strips of black duct tape onto the helmet to create a goggle band. I then cut the paper towel roll into 8 rings. I added the wiggly eyes into each of the rings and then covered the paper towel edges and the back of the wiggly eye with the metallic duct tape. After all the goggle bands and “eyes” were made I hot glued the eye to the middle of the helmet ( hold the eye in place for 10 seconds to secure).
Variations of the arts and craft project that I used for the craft party table can be found here: http://www.craftionary.net/diy-minions-recycle-projects-creative-kids/

And I saved my favorite DIY for last. I made these cute and delicious Minion inspired cupcakes along with a mini Minion cake.
Materials:
Cupcake Mix
Whipped Frosting
Yellow food coloring
Blue Icing
Black Icing
Oreo Cookies
Chocolate Chips
Metallic Cupcake Holders
Mixing bowls
Spoons
Knife
I used the recipe from the Betty Crocker site for my Minion cake: http://www.bettycrocker.com/recipes/despicable-me-minion-sheet-cake/327597eb-f679-4d19-b383-d4ec40f548bd
But for the cupcakes I added a chocolate chip to the middle of a Oreo, then topped the frosted cupcakes with them. To finish the look I used black icing and made the goggle bands across each side of the Oreo.
I hope having the links and knowing a bit of the background behind the DIY’s makes it easier to try one or even to attempt a Pinterest pin or two.
Discover more from ENAMOUR
Subscribe to get the latest posts sent to your email.

This is so cute and creative. I love it!!
Thank you!!! I had a great time making everything, so it was wonderful to see everyone have such a good time 🙂
What a fantastic post, I have a childrens party coming up end of this month ( my neices) and they wanted a minion theme, this post will cut costs down greatly – thank you. I am in Australia but I can get most of the things you suggested and going to ask my arty friend to have a go at the photo mural – again what a great idea. Thanks for sharing,I will let you know how I get on.
I’m so glad this post will come in handy! Please keep me posted on how it goes! I’d love to see some pictures 🙂