

This holiday season I received a lot of compliments on a new Christmas tradition that I introduced to my family as a Christmas countdown.
I decided to create an advent calendar. (An advent calendar is an interactive calendar used to countdown special occasions, it’s most often used during the December Holiday Season.) I’m not sure if others feel stressed during the holidays, with all the excitement of wanting to create great holiday memories (decorations, events, hosting parties, wrapping gifts etc.) and still balance all that is happening in our everyday lives. I can honestly say an advent calendar makes it all possible with a lot less stress. It allows for more organization and for all of the extras to fit nicely into everyone’s schedules.
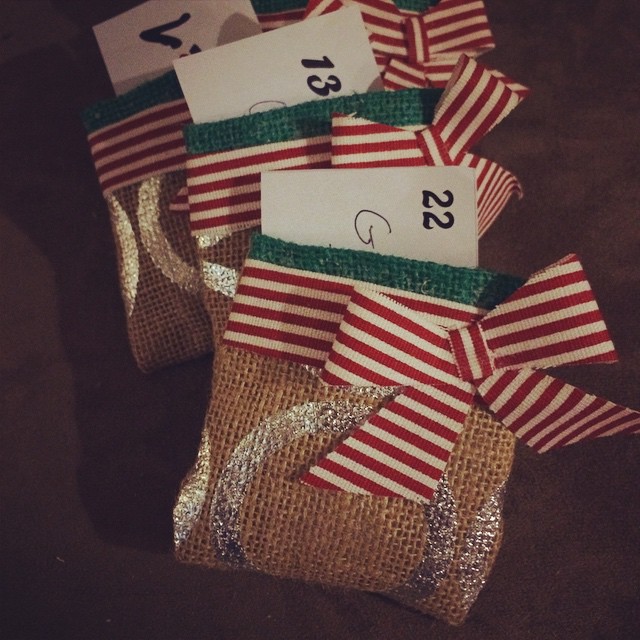
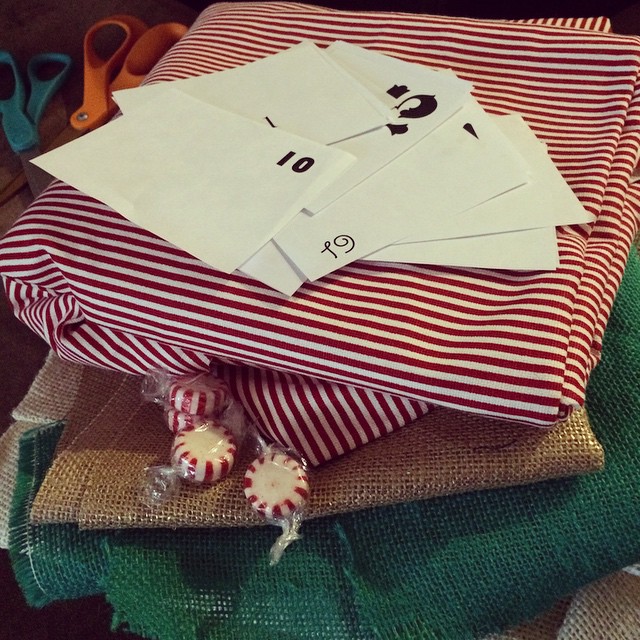
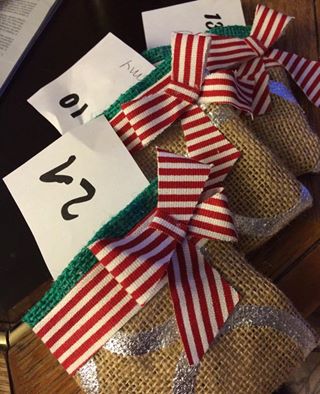
Before actually making the calendar, decide what things you want to do with your family and for how many days you want your countdown to last. If you are a parent, this is a great brainstorming activity for the whole family. This year my family’s list consisted of gift buying, cooking and baking items, holiday events, and at home family time items. Once you have all your items grab a calendar and figure out, based on your regular schedule, the best day to complete each item. We did a 15 day calendar with 1 event each day. I wrote the items on numbered paper and these papers would be what filled the advent sacks I created.
Because of all the compliments and comments that were left on my Facebook page after posting a photo of the sacks, I decided not only to blog about the calendar but to do a quick “how-to” post. (Since this month was so hectic, I was unable to film my process in a video tutorial)
For this project you will need:
- 1 -1 1/2 yards of decorative Burlap or home decor fabric
- 1/2 – 1 yard of accent fabric for the rim/edge of the sacks and the hang ties (optional)
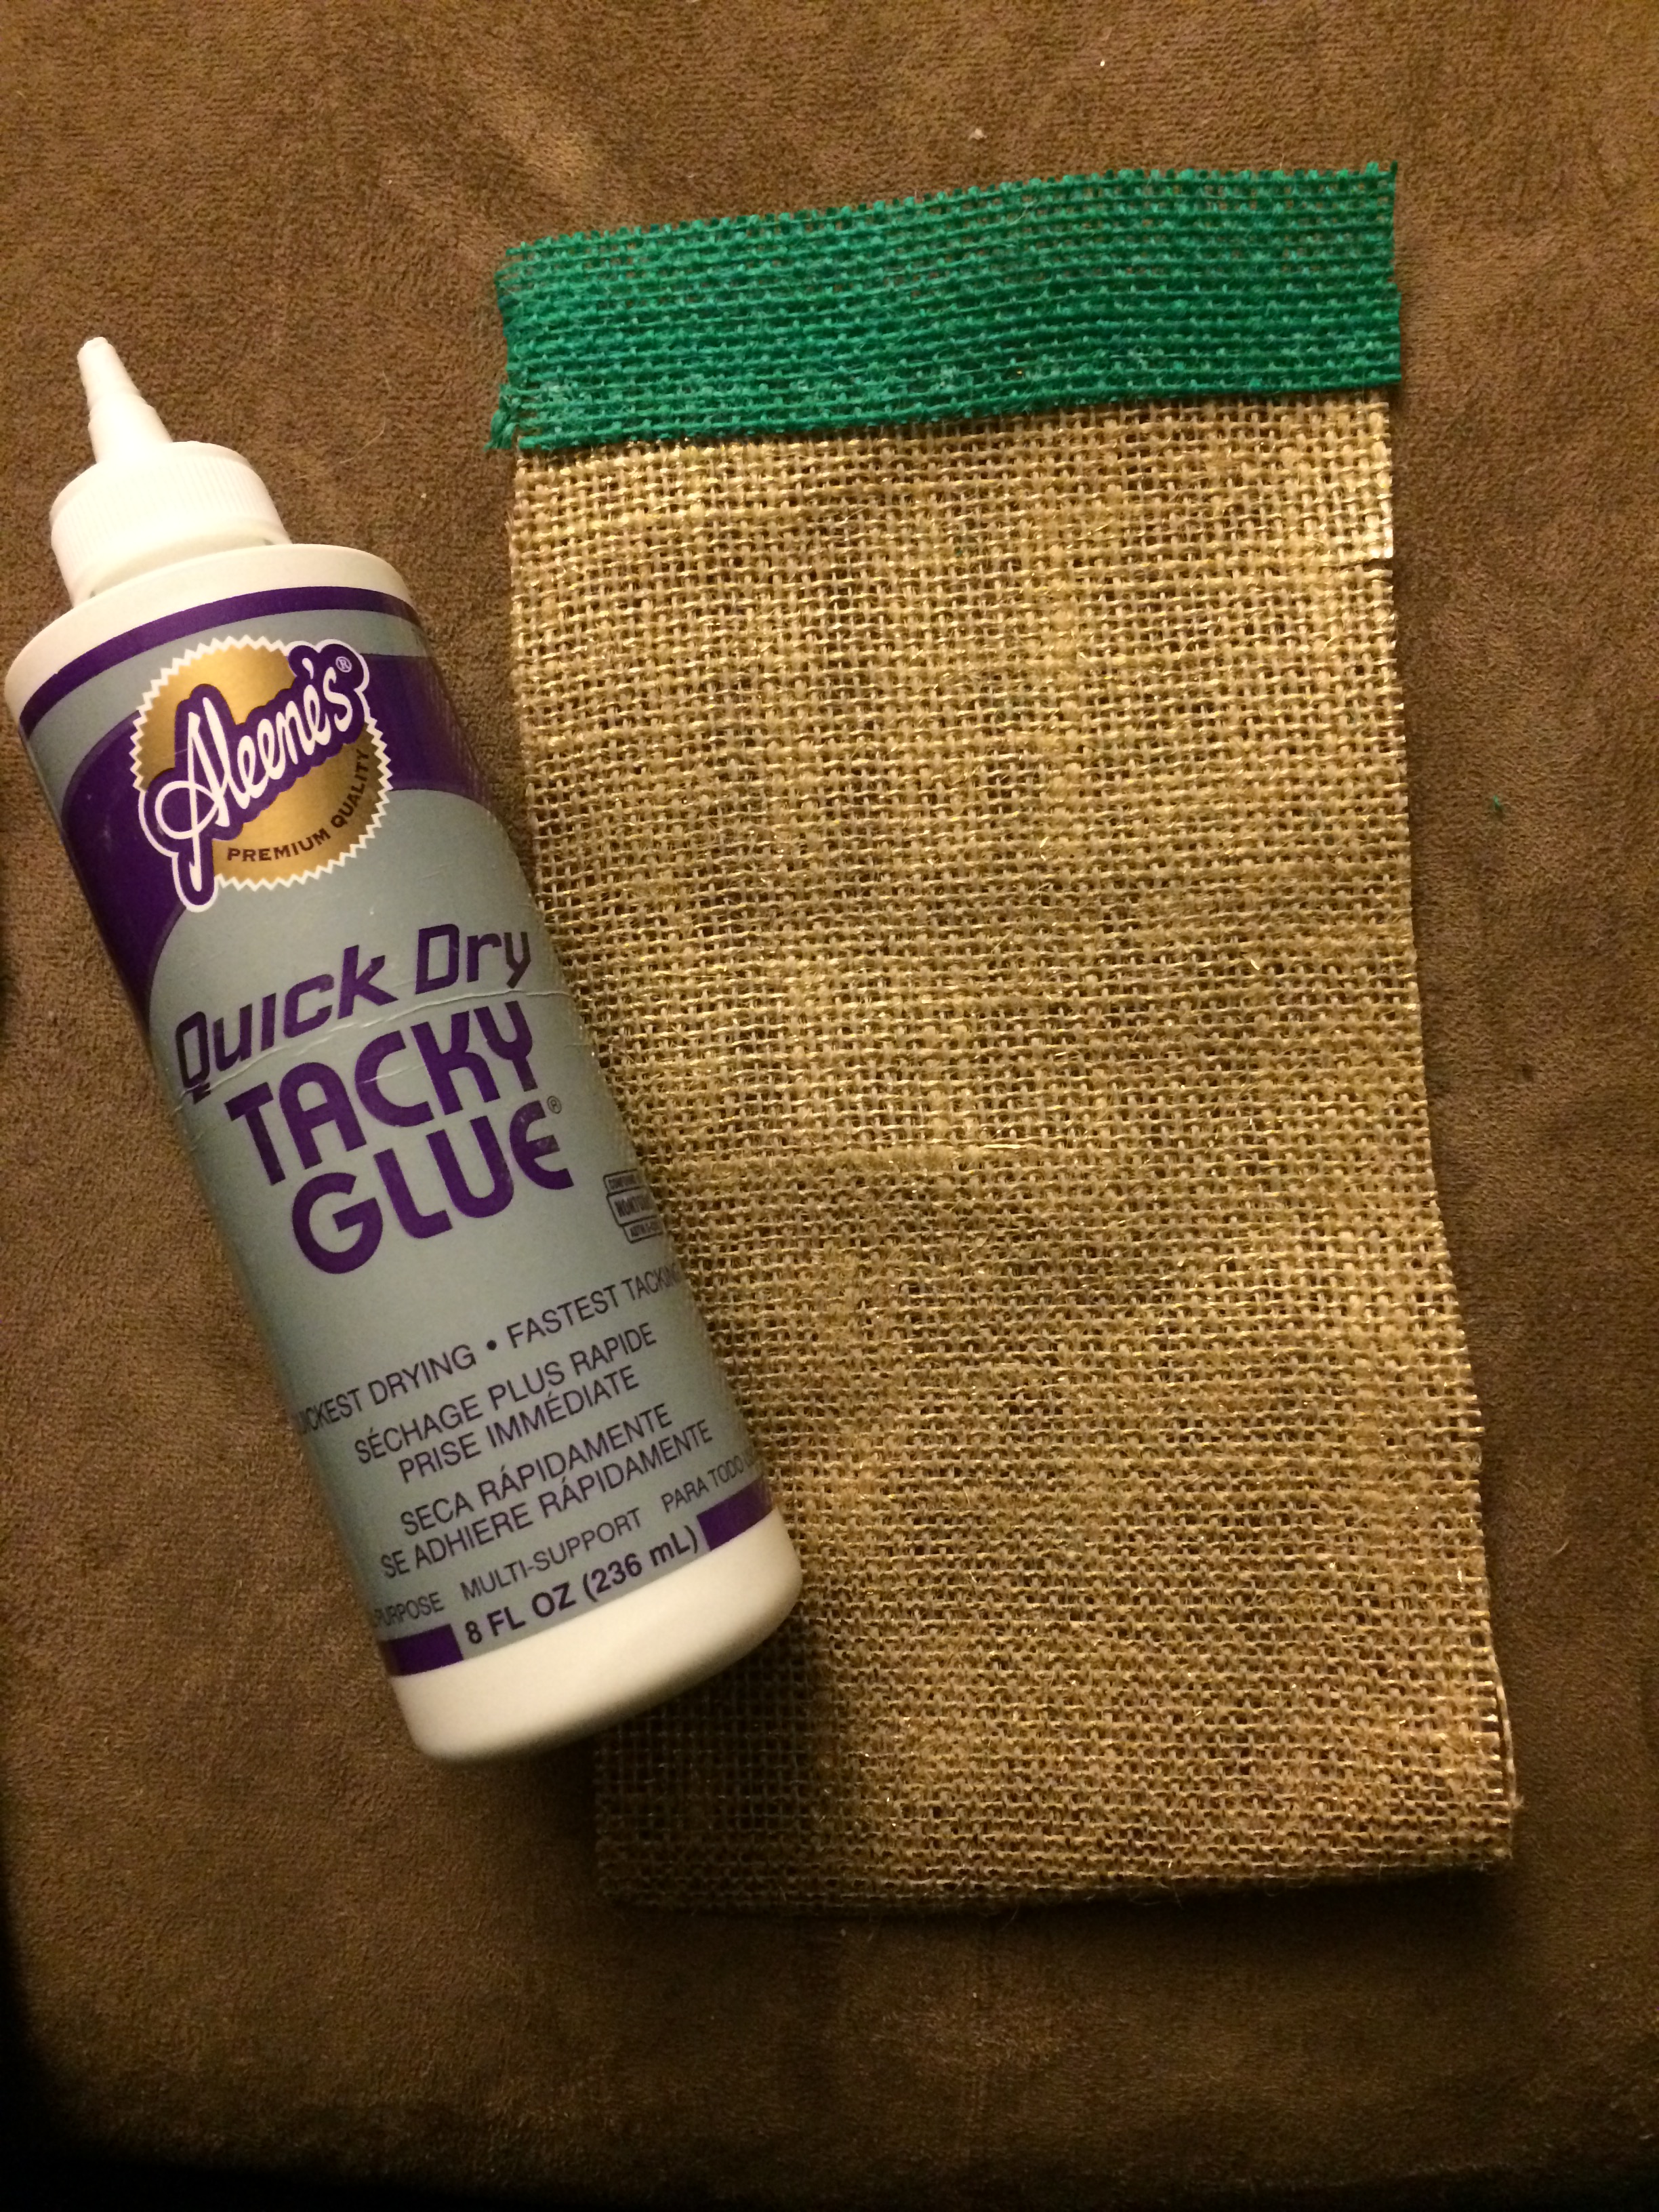
- Fabric Glue
- Hot Glue Gun and Glue Sticks
- Thread color of your choice and needle, or sewing machine
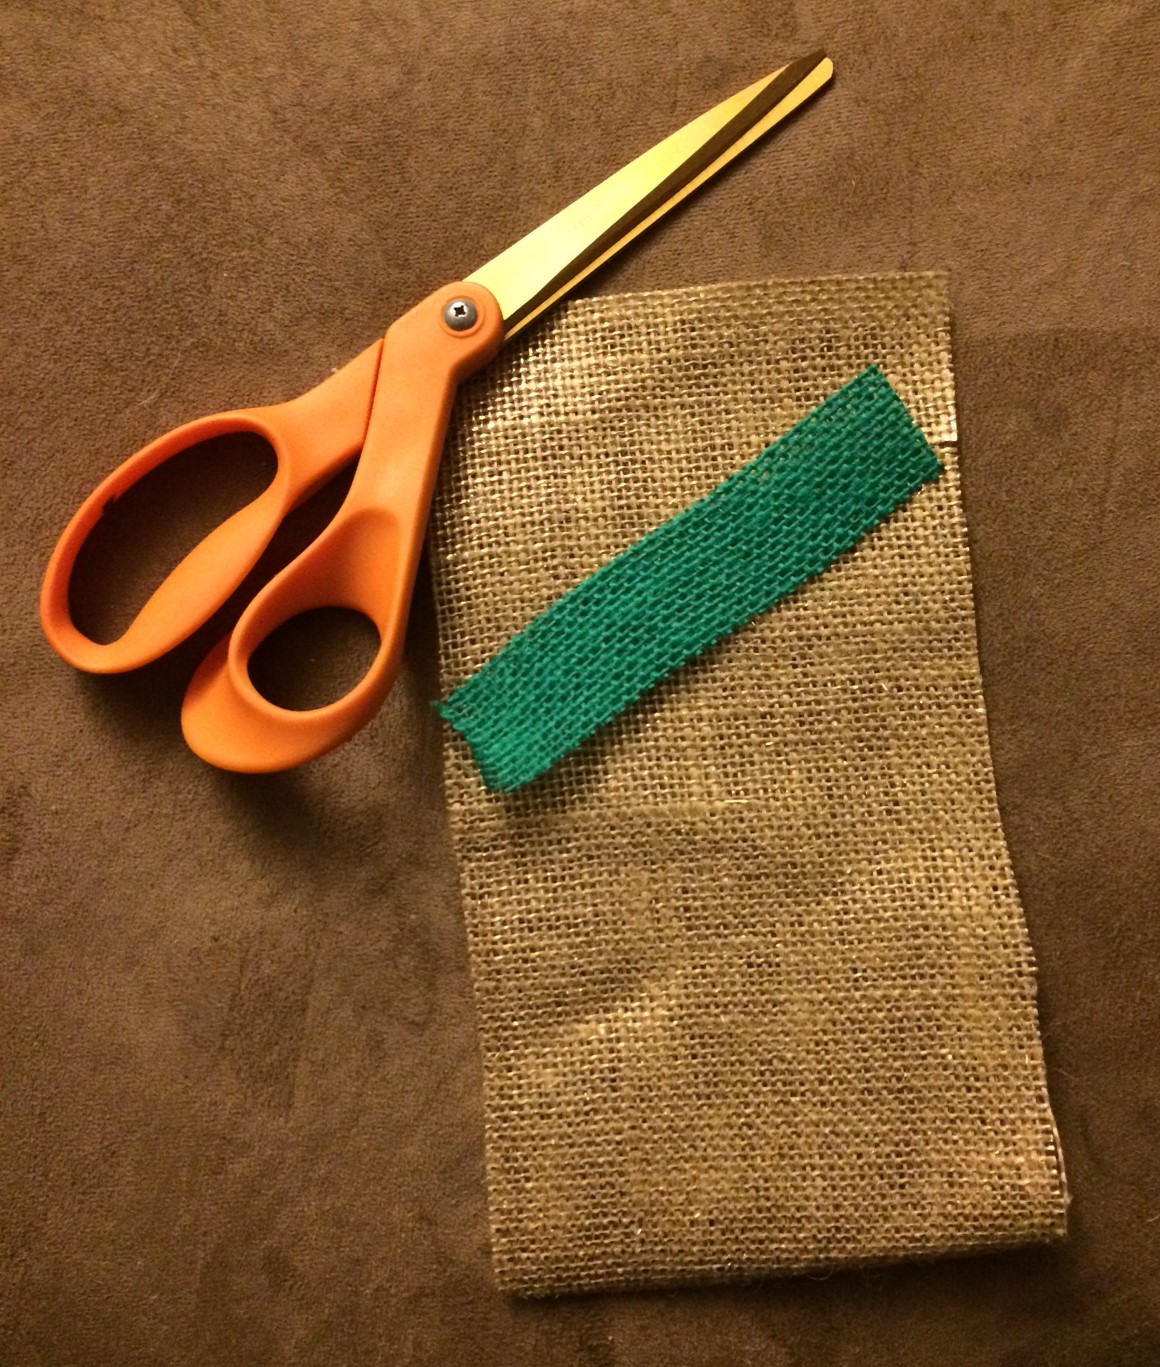
The first step is to cut as many strips of burlap as you will need for however many days you choose to have for your calendar. The strips should measure 8 inches long and 5 inches wide:

Once your strips are cut you should then cut however many edge strips you will need for your sacks. In my case I cut burlap for 15 sacks, so I will need 15 edge strips measuring 5 inches long and 1 inch wide:
You will repeat this step again for the hang ties making them 7.5 inches long and 1/2 inch wide.
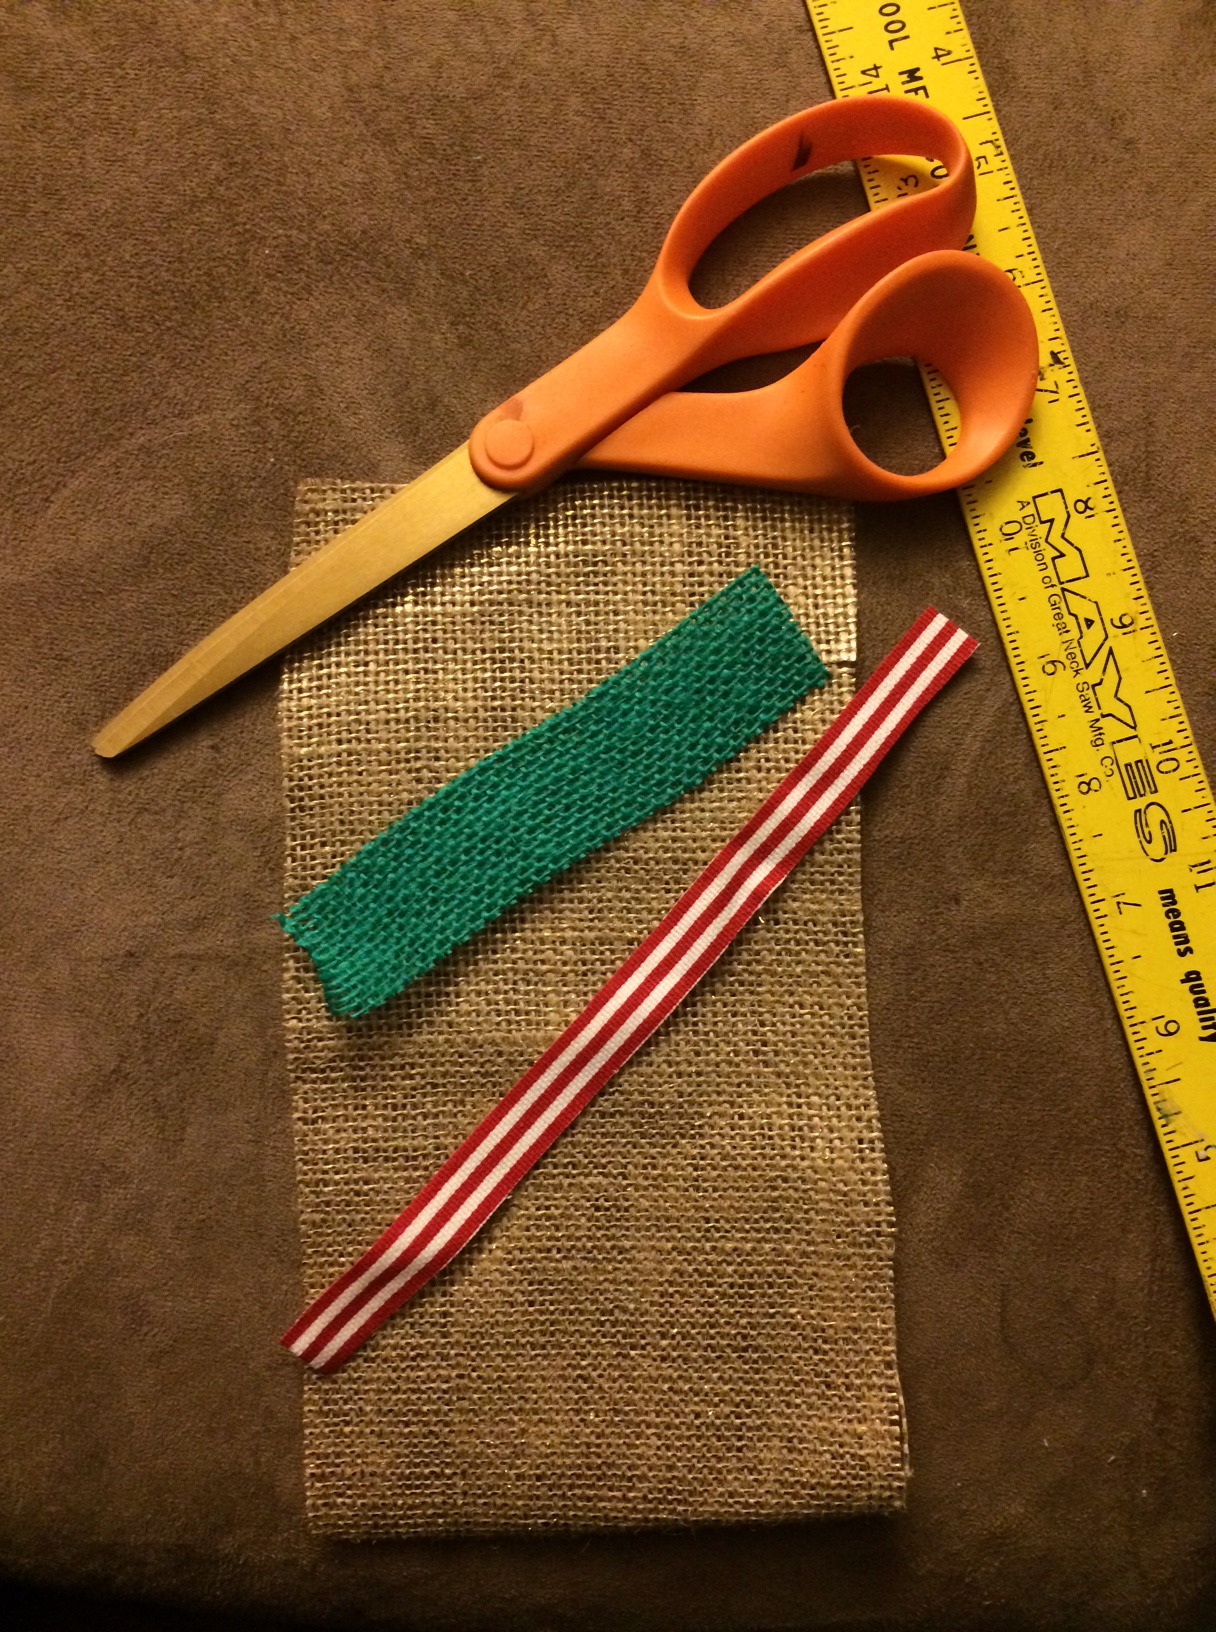
Once all of your fabric is cut you can begin to glue the edge strips onto the burlap strips using fabric glue:
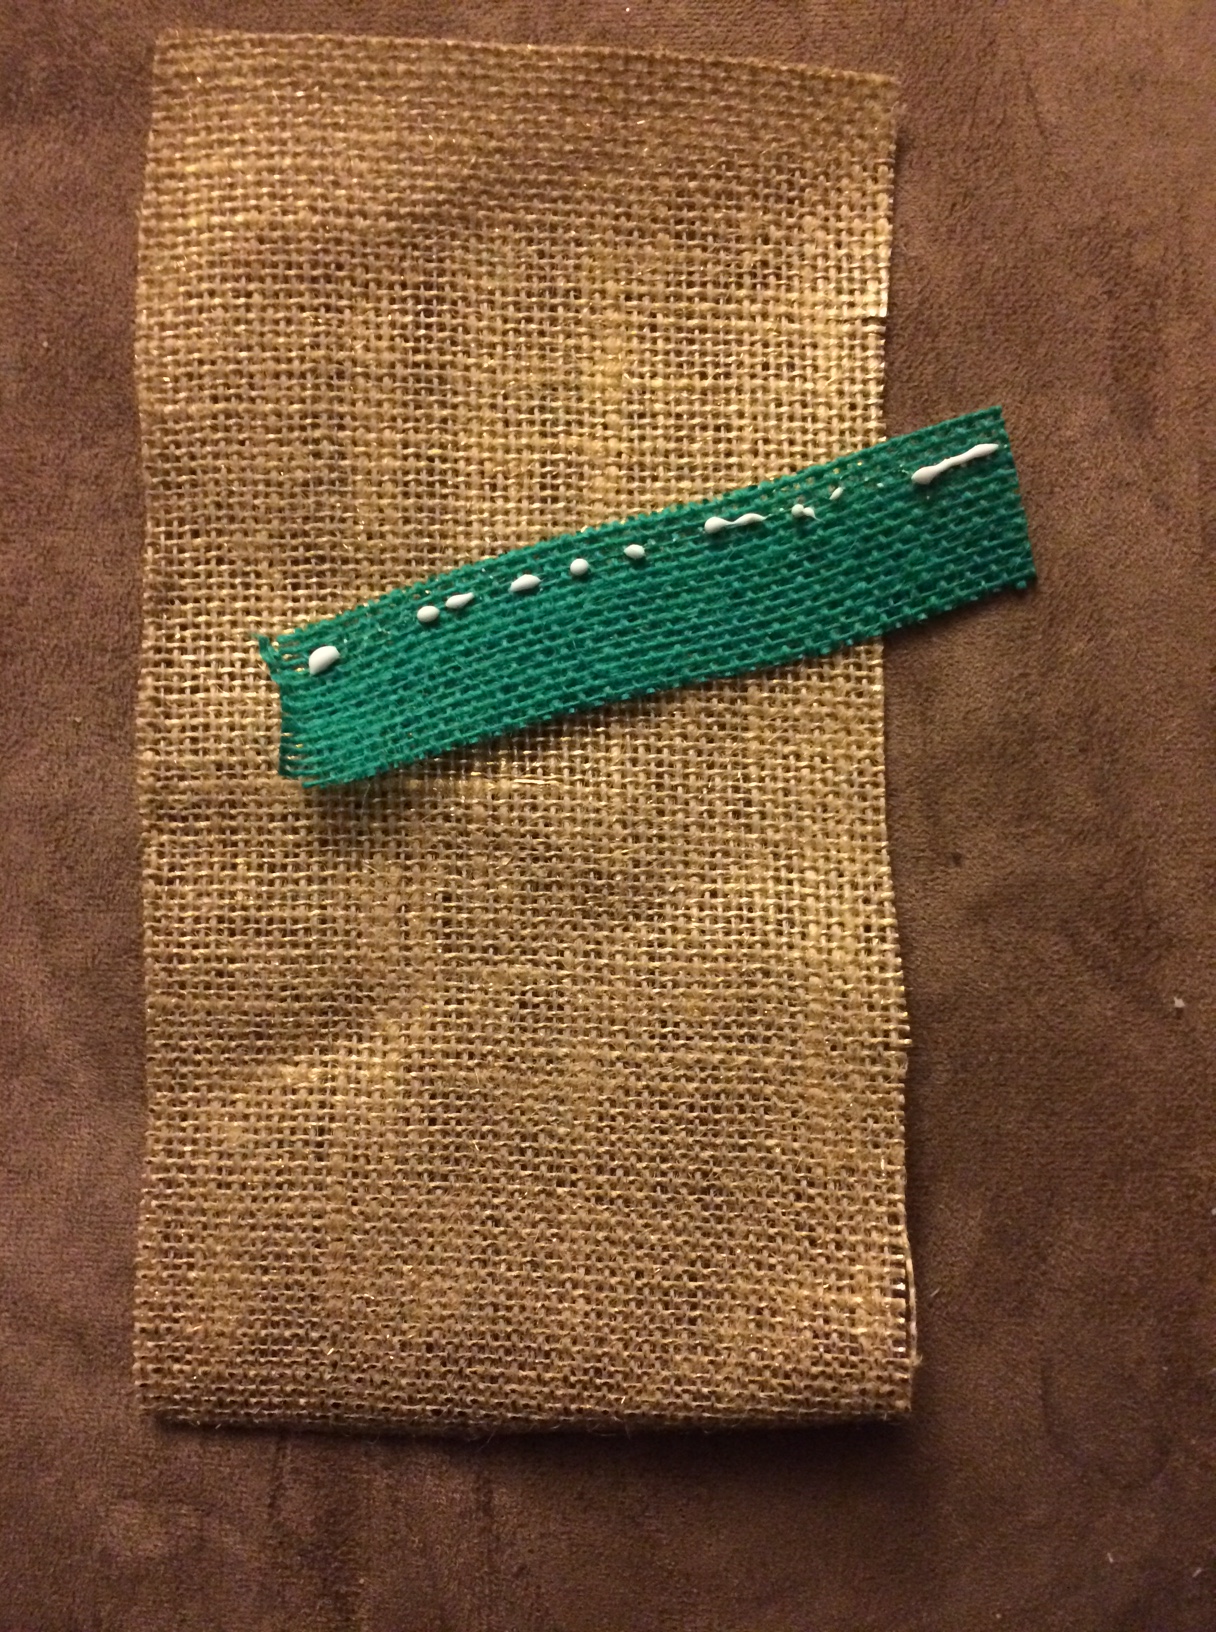
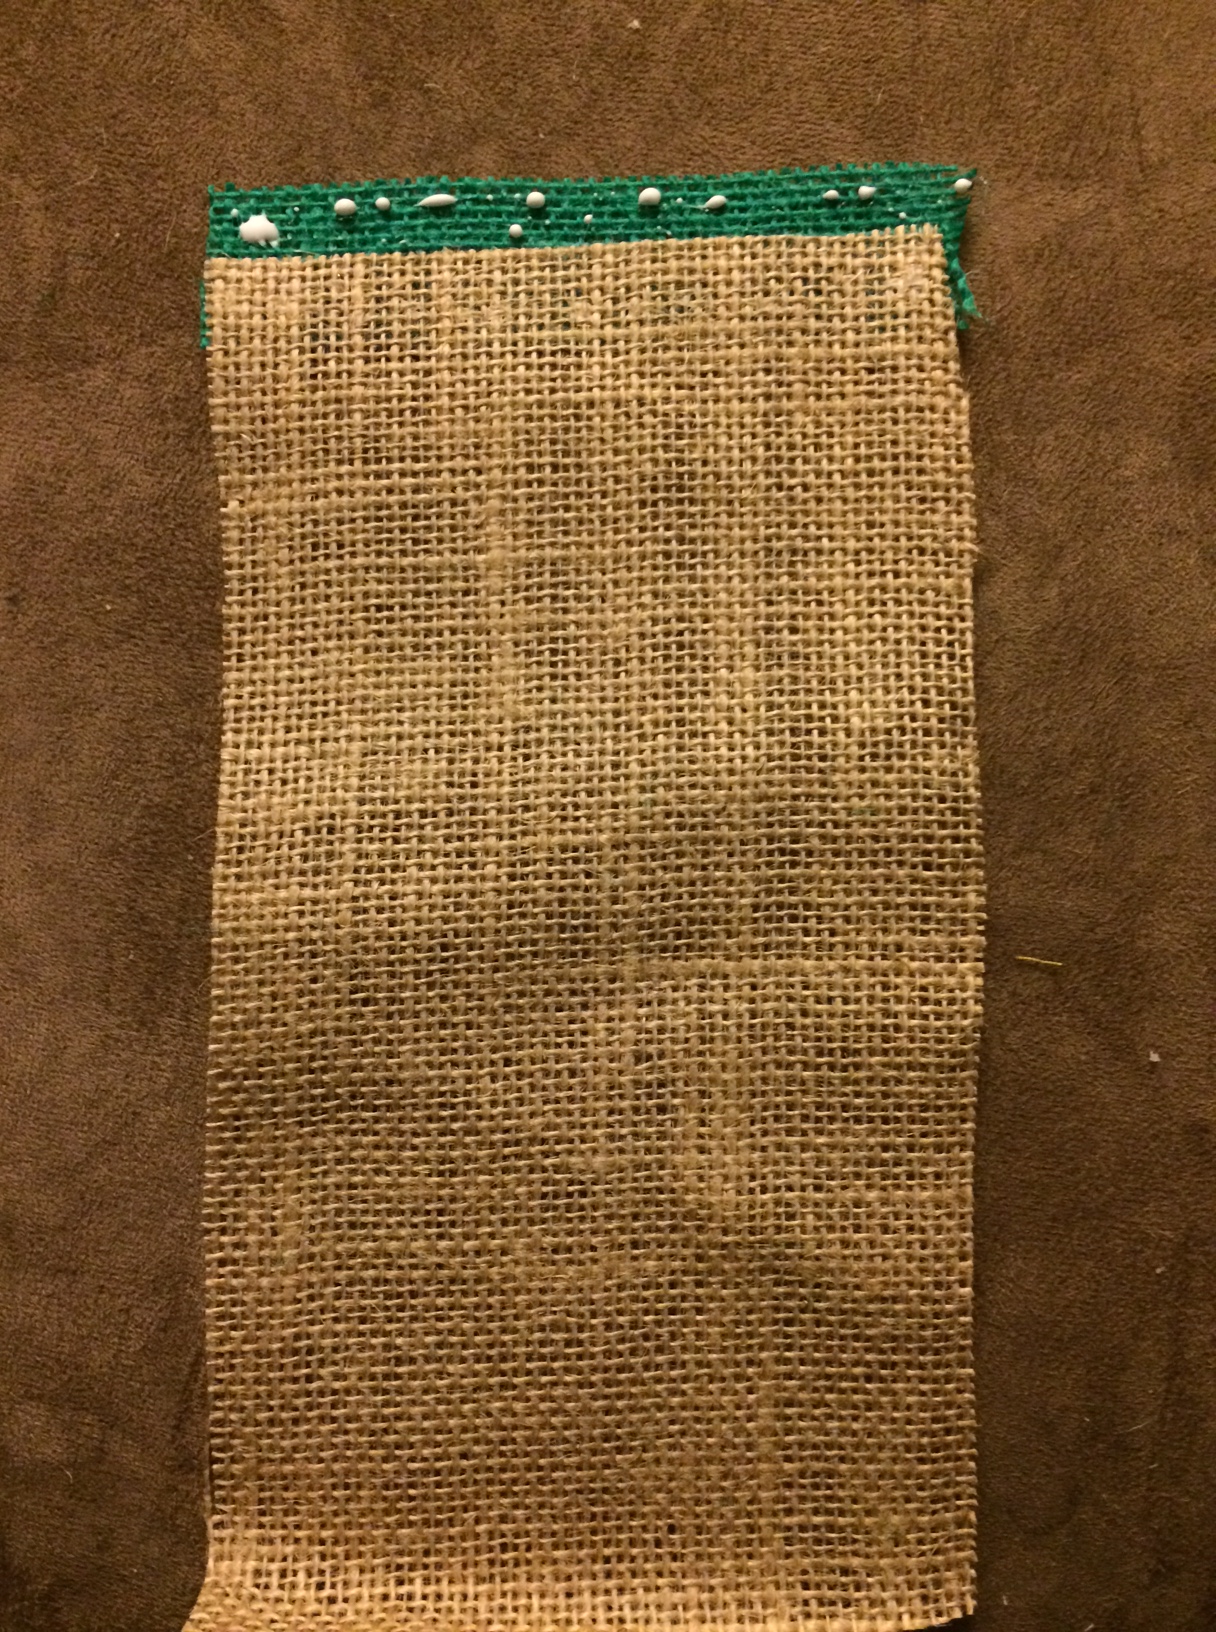
Allow to dry before continuing…
Once all of your edges have been glued in place you then fold the sack strip onto itself, with the wrong sides of the fabric facing out and pin:
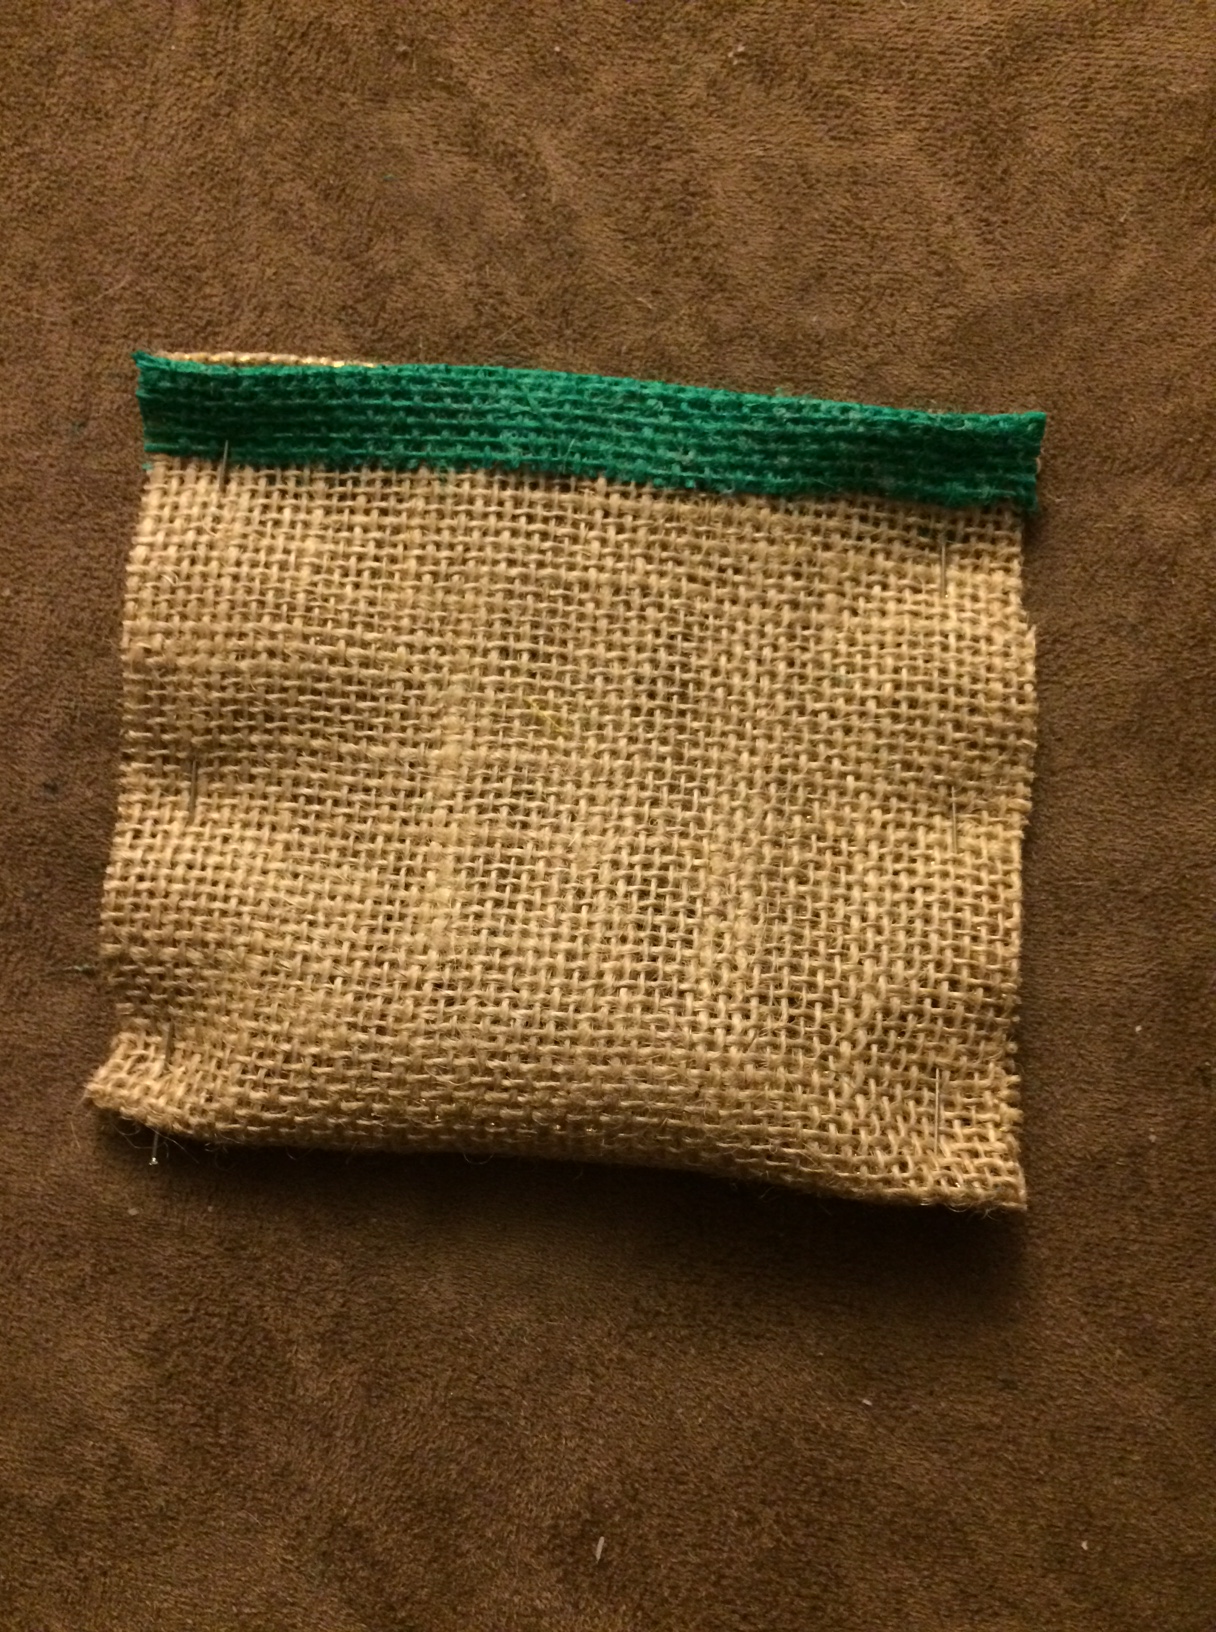
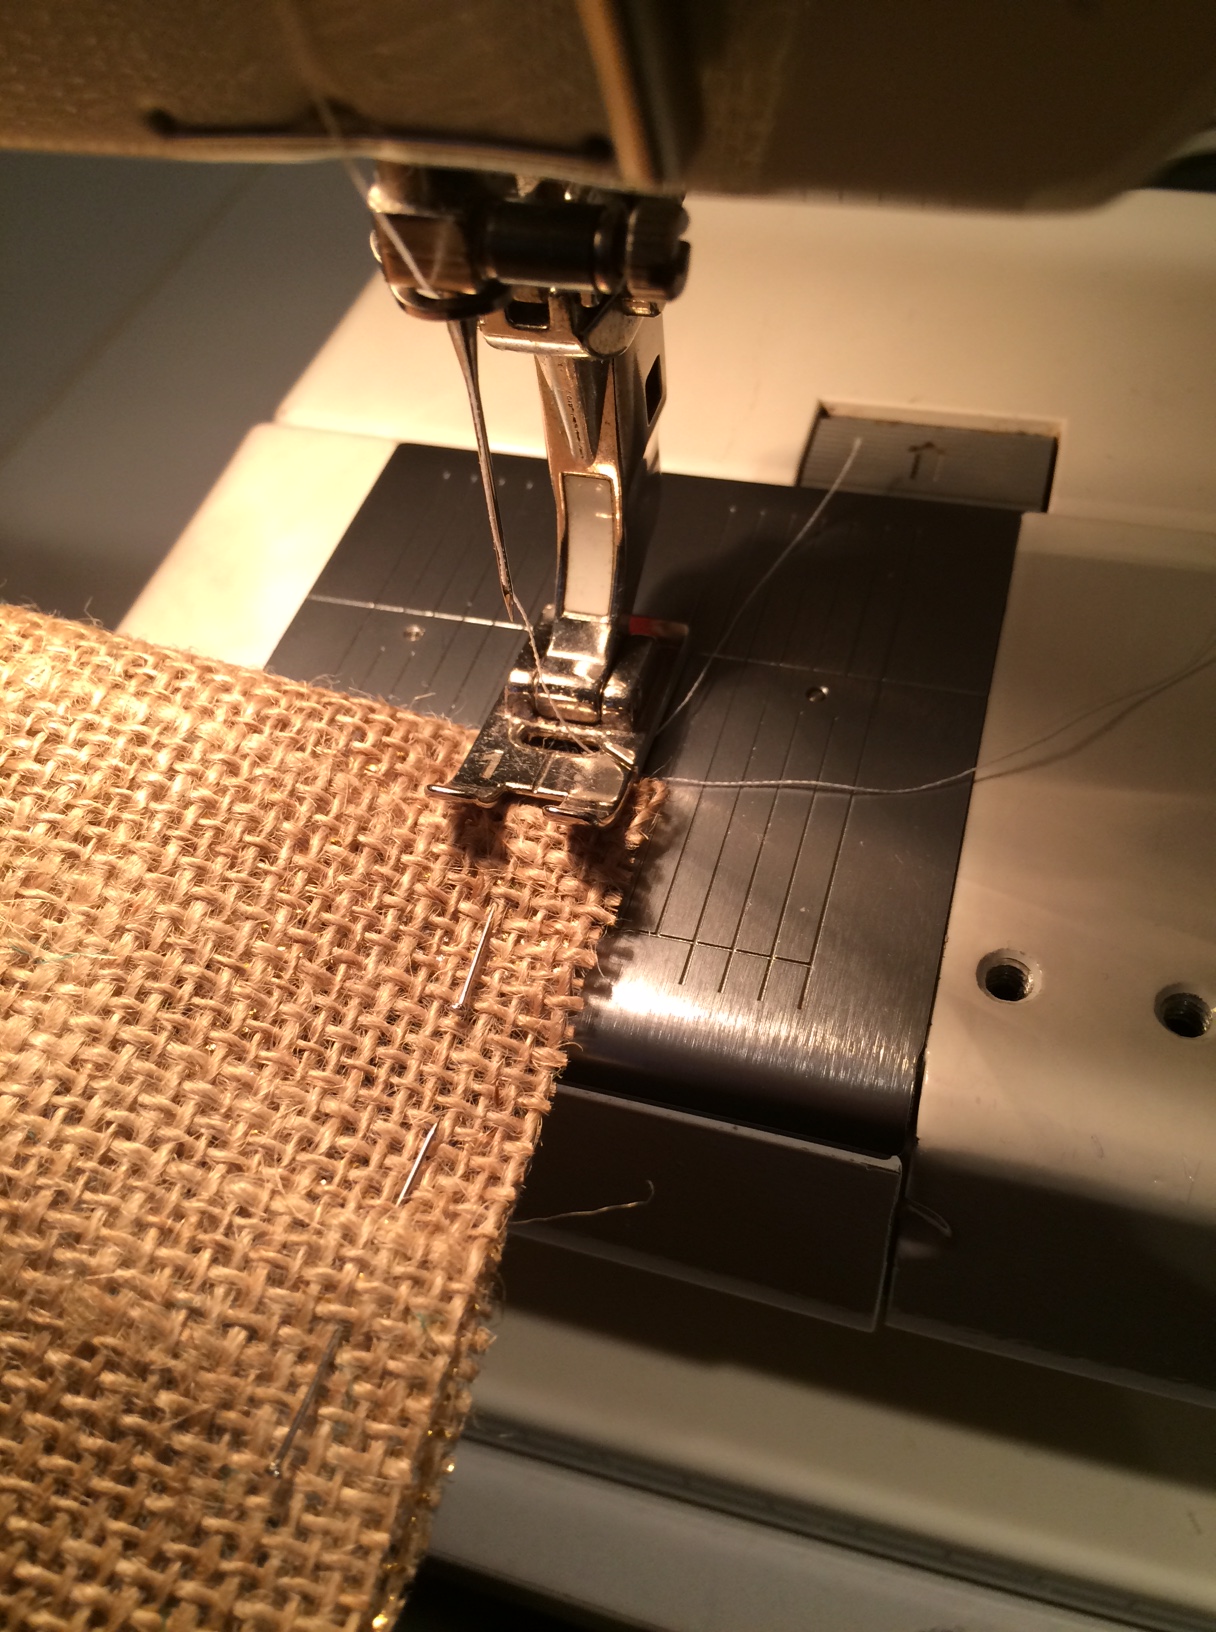
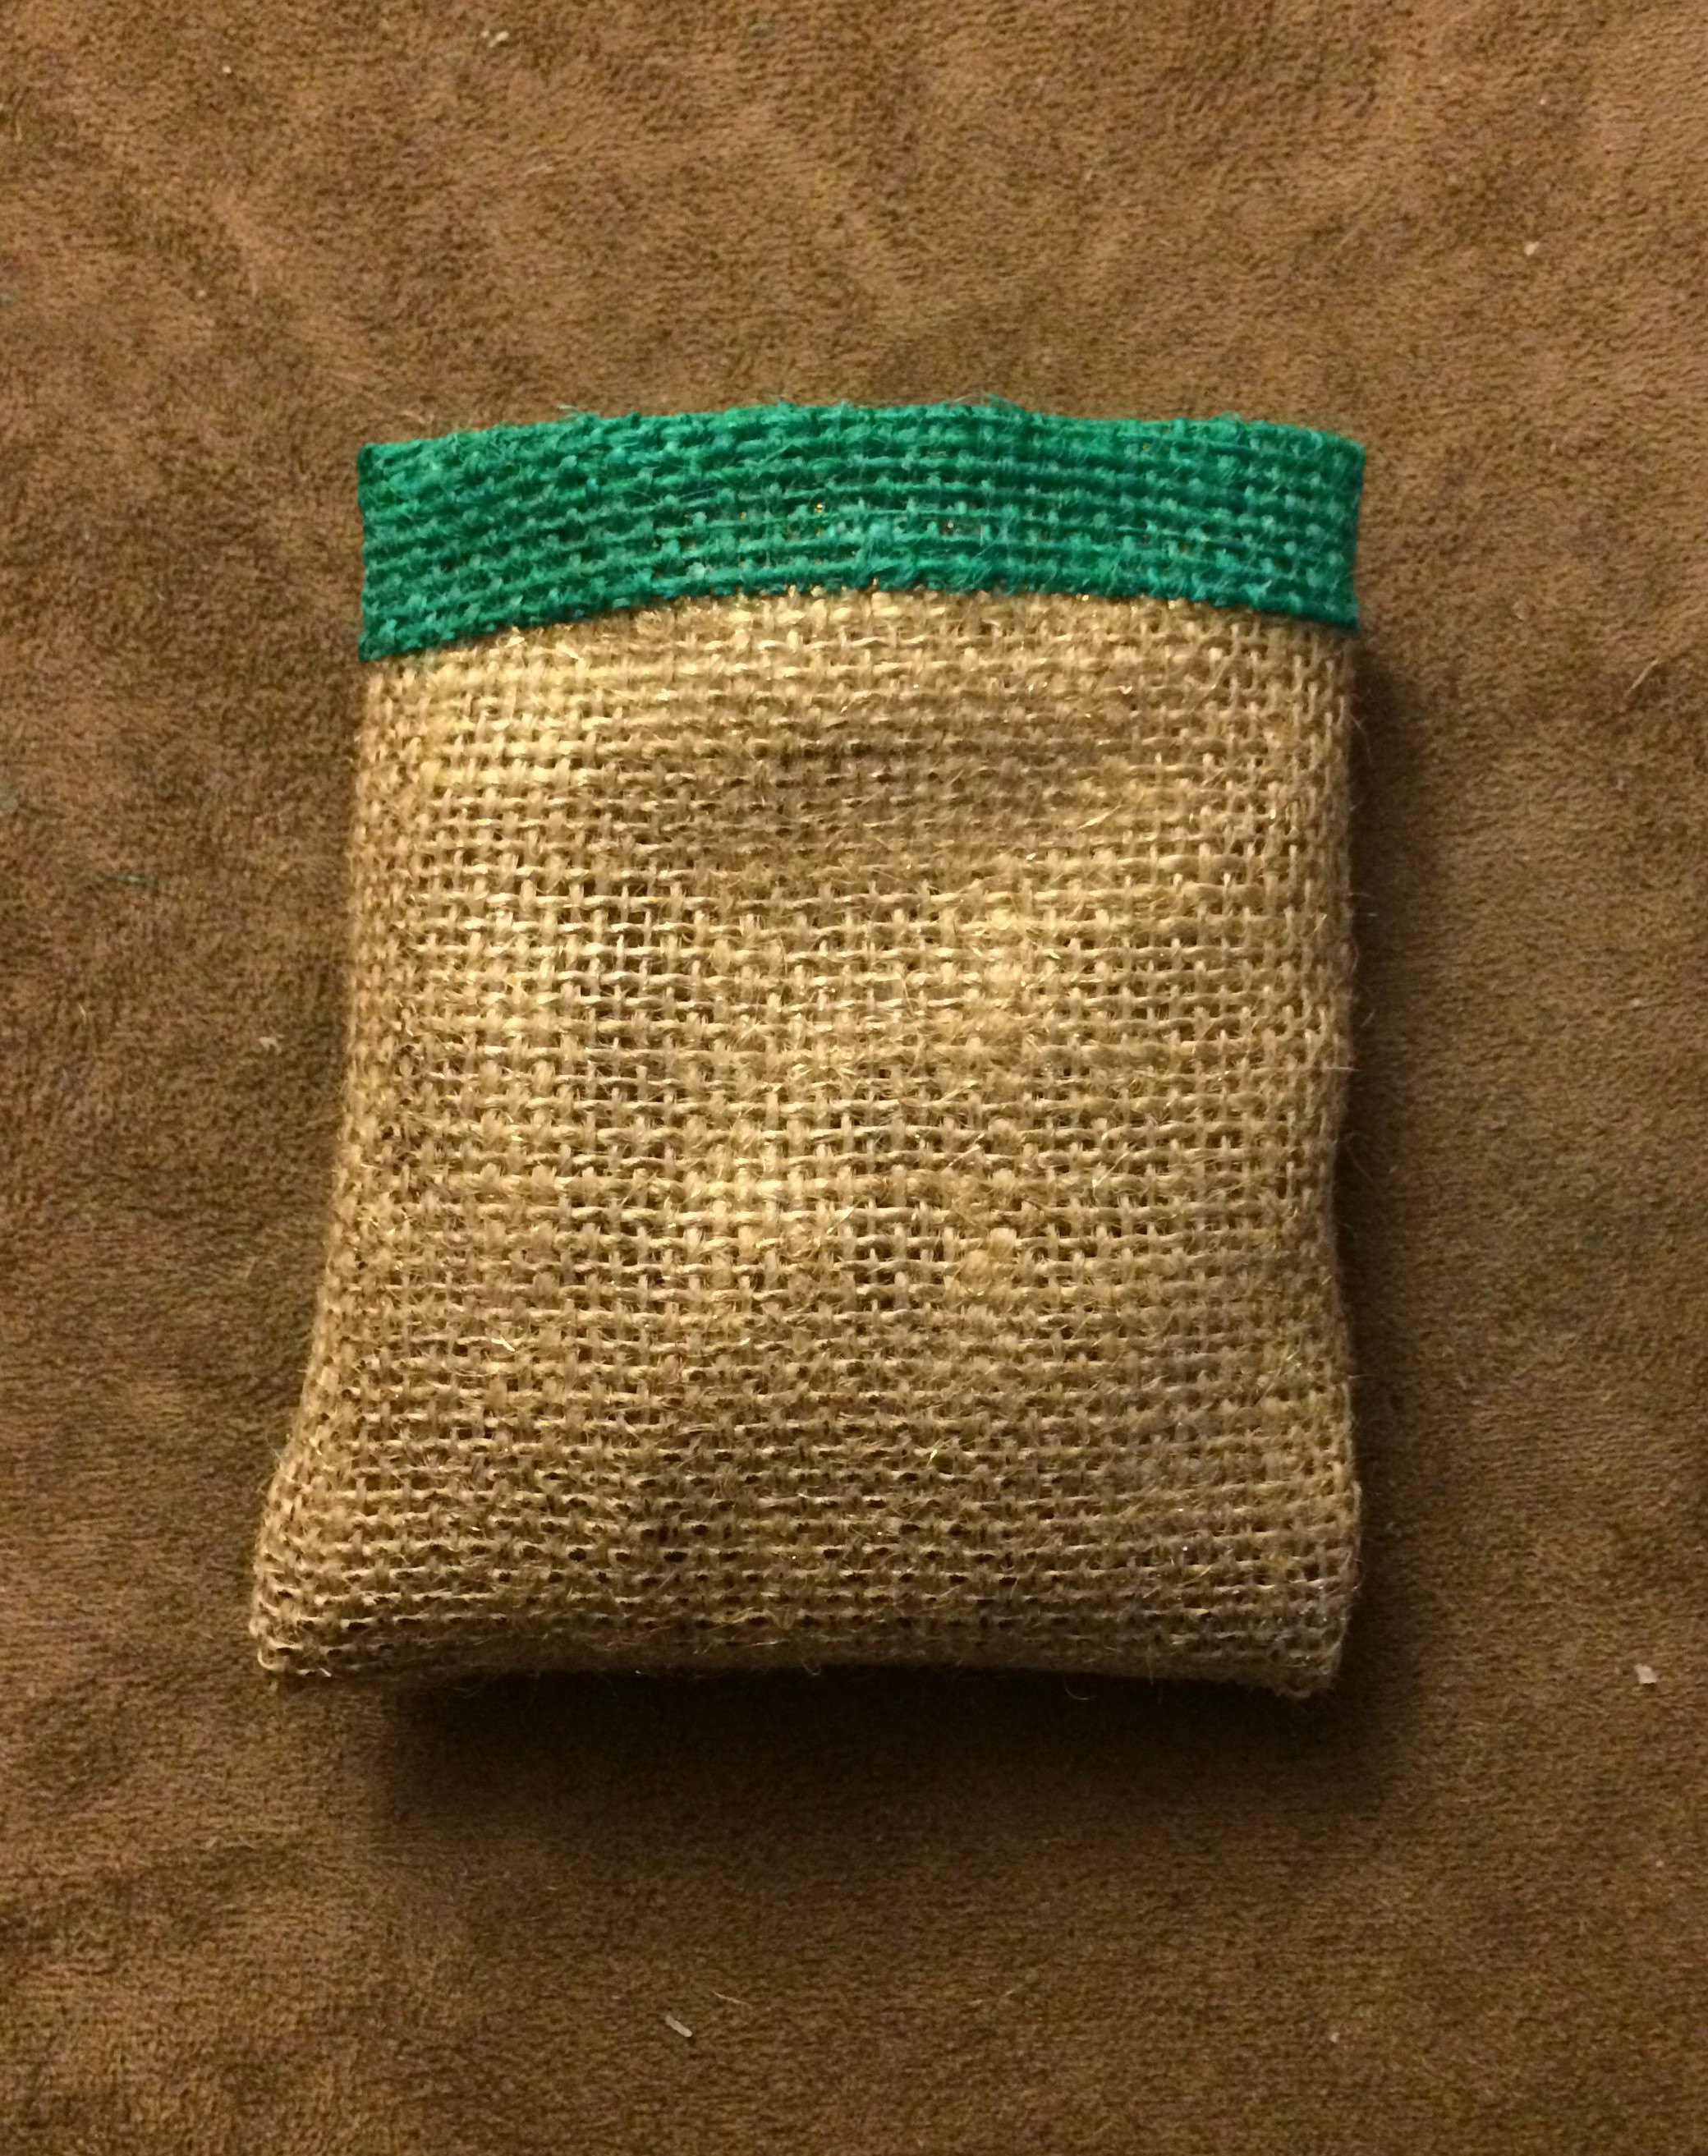
Sew the sack together and then turn it right side out:
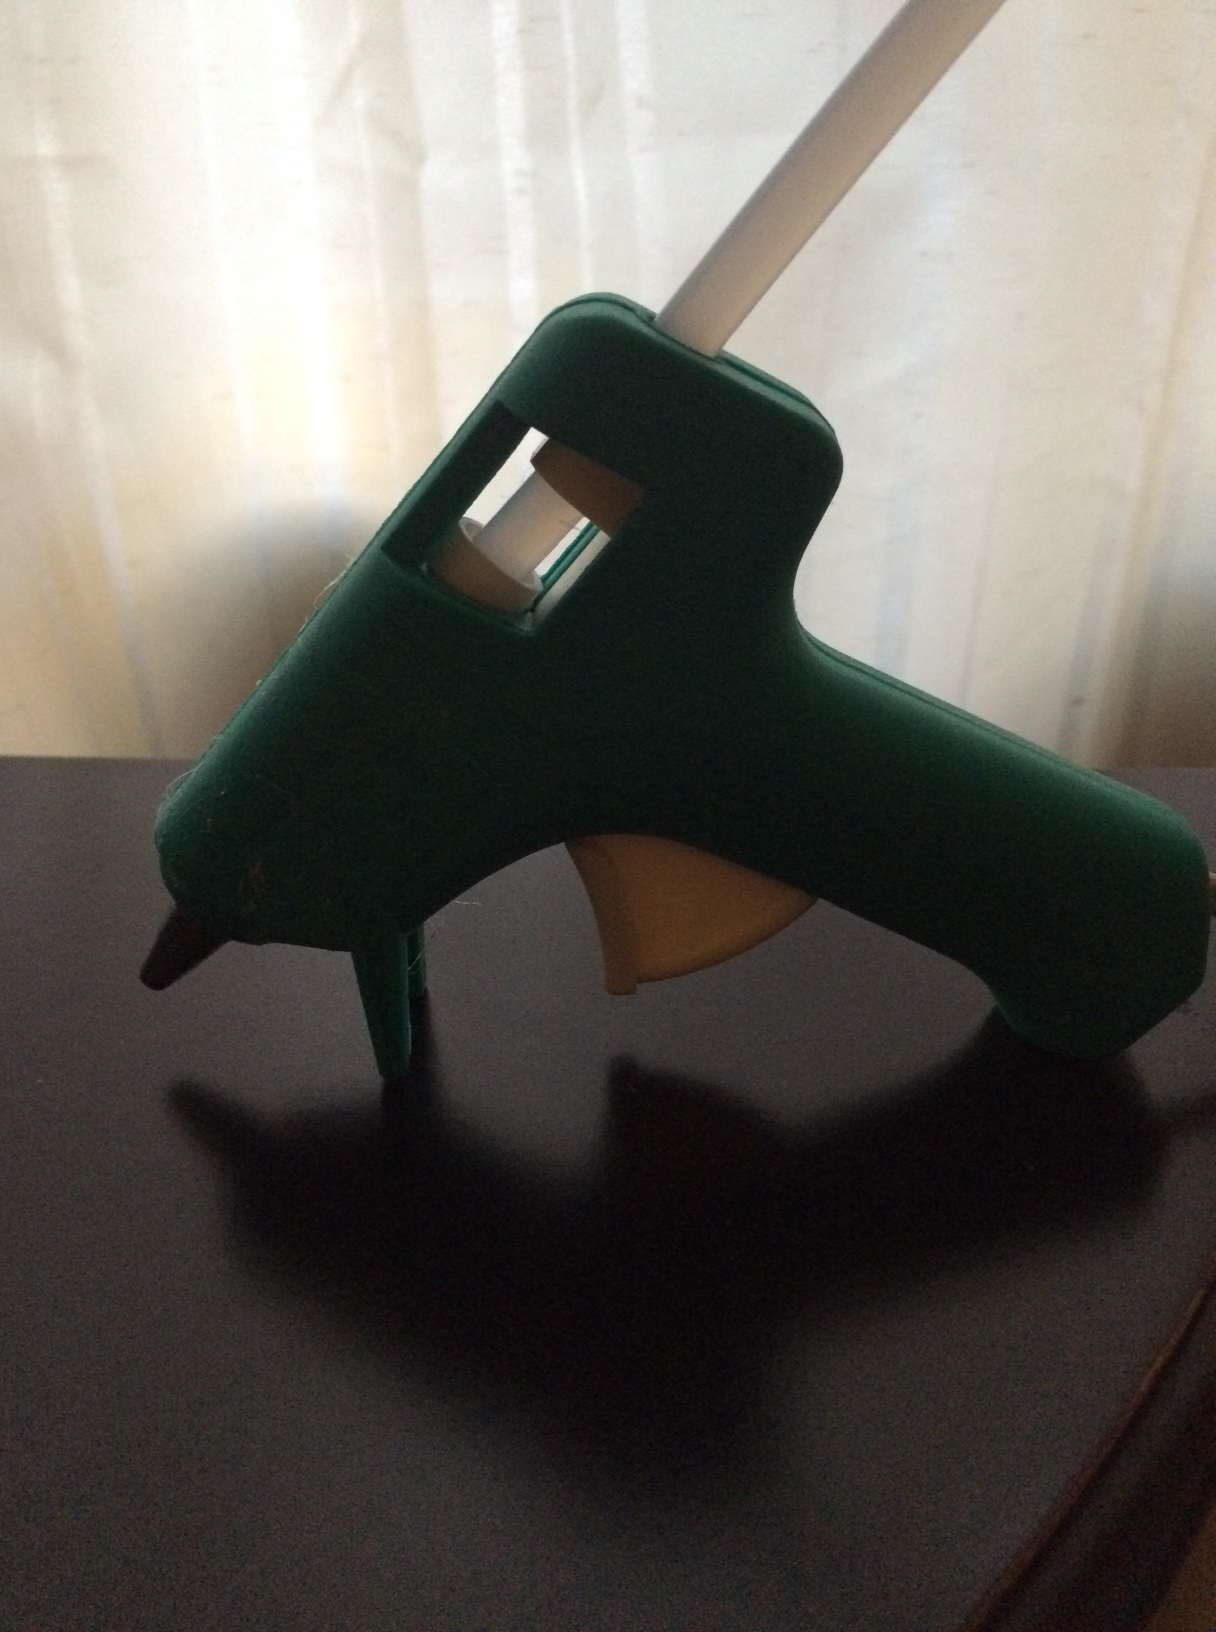
Once the sack is done, warm up your glue gun:
Take the hang tie fabric and secure it with hot glue to the inside of the sack:
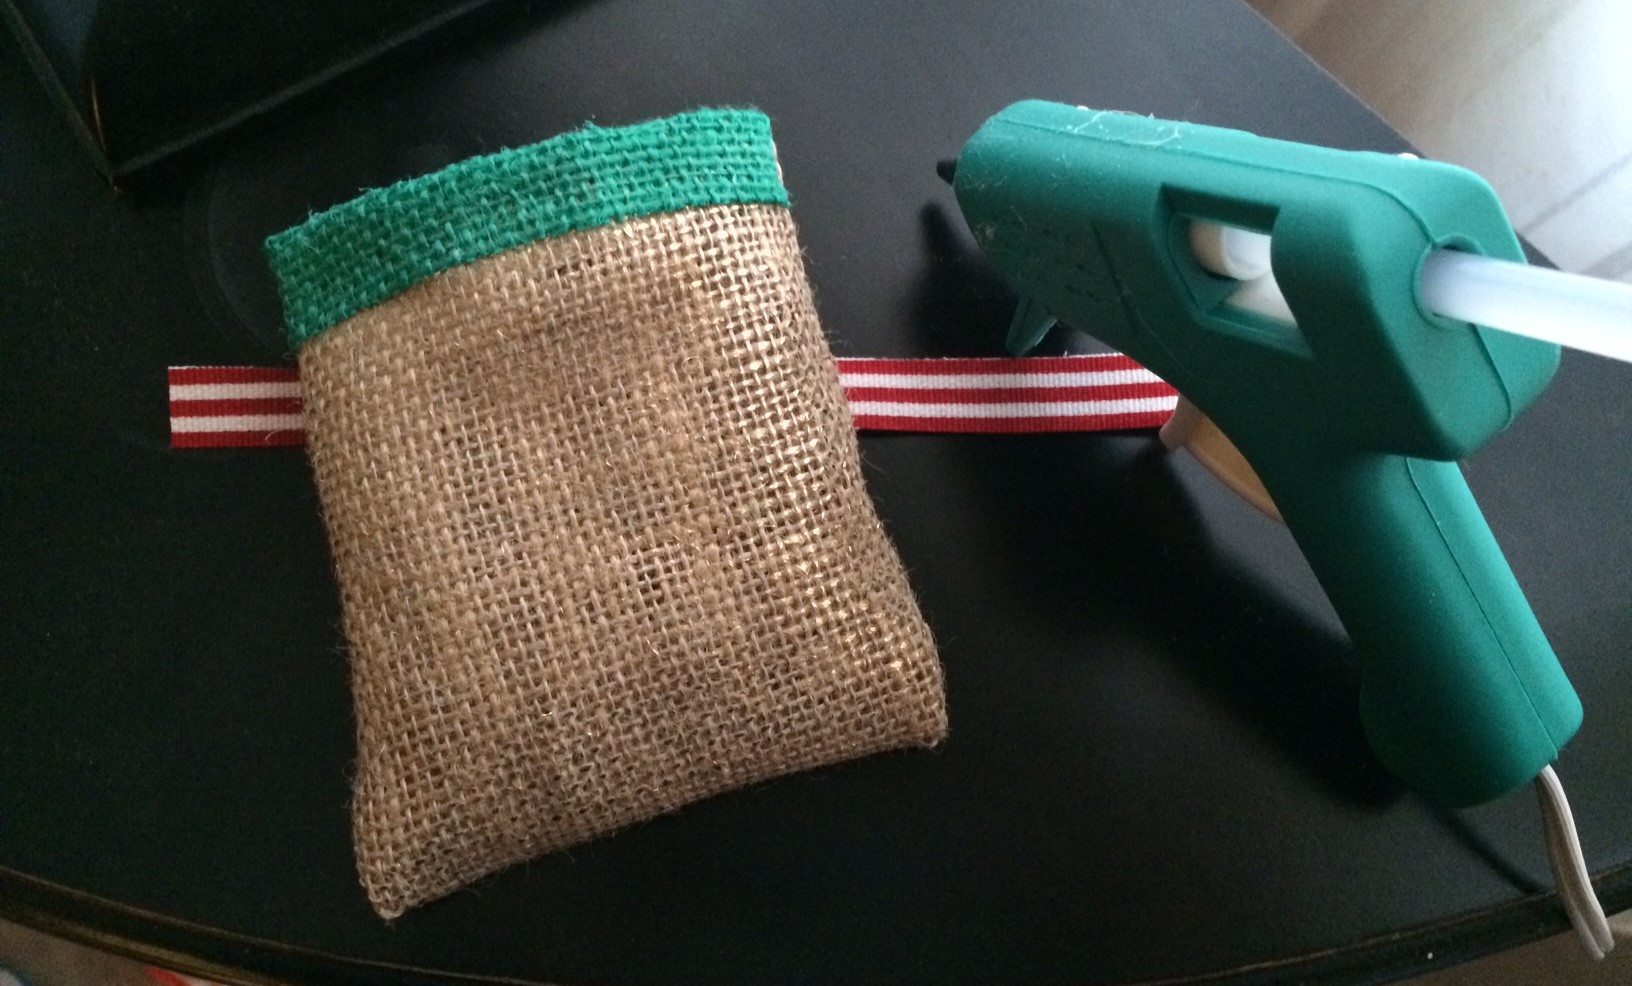
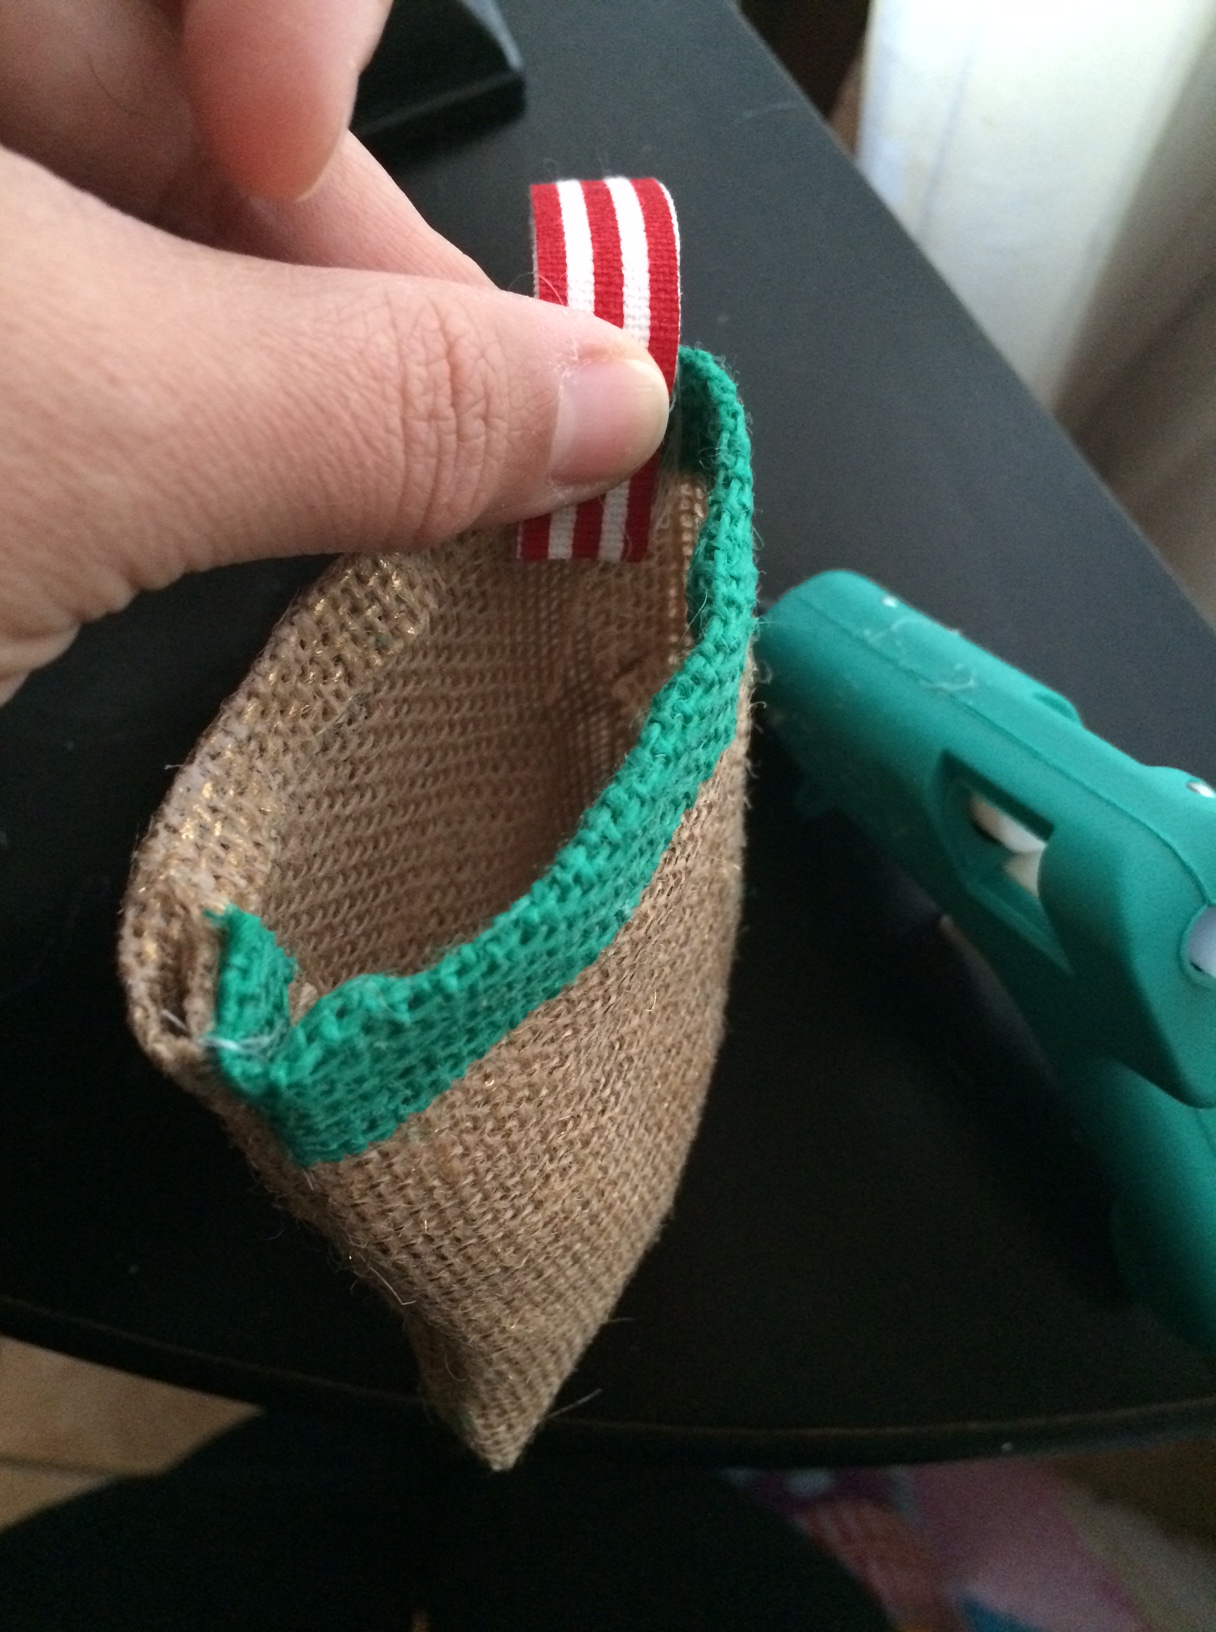
Once your hang tie is secure you can either add a decorative element to the front of your sacks , I chose a bow, or you can leave them as they are:

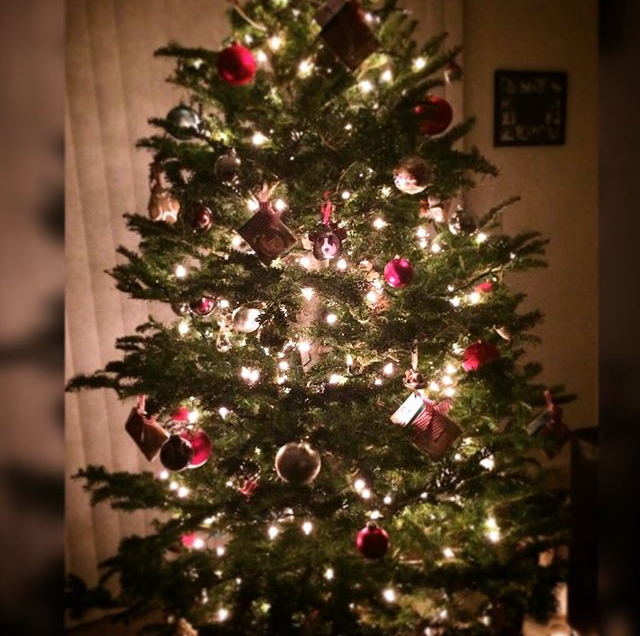
Once complete put the calendar items into your sacks and hang them on your tree:
Discover more from ENAMOUR
Subscribe to get the latest posts sent to your email.
